

As the crisp autumn air becomes laced with the faint giggles of little ghosts and goblins, there’s something undeniably magical about Halloween. This year, let’s take a break from traditional sugary confections and whip up something both fun and frightfully delicious: Halloween Mummy Pizza! Easy to make and perfect for engaging kids in the kitchen, these creative pizzas transform simple ingredients into hauntingly adorable mummies. With their gooey cheese “bandages” and customizable toppings, they deliver not just on flavor but also on festive spirit. Plus, they’re a fantastic way to round out the sugar overload that often comes with Halloween. Ready to spook your family with this cheesy delight? Let’s dive into the recipe and conjure up some culinary fun!
Why Make Halloween Mummy Pizza?
Kid-Friendly Fun: Kids will adore creating their own edible mummies with gooey, melted cheese and playful toppings.
Quick Preparation: This easy recipe requires just a few simple steps, making it perfect for busy parents.
Customizable Toppings: Feel free to switch up the cheese or add different “eyes”—the options are endless, much like our Mini Fruit Pizzas for a sweeter take!
Festive Presentation: These pizzas are not only delicious but also visually striking, perfect for Halloween parties or family gatherings.
Deliciously Satisfying: With a crispy base and ooey-gooey cheese, it’s a tasty way to enjoy a break from overly sweet treats.
Whip up a batch of these Halloween Mummy Pizzas and enjoy the laughter and joy they bring to your holiday celebration!
Halloween Mummy Pizza Ingredients
For the Pizza Base
• Mini English Muffins – These serve as the perfect base for your mummy pizzas, but feel free to substitute with mini crusts or pita bread for variety.
For the Sauce
• Pizza Sauce – This adds a savory layer of flavor and moisture; a homemade tomato sauce works beautifully as an alternative.
For the “Bandages”
• Mozzarella Cheese Strips – Create that classic mummy look; string cheese is a fun and easy option for kids to handle.
For the “Eyes”
• Black Olives – These make the perfect spooky eyes; consider using pickles, mushrooms, or even candy eyeballs for a fun twist instead.
Get ready to create some delightful Halloween Mummy Pizzas that not only taste good but look great too!
Step‑by‑Step Instructions for Halloween Mummy Pizza
Step 1: Preheat the Oven
Begin by preheating your oven to 375°F (190°C). This way, your Halloween Mummy Pizzas will bake perfectly, becoming bubbly and crispy. While the oven heats up, gather your mini English muffins, pizza sauce, mozzarella cheese strips, and black olives, so everything is ready for assembly.
Step 2: Prepare the Pizza Base
Slice each mini English muffin in half horizontally and place them cut-side up on a baking sheet. If you’re using mini crusts or pita bread, arrange those instead. These bases will be the foundation of your Halloween Mummy Pizzas, so ensure they are spaced evenly on the sheet for uniform baking.
Step 3: Spread the Pizza Sauce
Evenly distribute 1-2 tablespoons of pizza sauce onto each muffin half, covering them generously. Make sure the sauce is spread out to the edges but not overflowing. This adds a delicious layer of flavor to your mummies and keeps the pizza moist.
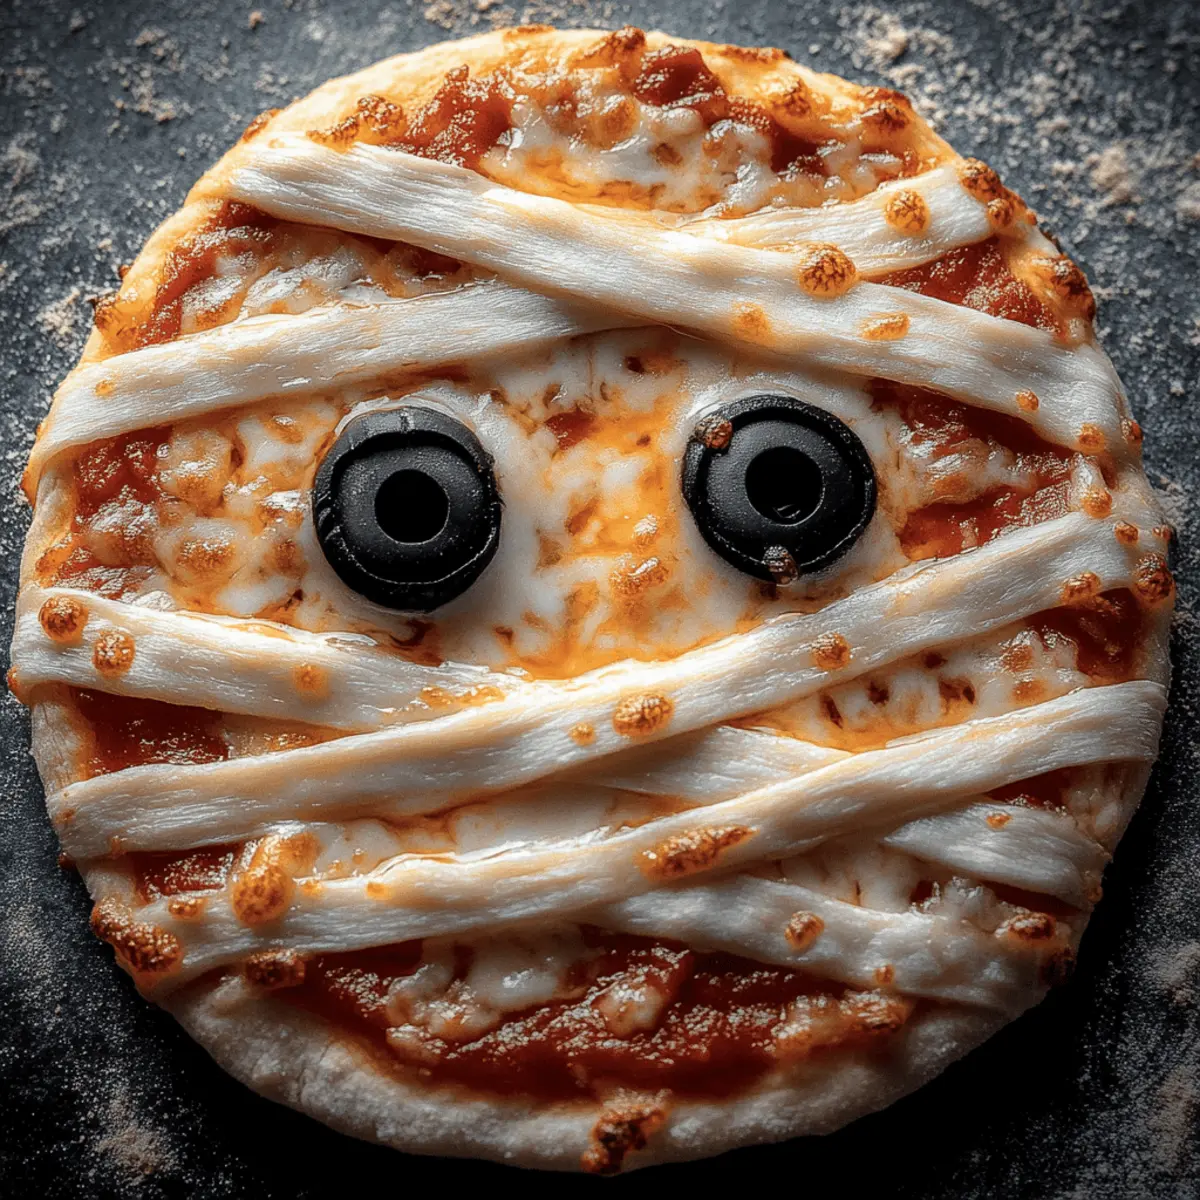
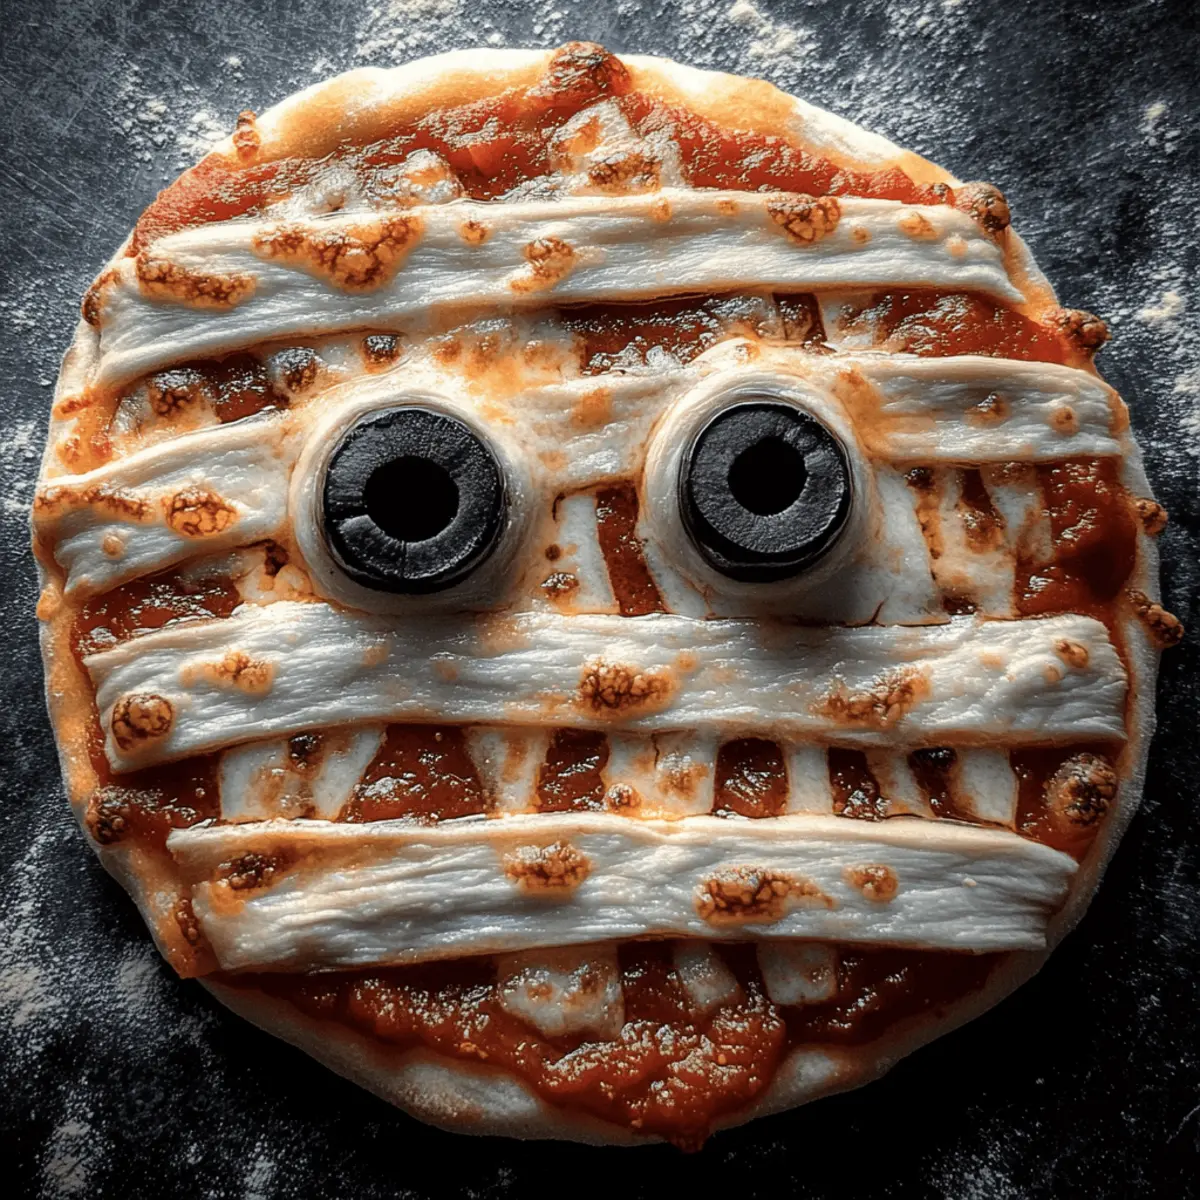
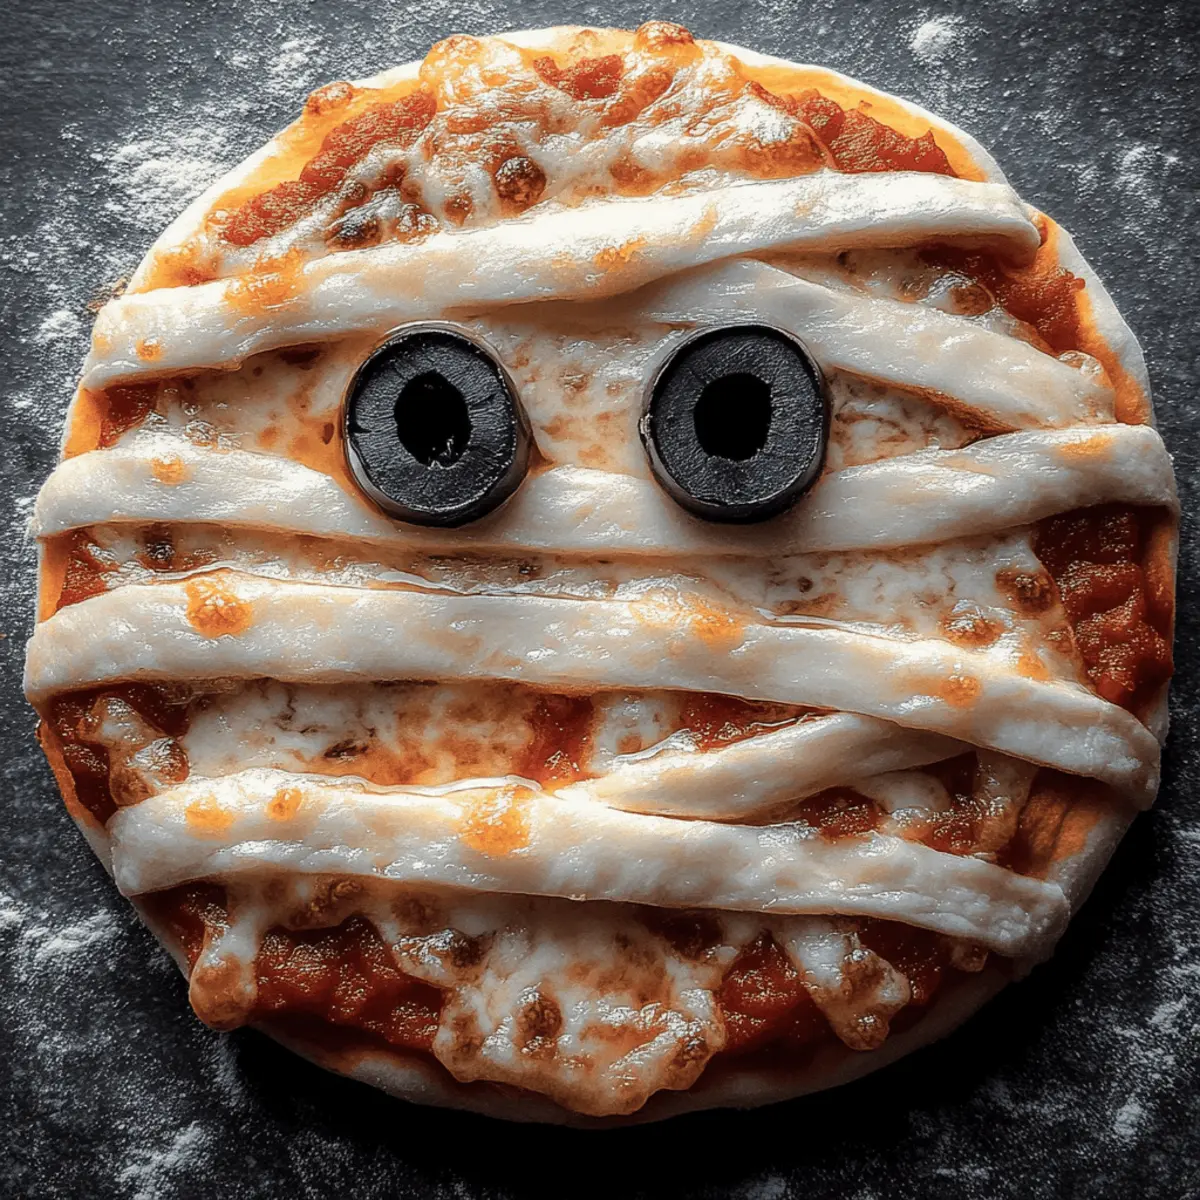
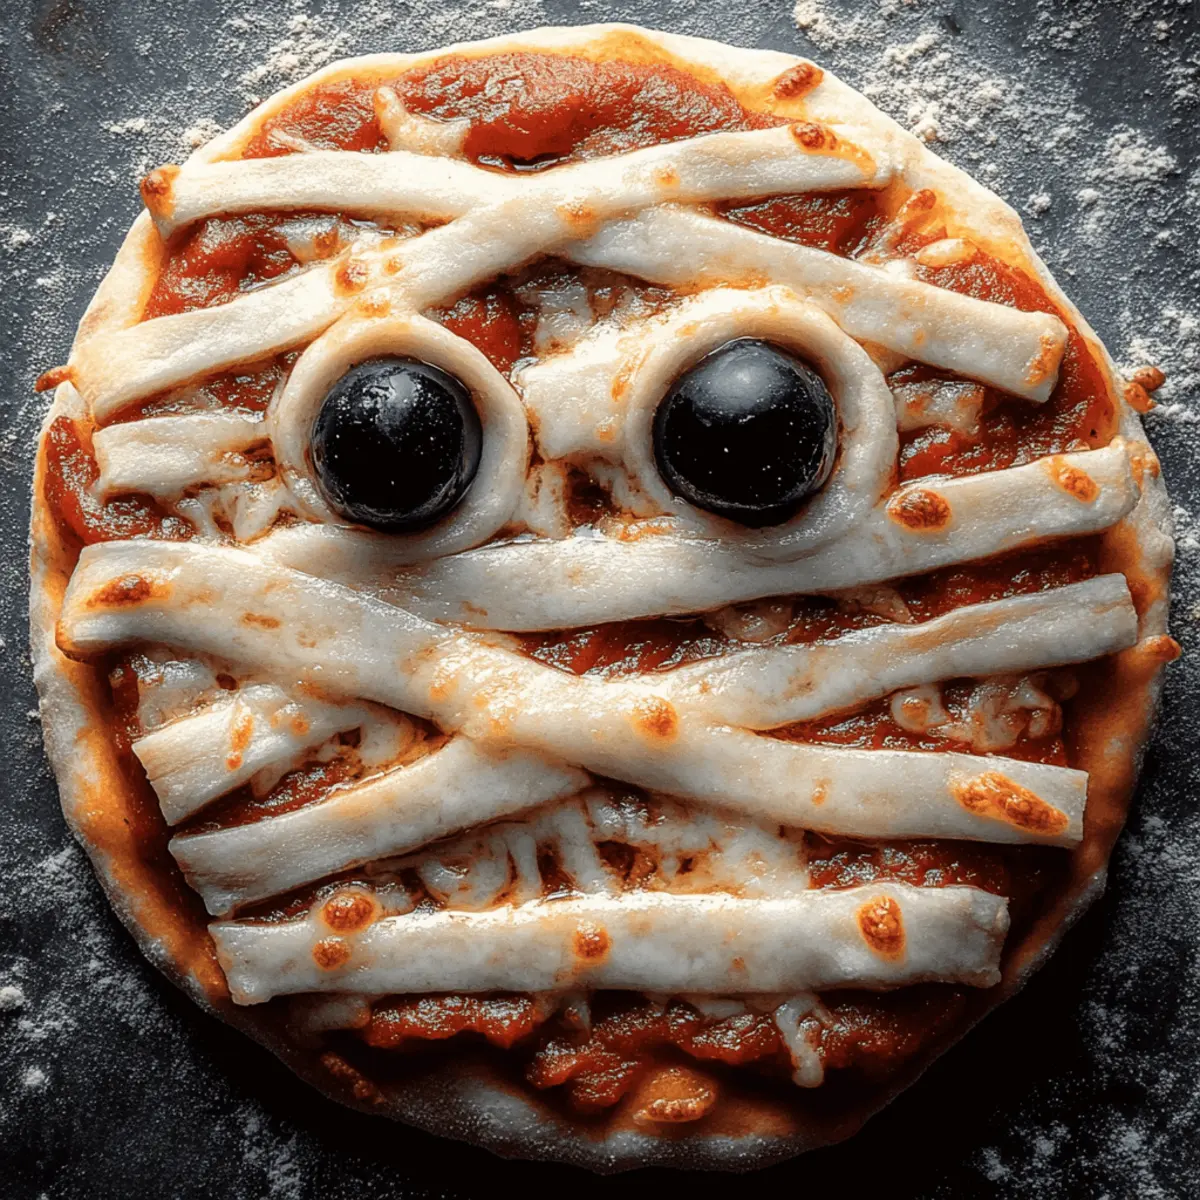
Step 4: Create the Mummy’s “Bandages”
Now, take your mozzarella cheese strips and lay them crisscross over the sauce, leaving gaps in between for the “eyes.” Be creative with your piecing! It’s okay if the strips are not perfectly arranged; the more haphazardly they look, the more like a mummy they’ll be!
Step 5: Add the “Eyes”
Tuck two slices of black olives into the gaps you left previously, positioning them to resemble the eyes of the mummies. If you prefer a sweeter twist, you can swap the olives for pickles or even candy eyeballs. This step adds a fun touch that kids will love!
Step 6: Bake the Mummies
Transfer your Halloween Mummy Pizzas to the preheated oven and bake for 8-10 minutes. Keep an eye on them; you’re looking for the cheese to melt and turn beautifully bubbly. A golden, slightly crispy edge will signal that they’re ready to come out!
Step 7: Serve Warm and Enjoy
Once baked, carefully remove the Halloween Mummy Pizzas from the oven and let them cool for a few moments. Serve them warm as a delightful snack, appetizer, or a fun Halloween dinner option. Their whimsical appearance is guaranteed to bring smiles!
Expert Tips for Halloween Mummy Pizza
-
Prep Ahead: Assemble your Halloween Mummy Pizzas in advance and refrigerate them. Bake just before serving to save time during busy party days.
-
Kid-Friendly Handling: Use string cheese for the bandages; it makes for easier handling by little hands, making the process of creating fun mummies more enjoyable.
-
Eye-Catching Variations: If black olives aren’t a hit, consider alternatives like pickles, sliced mushrooms, or even colorful candy eyeballs to personalize your mummy pizzas and delight kids.
-
Crispier Base: For a crunchier texture, toast the mini English muffins before adding toppings. This prevents sogginess and creates the perfect pizza base.
-
Seasoning Twist: Experiment with different seasonings in your pizza sauce, such as Italian herbs or garlic powder, to elevate the flavors of your Halloween Mummy Pizza.
Halloween Mummy Pizza Variations & Substitutions
Feel free to explore your creativity and customize these fun Halloween Mummy Pizzas for even more deliciousness!
-
Cheese Swap: Replace mozzarella with cheddar or pepper jack for a spicier kick that adds depth to every bite.
-
Base Options: Use pita bread or even pre-made pastry instead of mini English muffins for a flakier texture. The choice can completely change the experience!
-
Sauce Enhancement: Try mixing in garlic or Italian herbs into your pizza sauce to elevate the flavor profile. A little zest can make all the difference.
-
Spookier Eyes: Instead of black olives, consider using pickles, sliced mushrooms, or even candy eyeballs for a sweet twist. It’s a great way to surprise the kids!
-
Veggie Boost: Add chopped bell peppers or spinach to the toppings for a burst of color and nutrition. Sneaky veggies can be fun to incorporate into Halloween festivities!
-
Gluten-Free Base: Use gluten-free mini crusts or cauliflower pizza bases for a delightful option that caters to dietary needs without sacrificing fun.
-
Crust Variation: Try using flatbreads or tortillas to create unique shapes for your mummy pizzas, adding a fun texture twist. The flatter surface allows for different designs!
-
Saucy Surprise: For a sweeter contrast, try utilizing barbecue sauce instead of pizza sauce for a unique flavor that kids love. Sweet and savory can be the perfect match!
Explore these variations while you whip up your Halloween Mummy Pizza! And if you’re looking for other fun recipes, don’t forget to check out the delightful Air Fryer Pizza and our Mini Fruit Pizzas for even more creative kitchen fun!
How to Store and Freeze Halloween Mummy Pizza
Fridge: Store any leftover Halloween Mummy Pizza in an airtight container for up to 3 days. Reheat in the oven or microwave until warmed through and the cheese is melty again.
Freezer: If you’ve made a batch in advance, these mummies can be frozen before baking. Wrap each assembled pizza tightly in plastic wrap and store in a freezer-safe bag for up to 2 months.
Reheating: When ready to enjoy, bake from frozen at 375°F (190°C) for 12-15 minutes or until cheese is bubbly and hot.
Make-Ahead: Assemble the Halloween Mummy Pizza up to a day ahead, storing in the fridge until it’s time to bake. This provides convenience for busy days but ensures maximum freshness!
Make Ahead Options
These Halloween Mummy Pizzas are perfect for meal prep enthusiasts looking to save time during the spooky season! You can assemble the mummies up to 24 hours in advance. Simply prepare the English muffins with pizza sauce and mozzarella strips, then cover and refrigerate. This allows the flavors to meld without compromising quality, so they’ll be just as delicious when baked! When you’re ready to serve, simply pop the assembled pizzas in the oven at 375°F (190°C) for 8-10 minutes until the cheese is bubbly and golden. This way, you can enjoy a fun Halloween treat with minimal effort, making your busy weeknights a breeze!
What to Serve with Halloween Mummy Pizza
Perfectly paired side dishes can elevate your Halloween Mummy Pizza into a delightful feast that the whole family will enjoy!
-
Crispy Pumpkin Salad: This autumn-inspired salad combines fresh greens with roasted pumpkin and a tangy vinaigrette, complementing the cheesy mummies beautifully.
-
Witch’s Brew Soup: Warm tomato soup served in cauldrons (or bowls) creates the perfect dipping accompaniment for your Halloween Mummy Pizzas, balancing flavors effortlessly and adding a spooky touch.
-
Ghostly Garlic Bread: Soft, buttery garlic bread can provide a crunchy contrast to those gooey mummy mounds, ensuring every bite is deliciously satisfying.
-
Spooky Fruit Platter: A mix of ghost-shaped melon slices and fruity “eyeballs” using grapes or blueberries adds a refreshing, sweet element to your spread, charming kids and adults alike.
-
Monster Milkshakes: These fun, colorful milkshakes, adorned with whipped cream and candy eyes, are a playful drink pairing that heightens the Halloween spirit alongside your cheesy pizzas.
-
Chocolate-Covered Pretzels: For an easy dessert, these sweet and salty bites are perfect for satisfying a sweet tooth and create an indulgent finish to the meal without overwhelming the senses.
Turn your Halloween gathering into a spook-tacular celebration with these tasty additions to your Halloween Mummy Pizza!
Halloween Mummy Pizza Recipe FAQs
How do I choose the best mini English muffins for my Mummy Pizza?
Absolutely! Look for mini English muffins that are fresh, with a slightly golden-brown exterior and no visible dark spots. Check the expiration date to ensure they’re not past due. Fresh muffins will give your Halloween Mummy Pizza a tasty, crispy base that your family will love!
How should I store leftover Halloween Mummy Pizza?
Very! Place any leftover Halloween Mummy Pizza in an airtight container and refrigerate. They will stay fresh for up to 3 days. To reheat, pop them in the oven at 350°F (175°C) for about 5-7 minutes to restore the crispy texture, or use the microwave if you’re in a hurry!
Can I freeze Halloween Mummy Pizza before baking?
Yes, definitely! Prepare the pizzas, but do not bake them. Wrap each assembled Mummy Pizza tightly in plastic wrap and place them in a freezer-safe bag or container. They can be frozen for up to 2 months. When you’re ready to eat, bake from frozen at 375°F (190°C) for 12-15 minutes until the cheese is melted and bubbly.
What if my cheese strips don’t stay in place?
No worries! If you find that the cheese strips are slipping, try using larger pieces and overlapping them a bit more to create a sturdy base. Alternatively, you can use shredded cheese instead of strips. Just sprinkle it generously over the sauce, leaving space for the eyes. Experiment until you find the method that works best for you!
Can I customize the toppings for Halloween Mummy Pizza?
Of course! Feel free to get creative. If black olives aren’t your favorite, you can swap them out for slices of pickles, mushrooms, or even colorful candy eyeballs for a fun twist. Using different cheeses, like cheddar or pepper jack, can also add a deliciously unique flavor to your mummies!
Is this recipe safe for kids with dairy allergies?
That depends! This Halloween Mummy Pizza recipe includes dairy ingredients like mozzarella cheese and pizza sauce. If there are dairy allergies involved, you can substitute with dairy-free cheese options that melt well and use homemade or store-bought dairy-free pizza sauce instead. Always check labels to ensure all ingredients are allergy-safe!
Halloween Mummy Pizza: Fun & Cheesy Treat for Kids
Ingredients
Equipment
Method
- Preheat the oven to 375°F (190°C) and gather all ingredients.
- Slice each mini English muffin in half horizontally and place them cut-side up on a baking sheet.
- Spread 1-2 tablespoons of pizza sauce onto each muffin half.
- Lay mozzarella cheese strips crisscross over the sauce, leaving gaps for the eyes.
- Position black olives into the gaps to resemble the eyes of the mummies.
- Bake for 8-10 minutes until the cheese is melted and bubbly.
- Carefully remove from the oven, let cool slightly, and serve warm.