

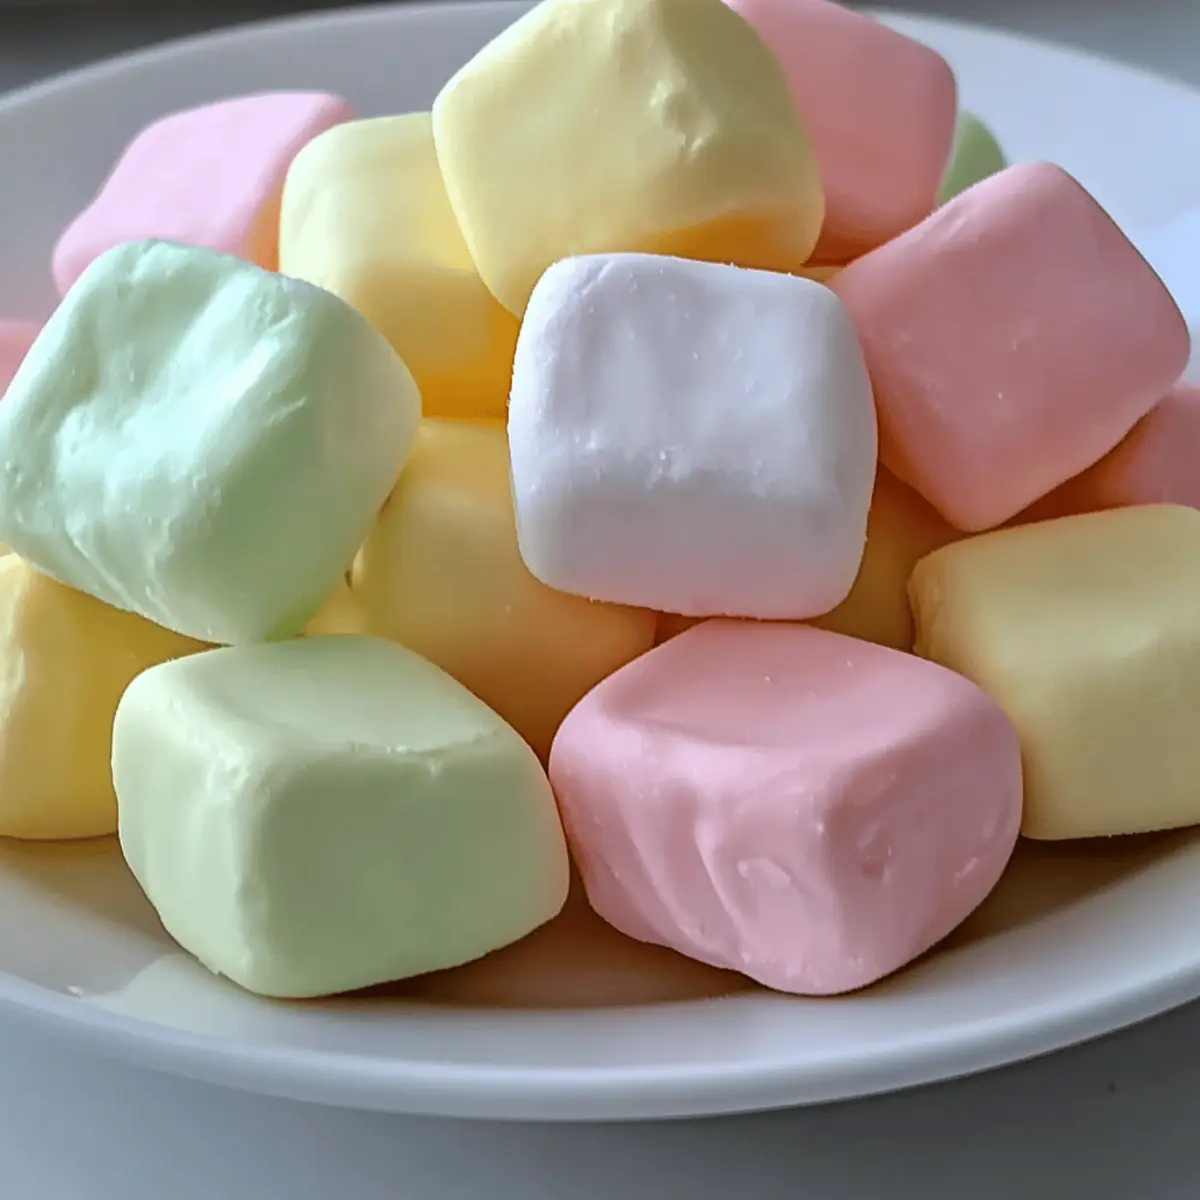
As I unwrapped a buttery mint at a recent family gathering, a wave of nostalgia washed over me. These Best Homemade Butter Mints are more than just candies; they’re little parcels of joy that transport you back to cherished moments, from elegant weddings to sweet baby showers. What makes this recipe truly special is not only its simplicity—just a few basic ingredients come together effortlessly—but also the fact that they can be tailored to your heart’s delight with colorful variations. Perfect for impressing guests or indulging yourself, these melt-in-your-mouth mints are sure to become a staple in your homemade treat repertoire. Are you ready to dazzle your loved ones with this easy yet delightful confection? Let’s get started!
Why Are Homemade Butter Mints So Amazing?
Nostalgic Delight: These Best Homemade Butter Mints whisk you back to sweet memories. Whether it’s a wedding or a baby shower, these candies spark joy.
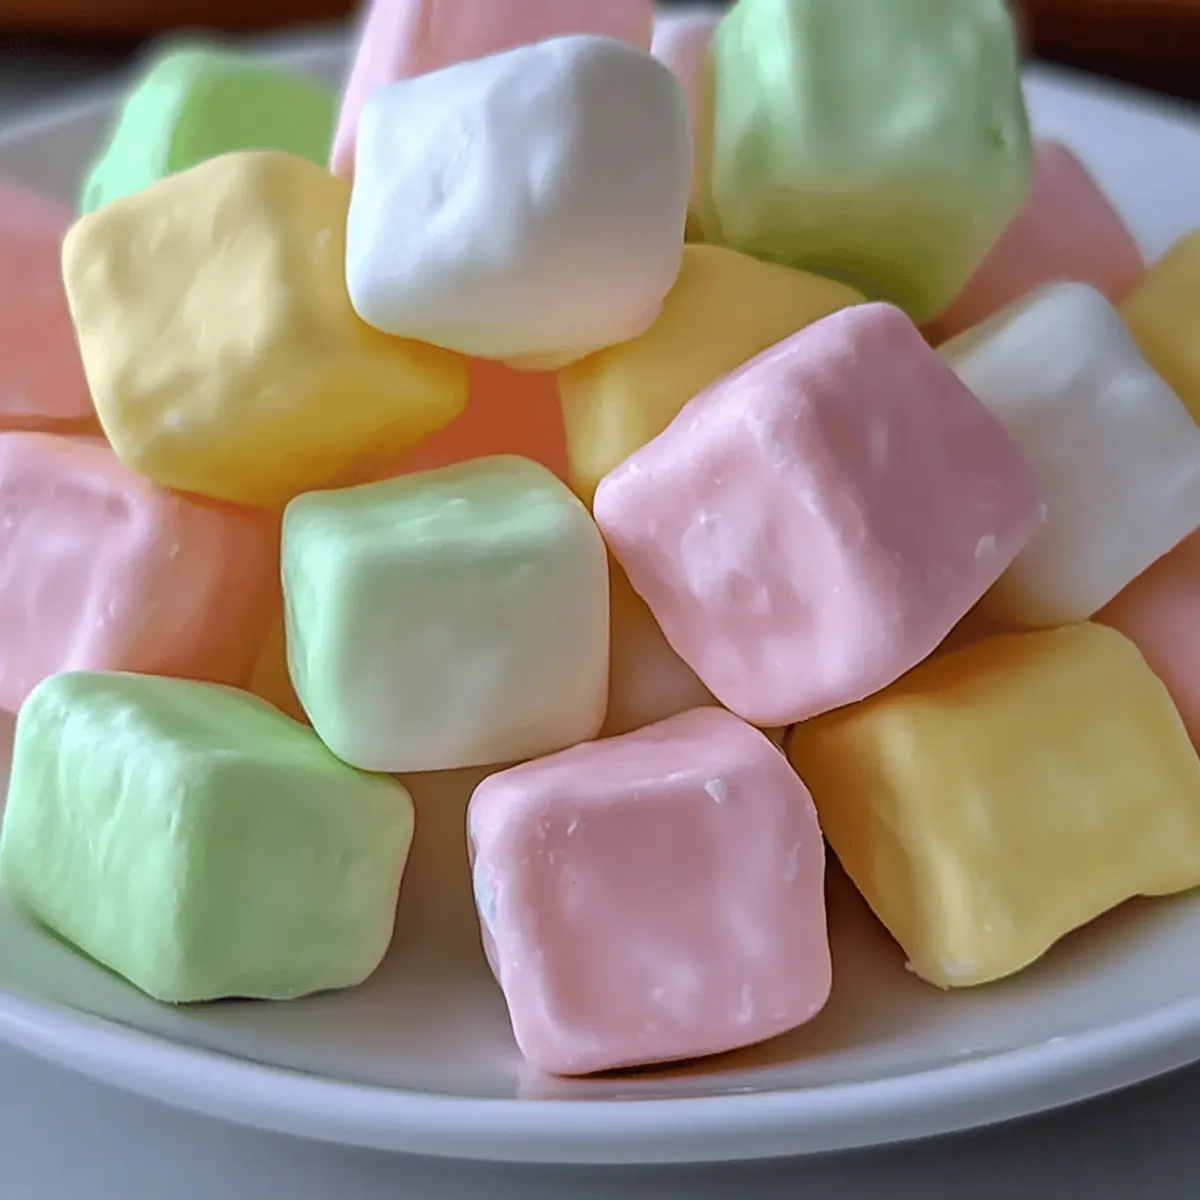
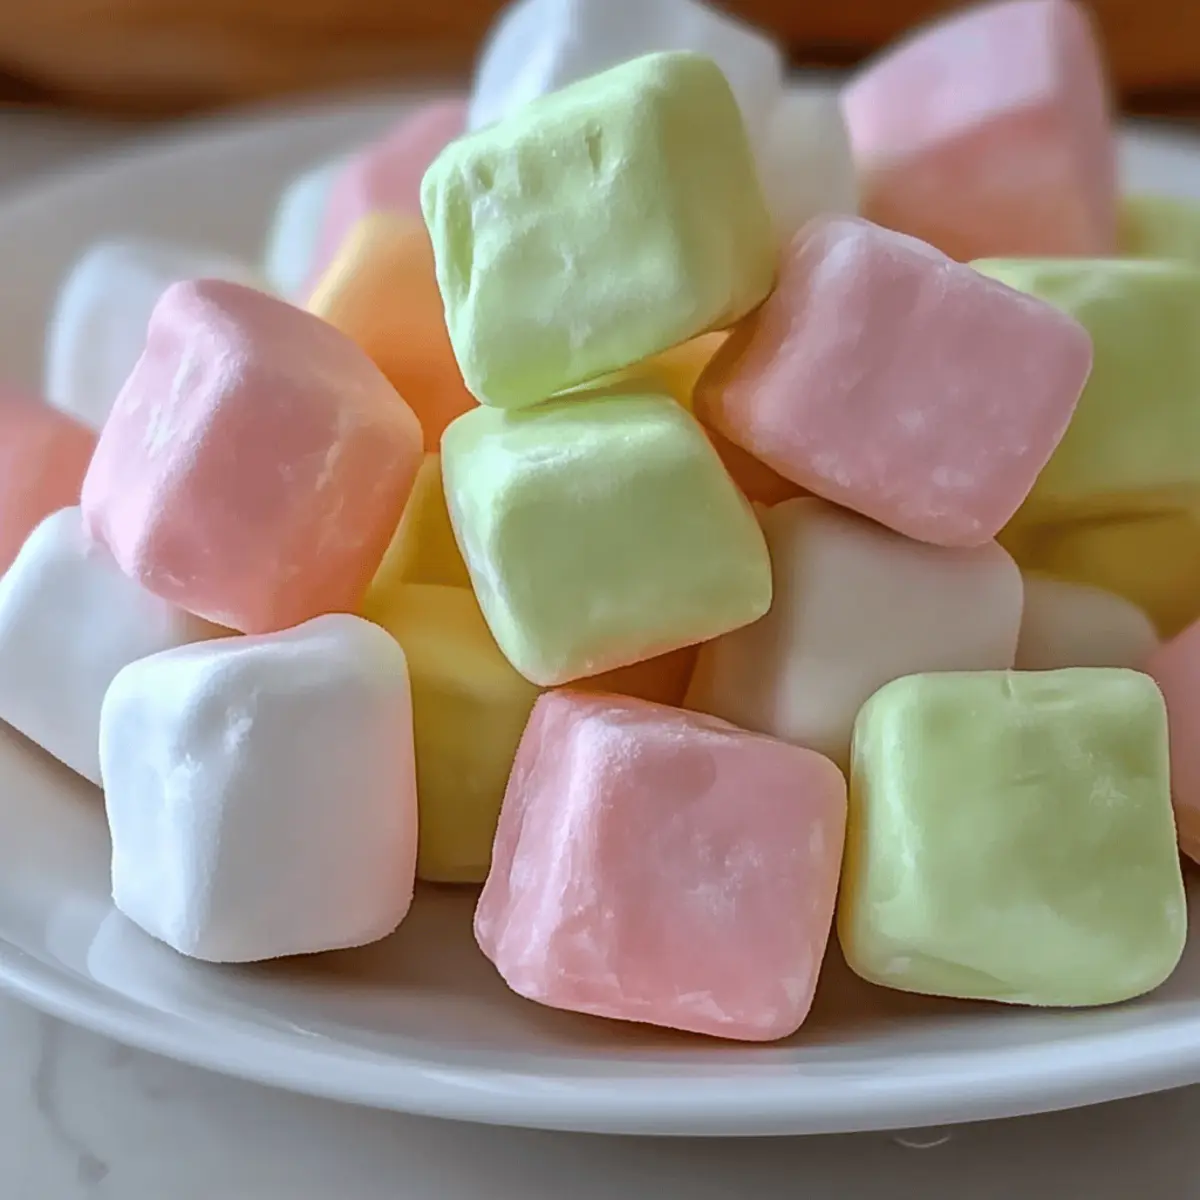
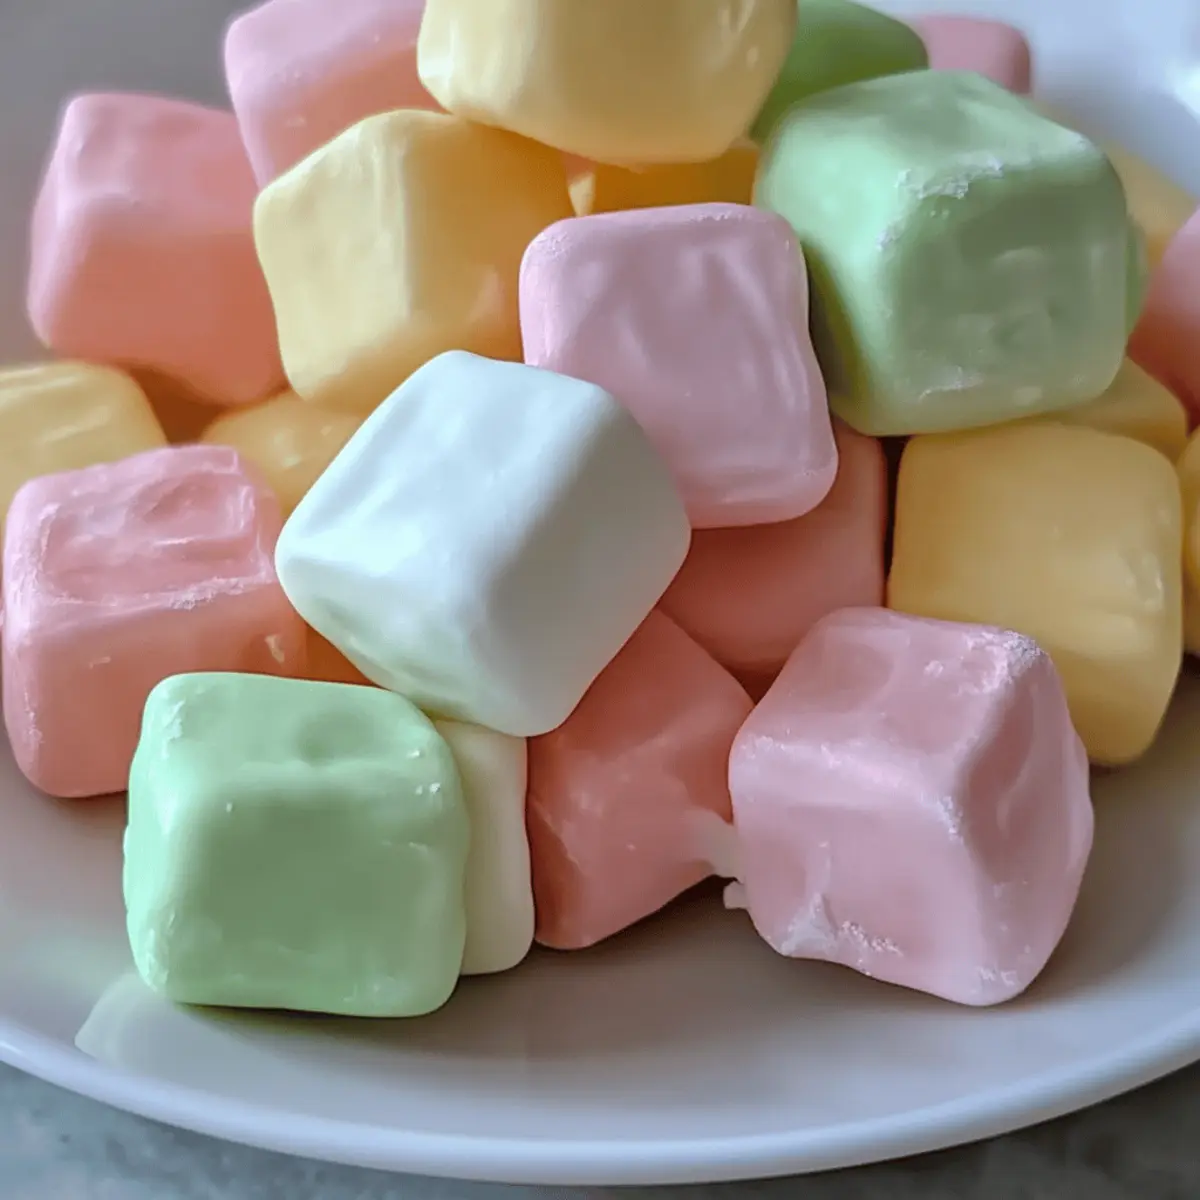
Customizable Fun: Add your favorite food coloring to create vibrant mints that match any celebration theme! You can even swap out peppermint for vanilla for a twist.
Easy to Make: With just a few simple ingredients, they come together quickly, making them perfect for novice cooks and seasoned chefs alike.
Perfect Treat for Any Occasion: Everyone loves a little sweetness! These mints are ideal for gifting just like my Honey Butter Skillet Corn or as part of a dessert table.
Instant Crowd-Pleaser: Their creamy texture and refreshing flavor will charm family and friends, ensuring everyone will be reaching for more!
Best Homemade Butter Mints Ingredients
• Get ready to whip up these delightful treats!
For the Mint Mixture
- Unsalted Butter – Provides rich creaminess; make sure it’s softened for easy mixing.
- Powdered Sugar – Offers sweetness and structure; sifting prevents any clumps from sneaking in.
- Heavy Cream – Creates a smooth, pliable dough; can be swapped with milk for a lighter flavor.
- Peppermint Extract – Delivers that refreshing mint flavor; feel free to use vanilla or almond extract for a unique twist.
- Vanilla Extract – Balances the overall flavor beautifully.
- Salt – Just a pinch enhances sweetness and brings all flavors together.
For Optional Color
- Food Coloring – Add a pop of color to your mints; gel colors are best for vibrant results without altering texture.
These Best Homemade Butter Mints not only bring back sweet memories but also make for beautiful creations that will be the highlight of any event!
Step‑by‑Step Instructions for Best Homemade Butter Mints
Step 1: Prepare Dough
In a large mixing bowl, beat 1 cup of softened unsalted butter and a pinch of salt on medium speed for about 2 minutes until the mixture is smooth and creamy. This base will ensure a rich flavor in your Best Homemade Butter Mints, so take your time to achieve a fluffy consistency.
Step 2: Combine Sugar
Gradually add 4 cups of sifted powdered sugar to the butter mixture, about 1 cup at a time. Mix on low speed to incorporate the sugar without creating a cloud of dust, then increase speed once combined. Continue to mix until the dough thickens and pulls away from the bowl, which should take around 5 minutes.
Step 3: Add Cream & Extracts
Next, pour in 2 tablespoons of heavy cream along with 1 teaspoon each of peppermint extract and vanilla extract. Beat the mixture on medium speed until a stiff dough forms. The dough should be smooth yet pliable, making it easy to shape later for your Best Homemade Butter Mints.
Step 4: Color Dough
If you’d like vibrant mints, divide your dough into portions based on your desired colors. Knead in gel food coloring until incorporated—aim for a smooth, even color distribution. The gel provides a bright hue without altering the texture, so feel free to let your creativity shine!
Step 5: Shape Mints
Roll the colored dough into ½-inch thick ropes on a clean surface. Once rolled, use a knife or kitchen shears to cut the ropes into small, bite-sized pieces. Each piece will be a delightful little morsel of your Best Homemade Butter Mints, perfect for sharing or savoring yourself.
Step 6: Dry Mints
Place each mint on a parchment-lined baking sheet, ensuring they are spaced apart. Allow them to dry at room temperature for at least 4 hours or, for best results, overnight. This drying process is crucial for achieving the right firmness in your candies, so resist the temptation to rush it!
Expert Tips for Best Homemade Butter Mints
-
Soften Butter: Ensure your unsalted butter is fully softened for easier mixing and a smoother end result, crucial for perfect Best Homemade Butter Mints.
-
Sift Powdered Sugar: Always sift your powdered sugar before adding it to the mix; this prevents clumps and ensures a silky-smooth texture in your mints.
-
Proper Drying Time: Allow the mints to dry for at least 4 hours to achieve the right firmness; skipping this step may lead to sticky, soft mints.
-
Use Gel Food Coloring: Opt for gel food coloring over liquid to maintain the dough’s consistency while achieving vibrant colors; a little goes a long way!
-
Flavor Variations: Don’t shy away from experimenting with flavors; replace peppermint extract with almond or vanilla for a delightful twist on your Best Homemade Butter Mints.
How to Store and Freeze Best Homemade Butter Mints
Room Temperature: Store mints in an airtight container at room temperature for up to 2 weeks, letting their sweet flavor shine without losing freshness.
Fridge: For extended freshness, refrigerate mints in an airtight container for up to 1 month; take them out 30 minutes before serving for the best texture.
Freezer: Freeze your Best Homemade Butter Mints for up to 3 months. Place them in a single layer on a baking sheet until solid, then transfer to a freezer-safe container.
Thawing: When ready to enjoy, simply let them thaw at room temperature before serving; they’ll retain their creamy goodness beautifully!
Make Ahead Options
These Best Homemade Butter Mints are perfect for busy home cooks looking to save time! You can prepare the dough up to 24 hours in advance, storing it tightly wrapped in plastic wrap in the refrigerator to prevent drying out. Once the dough is ready, you can also shape the mints and let them dry for up to 3 days before serving, making them ideal for event prep. Just be sure to space them properly on the parchment-lined baking sheet to allow for air circulation while drying. When you’re ready to enjoy, simply serve and watch your loved ones delight in these homemade sweets, just as delicious as when freshly made!
Best Homemade Butter Mints Variations
Feel free to unleash your creativity with these homemade butter mints to make them truly yours!
-
Flavor Swap: Swap peppermint extract for almond or orange for a unique twist on flavor that still delights.
-
Color Combinations: Mix and match gel colors to create visual masterpieces—how about pastel shades for a spring gathering or bold colors for holidays?
-
Dairy-Free Option: Substitute the heavy cream with coconut cream for a deliciously creamy, dairy-free version.
-
Crunchy Surprise: Add crushed peppermint candies or nuts for a delightful textural contrast in each mint, enhancing the traditional recipe.
-
Chocolate Dip: For an indulgent treat, dip each mint in melted chocolate—dark, milk, or even white chocolate creates a luxurious candy experience.
-
Small Shapes: Instead of traditional bite-sized pieces, use cookie cutters to create fun shapes; they’re perfect for parties and add a playful element.
-
Less Sweet: Reduce the powdered sugar slightly (by about 1 cup) for a less sweet, more minty flavor that resonates with those who prefer subtle tastes.
-
Herbal Infusion: Try infusing herbs like lavender or rosemary into your butter for an aromatic twist that elevates the flavors even more.
Experimenting with these ideas will make your Best Homemade Butter Mints the star of your next celebratory event or cozy gathering. Pair them with a cup of coffee or serve alongside your favorite treats like my Honey Butter Skillet Corn for a truly memorable experience!
What to Serve with Best Homemade Butter Mints
These delightful candies bring a touch of sweetness to any occasion, complementing a variety of festive dishes and treats.
- Creamy Hot Chocolate: A rich, warm drink that perfectly balances the refreshing mint flavors, enhancing the overall indulgence of your spread.
- Buttery Shortbread Cookies: Their crumbly texture and subtle sweetness make for a lovely contrast to the creamy butter mints; a nostalgic pairing indeed!
- Fruit Platter: A fresh selection of seasonal fruits adds brightness and a burst of color, creating a beautiful tableau that invites guests to nibble.
- Elegant Cheese Board: Cheese varieties like brie or sharp cheddar offer a savory counterpoint to the sweetness, making your gathering feel sophisticated.
- Sparkling Water with Citrus: This light, refreshing drink cleanses the palate between sweet bites, ensuring everyone enjoys each minty morsel without overwhelming their senses.
- Vanilla Cupcakes: Soft and fluffy with a hint of sweetness, these mini delights pair well by allowing the mints to shine without stealing their thunder.
- Chocolate-Dipped Strawberries: The combination of rich chocolate and fresh fruit echoes the creamy texture of the mints while elevating your dessert table with elegance.
- Mint Julep: This classic cocktail not only matches the mint flavor but also adds a festive touch suitable for celebrations with friends and family.
Best Homemade Butter Mints Recipe FAQs
How do I know if my unsalted butter is at the right softness?
Absolutely! Your unsalted butter should be soft enough to easily indent with your finger but not too melted. Typically, leaving it out at room temperature for about 30 to 60 minutes should do the trick, especially if you’re using stick butter.
What’s the best way to store leftover butter mints?
Very! Store your Best Homemade Butter Mints in an airtight container at room temperature for up to 2 weeks. If you’re looking to keep them longer, refrigerate them for up to 1 month, but make sure to let them come to room temperature for about 30 minutes before serving for that delightful texture.
Can I freeze my butter mints?
Absolutely! To freeze your Best Homemade Butter Mints, first lay them out in a single layer on a baking sheet, and freeze until solid (about 1 hour). Then, transfer them to a freezer-safe container or bag. They’ll keep well for up to 3 months. When you’re ready to enjoy, thaw at room temperature for a few hours—easy as pie!
What should I do if my mints are too sticky?
If your mints end up too soft or sticky, it usually means they didn’t dry long enough. I recommend letting them dry for a full 8 hours or even overnight to achieve the right firmness. If they remain sticky, chill them in the refrigerator for about 30 minutes before serving, which can help firm them up a bit.
Can I use different extracts for flavoring?
Very much so! Feel free to explore! You can substitute the peppermint extract with almond, orange, or even chocolate extract for different flavor profiles. Just keep in mind that every flavor will bring its unique sweetness, so taste as you go!
Are these mints suitable for people with allergies?
It depends! These Best Homemade Butter Mints are made with common allergens like dairy (butter and cream) and could be problematic for those with lactose intolerance or dairy allergies. If you’re accommodating anyone with allergies, you could try using dairy-free butter and substitute the cream with a dairy-free alternative. Always check ingredient labels to ensure safety!
Best Homemade Butter Mints for Sweet Nostalgic Moments
Ingredients
Equipment
Method
- In a large mixing bowl, beat the softened unsalted butter and a pinch of salt on medium speed for about 2 minutes until smooth and creamy.
- Gradually add the sifted powdered sugar, about 1 cup at a time. Mix on low speed until combined, then increase speed to thicken the dough.
- Pour in the heavy cream, peppermint extract, and vanilla extract. Beat until a stiff dough forms.
- Divide the dough into portions and knead in gel food coloring until evenly distributed.
- Roll the colored dough into ½-inch thick ropes and cut into small pieces.
- Place mints on a parchment-lined baking sheet and let dry at room temperature for at least 4 hours or overnight.