

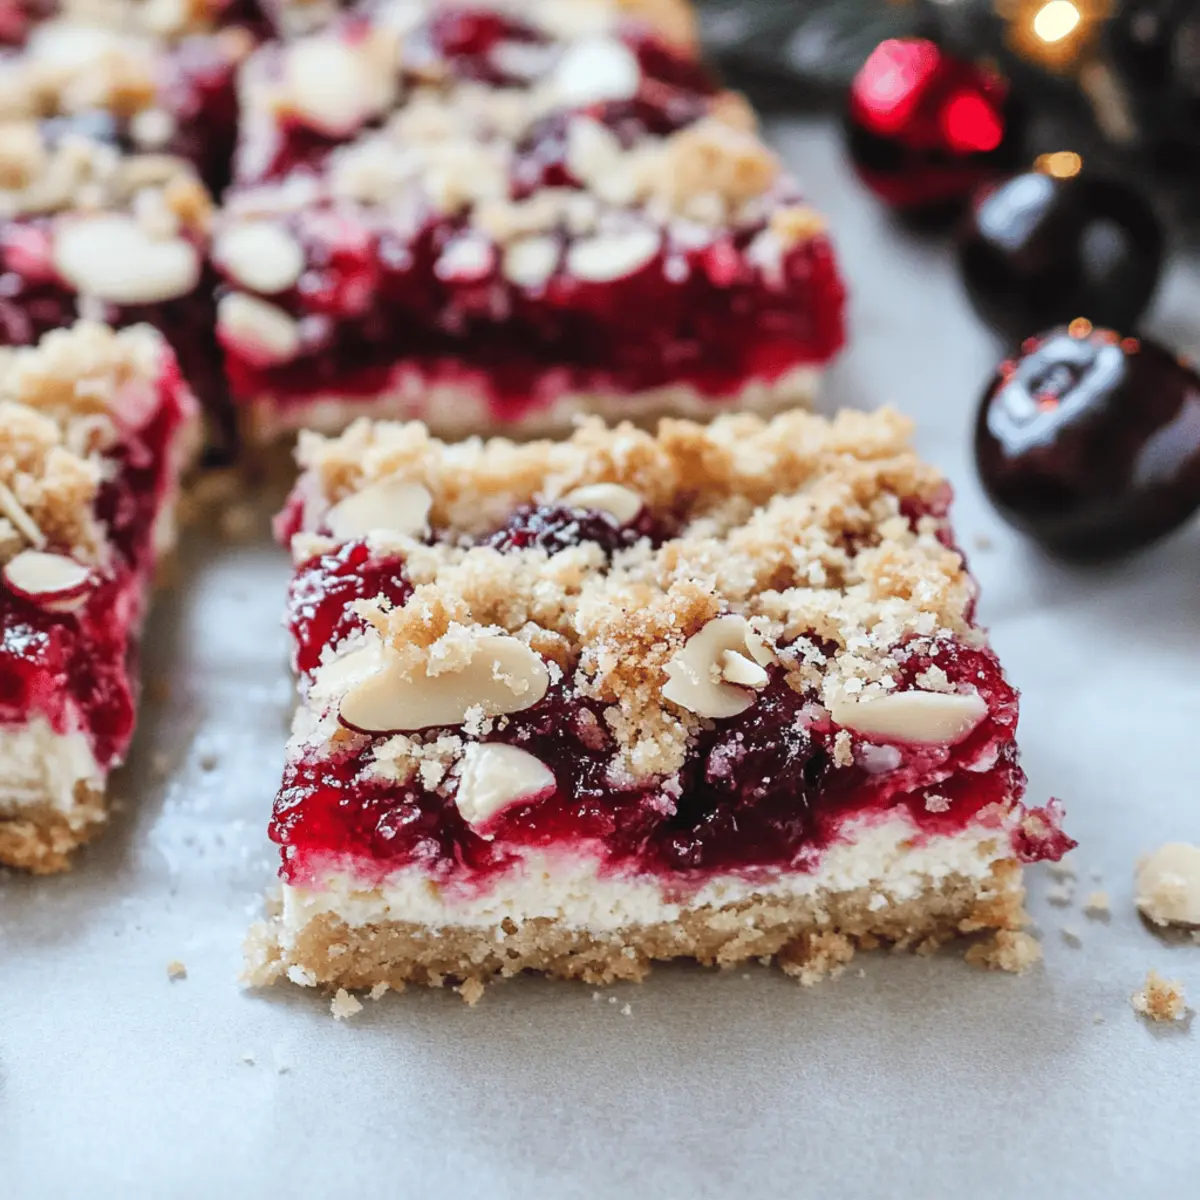
The aroma of freshly baked cookies wafting through the kitchen is a universal signal of comfort during the holiday season. As I prepared to host a festive gathering, I found myself craving something sweet that would appeal to both the young and old—enter my Easy Christmas Cheesecake Bars! These delectable treats combine a buttery base, a creamy cheesecake layer, and a luscious cherry pie topping, making them the perfect holiday dessert. Not only are they a total crowd-pleaser, but they are also incredibly quick to whip up—a sweet victory for any busy home chef. You can even customize them throughout the year with different pie fillings, ensuring a delightful twist every time. Aren’t you just curious about how to bring this festive joy to your table?
Why are these Christmas Cheesecake Bars a must-try?
Irresistible Flavor: Each bite of these bars combines creamy cheesecake with sweet cherry pie filling, creating a flavor explosion that’s sure to impress your guests.
Effortless Preparation: With just a few simple steps, you’ll have a stunning dessert ready in no time. Perfect for busy days during the holidays!
Versatile Treat: Feel free to switch up the pie filling with options like blueberry or raspberry for unique variations year-round.
Crowd-Pleasing Delight: These bars are an instant hit at any gathering, appealing to all ages — who can resist that combination of creamy and crunchy?
Perfect Texture: The buttery crust, silky cheesecake, and crunchy crumble topping harmonize beautifully, offering a satisfying mouthfeel in each bite.
Try these delightful treats during the holidays, or even consider them for your next gathering alongside tasty options like Rhubarb Custard Bars or No-Bake Key Lime Cheesecake!
Christmas Cheesecake Bars Ingredients
For the Crust
• Sugar Cookie Mix – This provides a sweet base; any pre-made cookie mix works perfectly.
• Butter, Cold & Cubed – Ensures a rich, flaky texture; keep it very cold for better results.
For the Cheesecake Layer
• Cream Cheese, Softened – The creamy backbone of the cheesecake; let it reach room temperature for smooth blending.
• Sugar – Sweetens the filling and balances flavors; can be replaced with a sugar alternative for lighter options.
• Flour – Adds structure to the cheesecake filling; swap it out with gluten-free flour for a gluten-free treat.
• Vanilla – Elevates the flavor profile; make sure to use pure vanilla extract for the best taste.
• Egg – Acts as a binder for the filling; for a vegan option, use a flax egg instead.
For the Topping
• Cherry Pie Filling – This fruity layer brings moisture and sweetness; feel free to substitute with other flavors like blueberry or apple.
• Almonds, Sliced – Adds a delightful crunch and nutty flavor; you can swap with walnuts or skip them for a nut-free version.
Whip up these Christmas Cheesecake Bars and bring joy to your holiday festivities!
Step‑by‑Step Instructions for Christmas Cheesecake Bars
Step 1: Preheat the Oven
Begin by preheating your oven to 350°F (175°C). Prepare an 8×8-inch baking pan by spraying it generously with non-stick spray, ensuring the bars will lift out easily later. This step is essential to create the perfect base for your Christmas Cheesecake Bars.
Step 2: Make the Crust Base
In a medium mixing bowl, combine the sugar cookie mix and cold, cubed butter. Use a pastry cutter or your fingers to blend until the mixture resembles coarse crumbs, about 2–3 minutes. This buttery crumbly texture will form a sweet crust for your bars, giving them a delightful foundation.
Step 3: Bake the Crust
Set aside ¾ cup of your crumb mixture for the topping. Press the remaining mixture firmly into the bottom of the prepared pan to form an even layer. Bake in the preheated oven for 10 minutes until just set but not browned. Let the crust cool in the freezer for a quick chill while you prepare the cheesecake filling.
Step 4: Prepare the Cheesecake Filling
In a large bowl, beat the softened cream cheese until smooth and creamy, about 2 minutes. Gradually add in the sugar, flour, vanilla extract, and egg, mixing until well combined. This creamy mixture will create the luscious cheesecake layer for your bars, so ensure it’s velvety and free of lumps.
Step 5: Assemble the Cheesecake Bars
Spread the cheesecake filling evenly over the cooled crust, using a spatula for a smooth, even layer. This is the highlight of your Christmas Cheesecake Bars, where the creamy texture will shine through! Make sure the filling reaches all the corners of the pan for even cooking.
Step 6: Add the Cherry Pie Filling
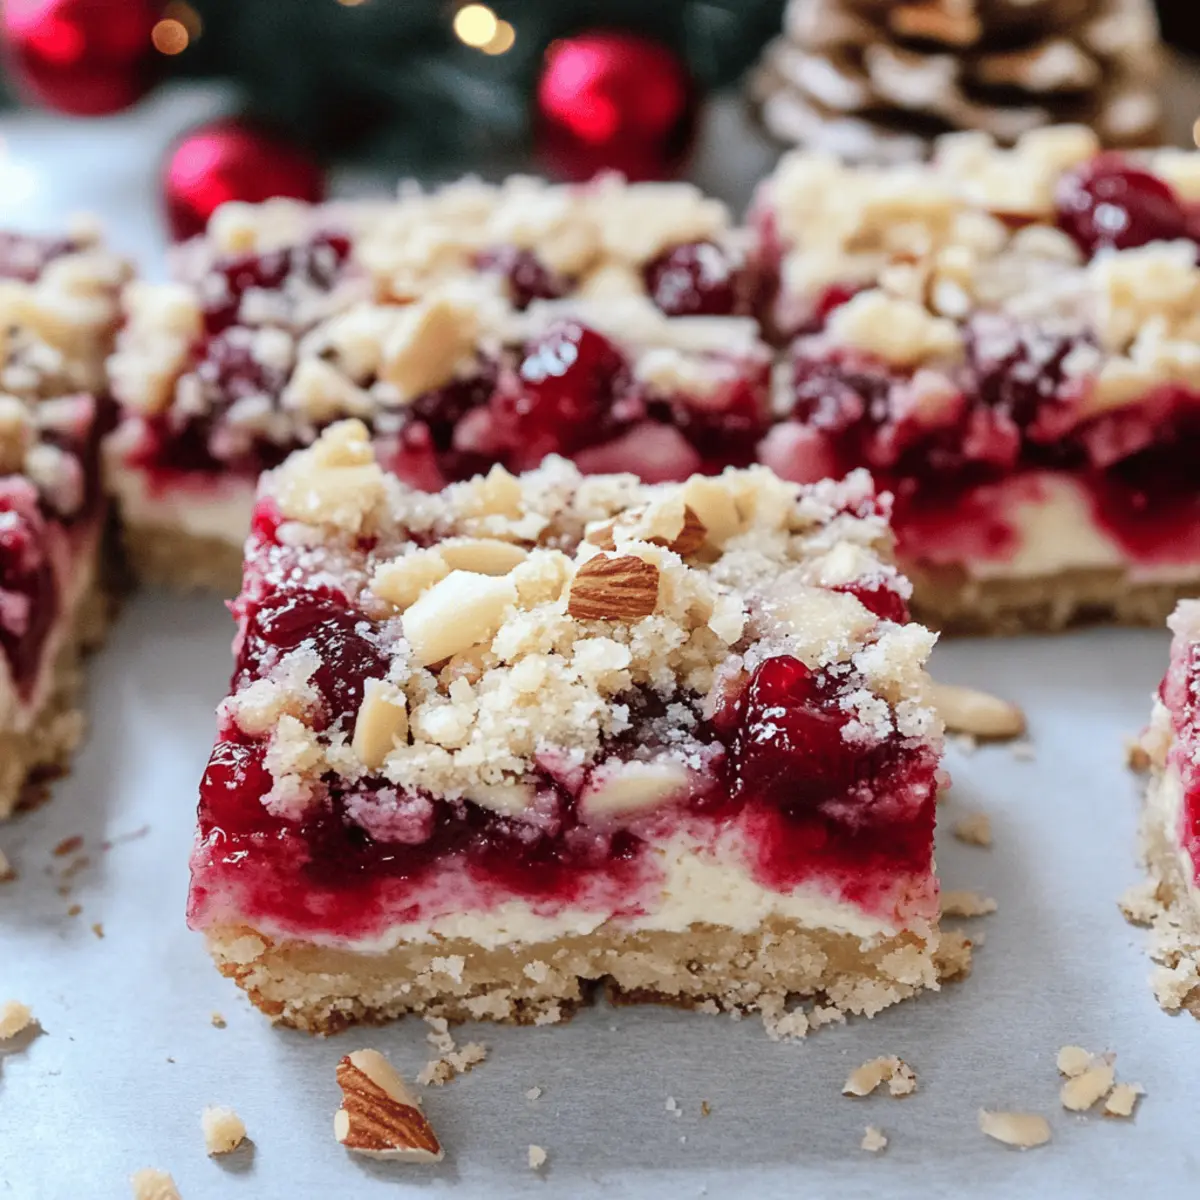
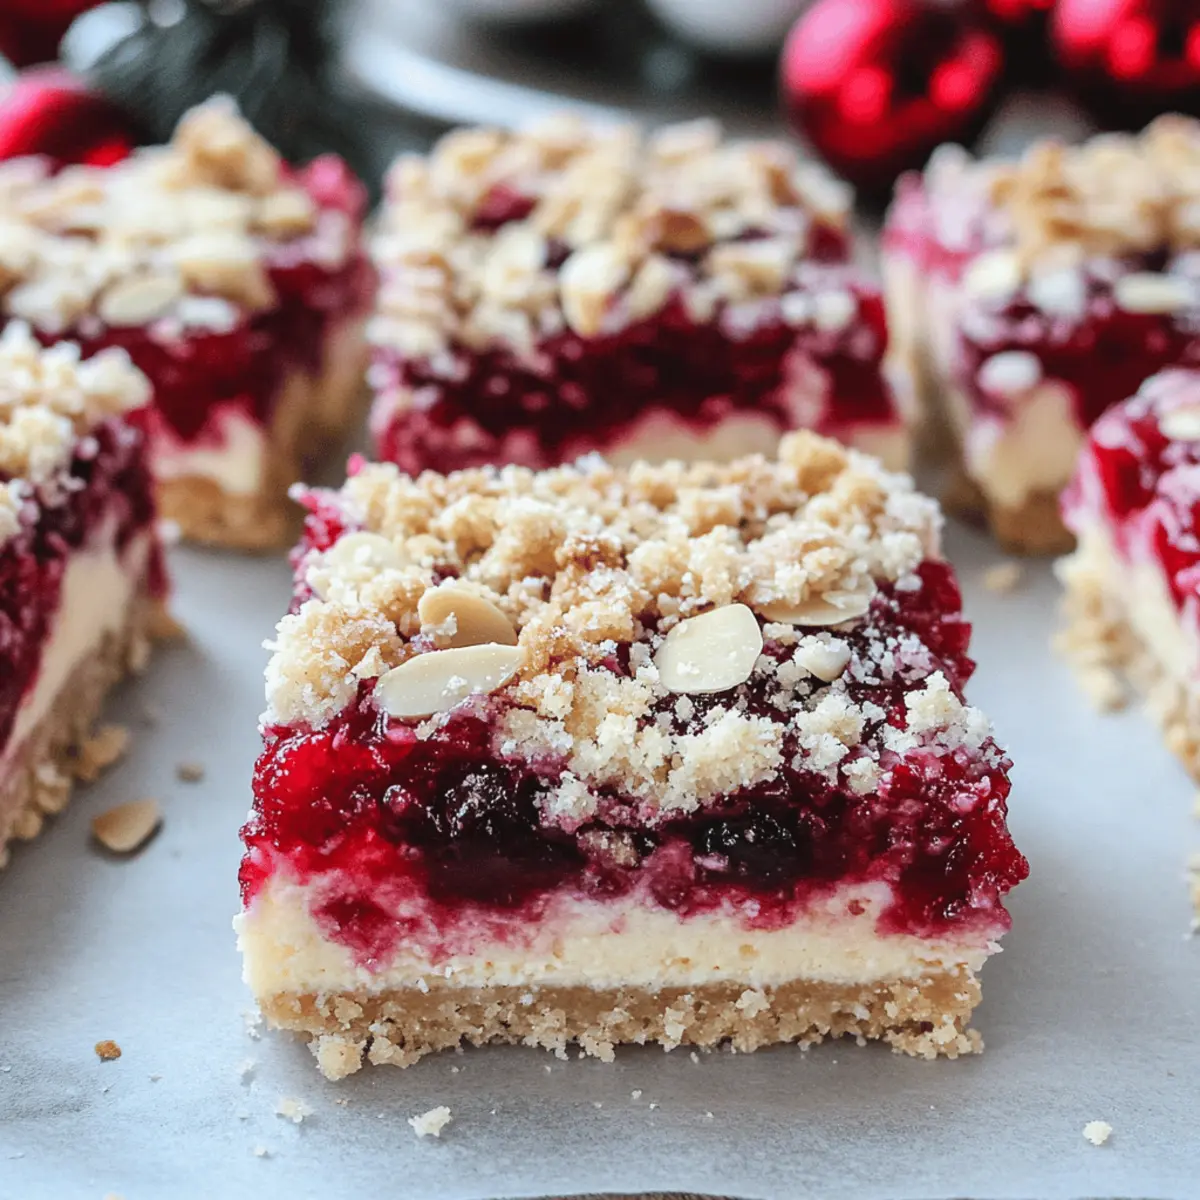
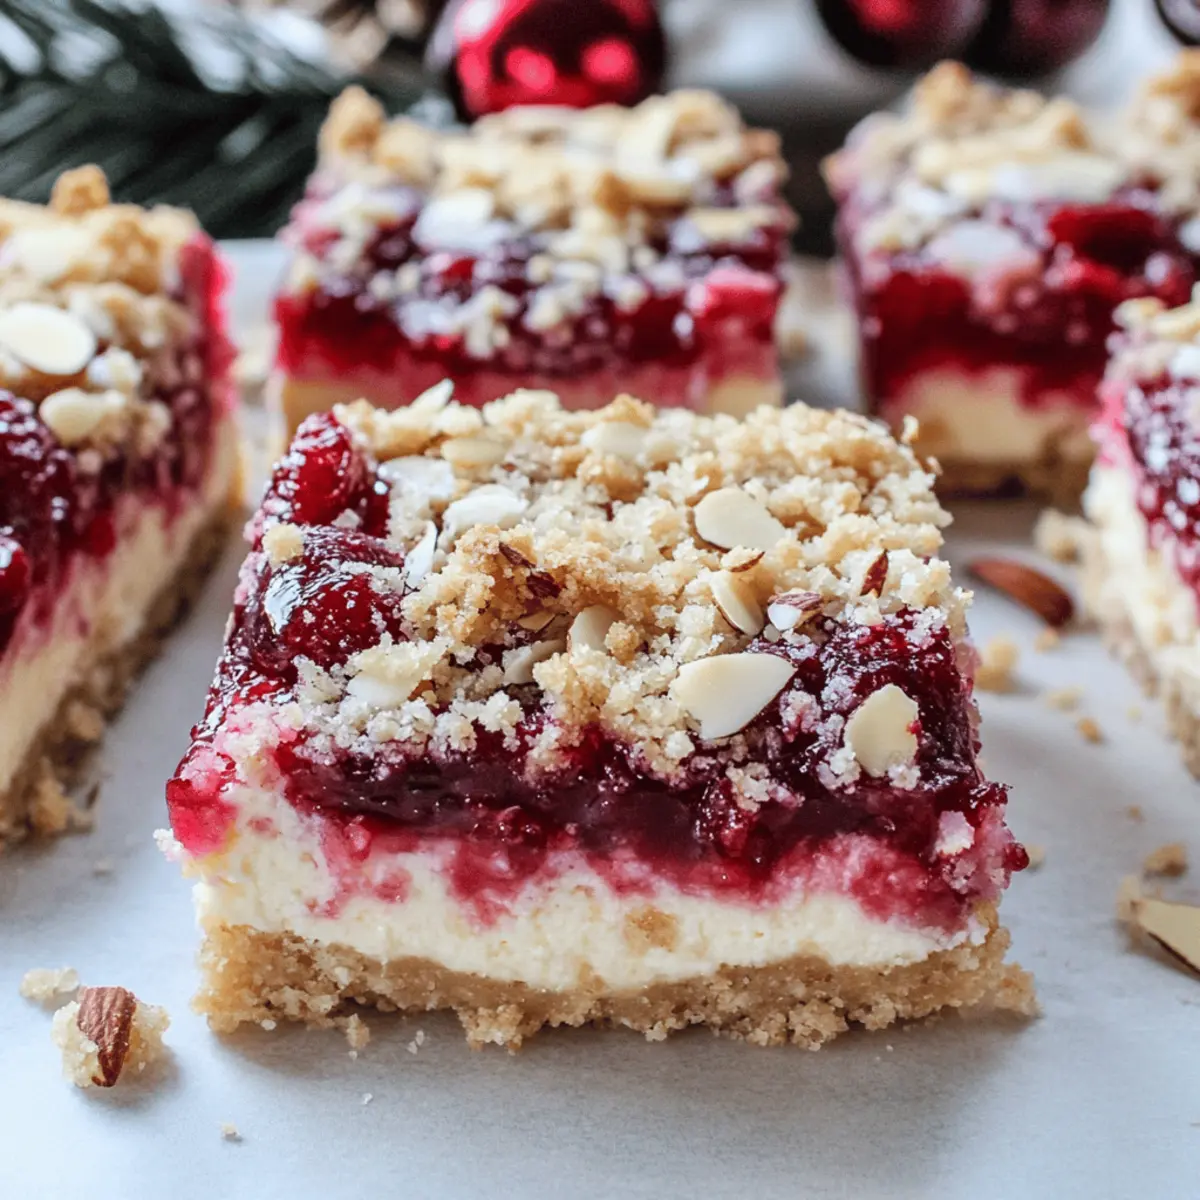
Spoon the cherry pie filling over the cheesecake layer, spreading it out gently to ensure an even distribution. The vibrant color and sweetness of the cherries will make these bars visually appealing and delicious, creating a beautiful contrast with the creamy cheesecake.
Step 7: Prepare the Crumble Topping
Take the reserved crumb mixture and stir in the sliced almonds. This combination adds a delightful crunch to the topping, making every bite of your Christmas Cheesecake Bars an experience. Sprinkle the mixture evenly over the cherry filling for a lovely finishing touch.
Step 8: Bake the Bars
Place the assembled pan back into the oven and bake for 40 minutes. Keep an eye on your bars—they should be set but slightly jiggly in the center when done. This suggests the perfect creamy texture for your cheesecake layer without being overbaked.
Step 9: Cool and Chill
Once out of the oven, allow the Christmas Cheesecake Bars to cool at room temperature for 30 minutes. After that, transfer them to the refrigerator to chill for at least 2 hours, or until they’re completely cold and firm. This cooling process enhances their flavor and texture.
Step 10: Cut and Serve
Once chilled and set, use a sharp knife to cut the bars into squares. Serve your delightful Christmas Cheesecake Bars on a festive platter, and watch as they disappear at your holiday gatherings. The combination of creamy, fruity, and crunchy is sure to be a hit!
What to Serve with Easy Christmas Cheesecake Bars
When planning your holiday feast, consider delightful pairings that elevate your Easy Christmas Cheesecake Bars into a memorable meal.
-
Festive Fruit Salad: A refreshing blend of seasonal fruits adds brightness and balances the richness of the cheesecake bars beautifully.
-
Warm Spiced Cider: This cozy beverage, with hints of cinnamon and cloves, perfectly complements the sweet and creamy layers of your cheesecake bars.
-
Whipped Cream Topping: Light and fluffy, freshly whipped cream enhances the bars’ indulgence, inviting guests to scoop generously on each bite.
-
Chocolate Drizzle: A rich chocolate sauce drizzled over the cheesecake bars adds a decadent touch that chocolate lovers will adore.
-
Gingerbread Cookies: The warm spices of gingerbread offer a delightful crunch, creating a lovely texture contrast with the smooth cheesecake.
-
Decadent Hot Chocolate: Serve with a cup of creamy hot chocolate topped with marshmallows for a delightful festive treat that warms the heart.
Incorporating these combinations nurtures a festive atmosphere that’s sure to make your gatherings even more special!
Make Ahead Options
These Christmas Cheesecake Bars are perfect for meal prep, allowing you to save time during the hectic holiday season! You can prepare the crust and cheesecake layers up to 24 hours in advance. Simply press the crust into the pan and chill it, then make the cheesecake filling and refrigerate it separately. When you’re ready to bake, layer the filling over the crust, add the cherry pie filling, and sprinkle the crumble topping. For best quality, cover the components tightly to prevent drying out. Once baked, these bars can also be stored in the refrigerator for up to 3 days before serving, remaining just as delicious.
Christmas Cheesecake Bars Variations & Substitutions
Feel free to let your creativity shine by customizing these bars for your taste buds!
-
Fruit Filling: Swap the cherry pie filling for raspberry, blueberry, or even lemon curd for a refreshing twist. Each filling brings its own brightness and flavor, making it a perfect year-round dessert.
-
Dairy-Free: Use a dairy-free cream cheese alternative to make this dessert suitable for those with dairy intolerances. You’ll still enjoy that creamy texture everyone loves!
-
Gluten-Free: Substitute the regular cookie mix with a gluten-free option and use gluten-free flour to cater to gluten-sensitive guests while keeping the bars deliciously moist.
-
Nut-Free: Omit the almonds altogether or replace them with crushed graham crackers if you need a nut-free option. The bars will still pack a flavorful punch!
-
Flavorful Add-Ins: Add spices such as cinnamon or nutmeg into the cream cheese filling for an aromatic holiday flair that enhances the overall experience.
-
Caramel Swirl: Drizzle a homemade or store-bought caramel sauce over the cheesecake layer before adding the pie filling for an indulgent richness that takes your bars to the next level.
-
Chocolate Delight: Mix in chocolate chips or a layer of melted chocolate between the crust and cheesecake for chocolate aficionados. Chocolate and cherry create a fabulous contrast!
-
Mini Bar Version: Create individual cheesecake bars by baking in a mini muffin tin. Just adjust the baking time, and enjoy bite-sized versions perfect for parties!
Try combining flavors from iconic recipes like Red Velvet Cheesecake Bars or a festive touch from Mini Patriotic Cheesecakes. Enjoy your baking adventure!
How to Store and Freeze Christmas Cheesecake Bars
Room Temperature: Store leftover cheesecake bars in an airtight container at room temperature for up to 2 days; keep them cool and away from direct sunlight.
Fridge: Refrigerate your Christmas Cheesecake Bars wrapped in plastic wrap or in an airtight container for up to 5 days. This preserves their creamy texture and flavor beautifully.
Freezer: For longer storage, freeze the bars in a single layer, tightly wrapped in plastic wrap, for up to 2 months. Thaw in the fridge overnight before serving.
Reheating: If desired, microwave individual portions for about 15-20 seconds on low power to enjoy their creamy goodness warm.
Expert Tips for Christmas Cheesecake Bars
-
Chill the Crust: Allow your crust to cool completely before adding the cheesecake filling. This helps prevent the filling from melting into the crust.
-
Watch the Bake Time: Be careful not to overbake your bars. The center should still have a slight jiggle; overbaking can lead to a dry cheesecake layer.
-
Use Room Temperature Ingredients: Set your cream cheese out ahead of time to soften. This ensures a smooth, creamy texture for your cheesecake, making your Christmas cheesecake bars irresistible.
-
Experiment with Fillings: Don’t hesitate to switch up the pie filling! Try using blueberry, raspberry, or even lemon curd for a fresh twist on your Christmas cheesecake bars.
-
Follow Chilling Times: Patience is key! Letting the bars chill in the refrigerator for at least 2 hours helps them set properly and enhances their flavors.
-
Serve Fresh: These bars taste best served right after chilling. To present, cut into neat squares and dust with powdered sugar for a festive touch!
Christmas Cheesecake Bars Recipe FAQs
What is the best way to choose ripe cherries for the topping?
Absolutely! When selecting cherries for your topping, look for firm, plump cherries with a deep red color. Avoid any that have dark spots or are overly soft, as these are signs of overripeness. Fresh, ripe cherries will provide the best flavor and sweetness for your cheesecake bars.
How should I store leftover Christmas Cheesecake Bars?
Very good question! Store your Christmas Cheesecake Bars in an airtight container in the fridge for up to 5 days. This helps maintain their delightful creaminess and fresh flavor. If you need to keep them for longer, wrap individual bars tightly in plastic wrap and store in the freezer for up to 2 months.
Can I freeze the Christmas Cheesecake Bars? If so, how?
Certainly! To freeze your bars, wrap them securely in plastic wrap, making sure there are no exposed areas. Place them in a freezer-safe container or zip-top bag for extra protection. They’ll stay fresh for up to 2 months. When you’re ready to enjoy them, simply transfer the bars to the fridge for overnight thawing; they’ll be deliciously creamy again!
What should I do if my cheesecake layer turns out too runny?
So helpful to address this! If your cheesecake layer is runny after baking, it likely needs more baking time or undercooked filling. Always check for a slight jiggle in the center before removing from the oven, as it will continue to set while cooling. For future attempts, also ensure all ingredients are combined well and room temperature to minimize lumps.
Are there any allergy considerations I should be aware of with this recipe?
Indeed! This recipe contains dairy (cream cheese and butter), which can cause allergies for some. For a dairy-free version, opt for vegan cream cheese and plant-based butter. It’s also important to note that the bars contain eggs, so use a flax egg or a commercial egg replacer for a vegan swap. Lastly, if you’re serving to someone with nut allergies, feel free to leave out the almonds as they can easily be omitted without compromising the recipe.
Can I substitute the sugar cookie mix?
Definitely! If you want to mix things up, you can substitute the sugar cookie mix with a homemade graham cracker crust for a different flavor profile. Just crush graham crackers and mix them with melted butter and a bit of sugar. This alternative adds a delightful texture and rich flavor to your Christmas Cheesecake Bars.
Irresistibly Creamy Christmas Cheesecake Bars You’ll Love
Ingredients
Equipment
Method
- Preheat the oven to 350°F (175°C) and prepare an 8x8-inch baking pan with non-stick spray.
- Combine the sugar cookie mix and cold, cubed butter until it resembles coarse crumbs.
- Set aside ¾ cup of crumb mixture, press the remainder into the bottom of the pan, and bake for 10 minutes.
- Beat the softened cream cheese until smooth, add sugar, flour, vanilla, and egg, then mix until well combined.
- Spread cheesecake filling evenly over the cooled crust.
- Spoon cherry pie filling over the cheesecake layer.
- Stir sliced almonds into the reserved crumb mixture and sprinkle over the cherry filling.
- Bake the assembled bars for 40 minutes.
- Allow to cool at room temperature for 30 minutes, then chill in the refrigerator for at least 2 hours.
- Cut into squares and serve.