

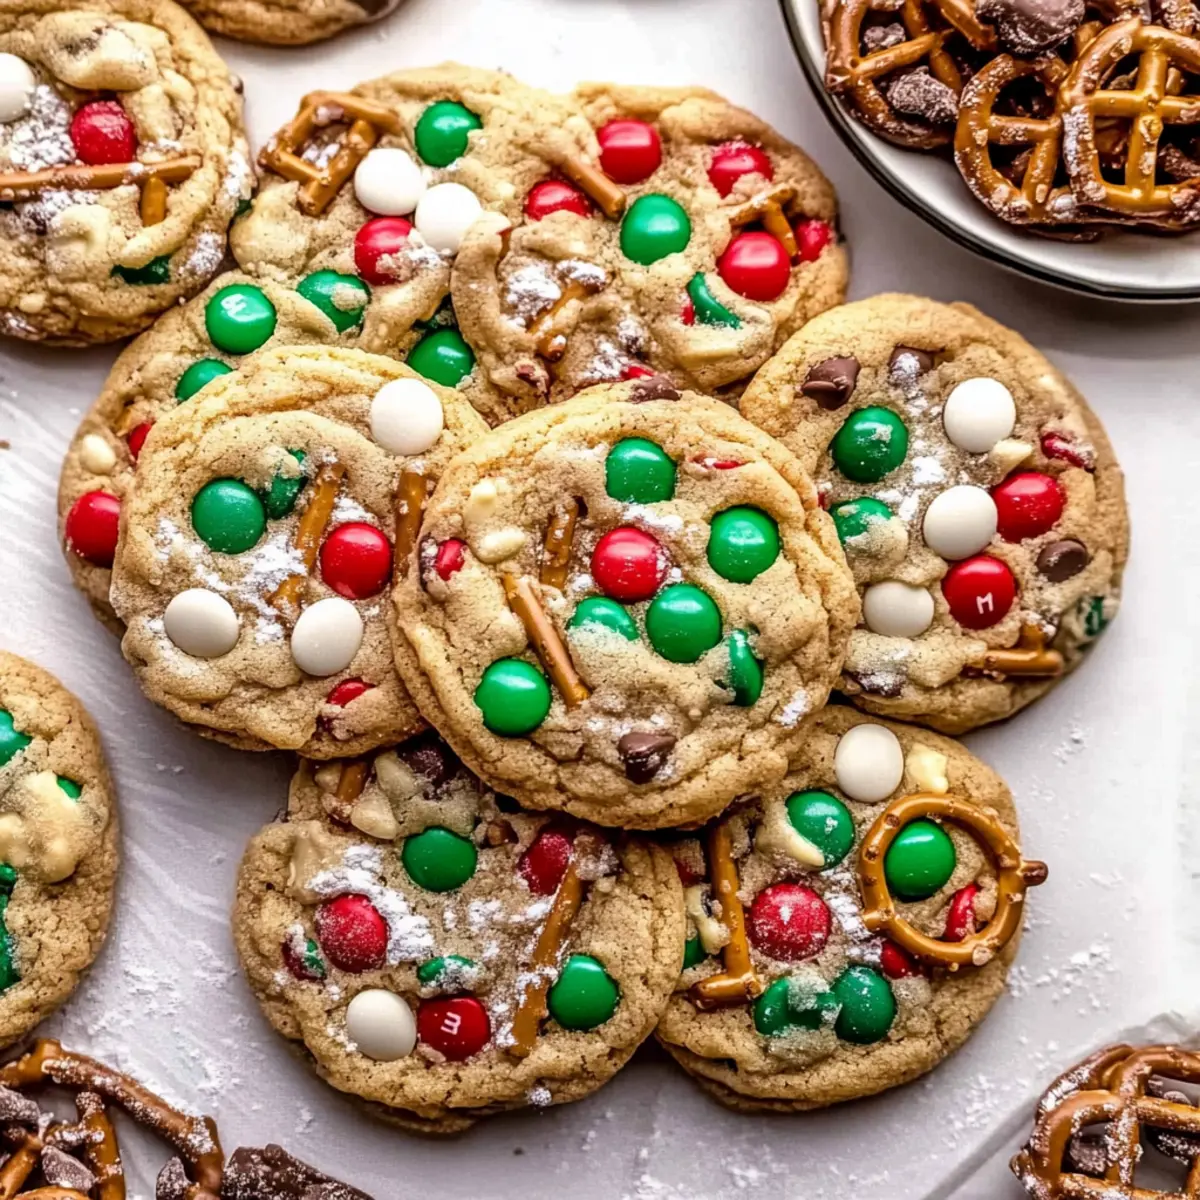
Amid the joyful chaos of the holiday season, nothing comforts quite like the aroma of fresh-baked cookies wafting through the house. My recipe for Sweet and Salty Christmas Kitchen Sink Cookies is a festive delight that brings together a wonderful mashup of flavors and textures in each bite. These little gems are not only chewy and indulgent, but they also come together in a jiffy, making them an ideal treat for baking with children or for those last-minute holiday gatherings. With a mix of colorful M&Ms, crunchy pretzels, and even potato chips, it’s a sweet-and-salty experience that’s undeniably unique. Curious about how to make these holiday treasures? Let’s get baking!
Why Make Christmas Kitchen Sink Cookies?
Irresistible Flavor: The delightful sweet and salty combination of M&Ms, pretzels, and potato chips creates a taste that is simply unmatchable.
Quick and Easy: Whip these cookies up in just 30 minutes, making them a perfect option for busy holiday schedules or spontaneous baking sessions with your loved ones.
Fun for Everyone: Gather the family, because baking these cookies is a great activity for kids, allowing everyone to get creative with mix-ins and decorations!
Versatile Variations: Try different add-ins like butterscotch chips or nuts to customize each batch, as seen in my Patriotic Thumbprint Cookies.
Perfect Holiday Gift: Package them up for neighbors or friends for a sweet touch this holiday season that’s sure to impress!
Get ready to spread the joy of baking with these delightful cookies!
Christmas Kitchen Sink Cookies Ingredients
• Get ready to bake these delightful treats!
For the Cookie Dough
- Salted Butter – Provides moisture and richness; soften before use for easier mixing.
- Light Brown Sugar – Adds sweetness and a subtle caramel flavor; packed for accurate measurements.
- Granulated White Sugar – Sweetens the cookies and helps with texture.
- Egg Yolks – Contributes moisture and richness; use at room temperature for better incorporation.
- Vanilla Bean Paste/Extract – Enhances the overall flavor; can substitute with pure vanilla extract.
- All-Purpose Flour – Gives structure; measure correctly to avoid excess flour (1 cup = 125 grams).
- Baking Powder – Provides leavening, making cookies rise.
- Baking Soda – Assists in browning and adding lift.
- Salt – Balances sweetness and enhances flavors.
For the Mix-Ins
- Red and Green M&Ms – Adds color and sweetness; can substitute with any similarly sized chocolate candies.
- White Chocolate Chips – Introduces creamy sweetness; use milk chocolate for a different flavor.
- Pretzel Pieces – Provides a salty crunch; can swap with additional nuts for different textures.
- Potato Chip Pieces – Adds a unique salty and crispy element; omitted if preferred.
- Red and Green Jimmies – For visual appeal; optional decoration.
Now, let’s dive into bringing these delicious Christmas Kitchen Sink Cookies to life!
Step‑by‑Step Instructions for Christmas Kitchen Sink Cookies
Step 1: Preheat the Oven
Begin by preheating your oven to 350°F (175°C). While the oven heats up, prepare two baking sheets by lining them with parchment paper. This ensures the cookies won’t stick during baking and promotes even browning. Make sure to have all your ingredients ready, so you’re set for the next steps.
Step 2: Cream Butter and Sugars
In a large mixing bowl, combine softened salted butter, light brown sugar, and granulated white sugar. Use an electric mixer on medium speed to beat the mixture for about 2 minutes, or until it becomes light and fluffy. This vital step helps to incorporate air, resulting in deliciously chewy Christmas Kitchen Sink Cookies.
Step 3: Add Wet Ingredients
Next, incorporate the egg yolks and vanilla bean paste or extract into the creamed mixture. Continue mixing for another 2 minutes until the mixture appears pale and fluffy. The addition of these wet ingredients contributes richness and enhances the flavor, making the cookies even more delightful.
Step 4: Combine Dry Ingredients
Gradually sift in the all-purpose flour, baking powder, baking soda, and salt to the wet mixture. Mix on low speed until all dry ingredients are just incorporated. Be careful not to overmix, as this could lead to dense cookies. You’ll know it’s ready when no streaks of flour are visible in the dough.
Step 5: Fold in Mix-Ins
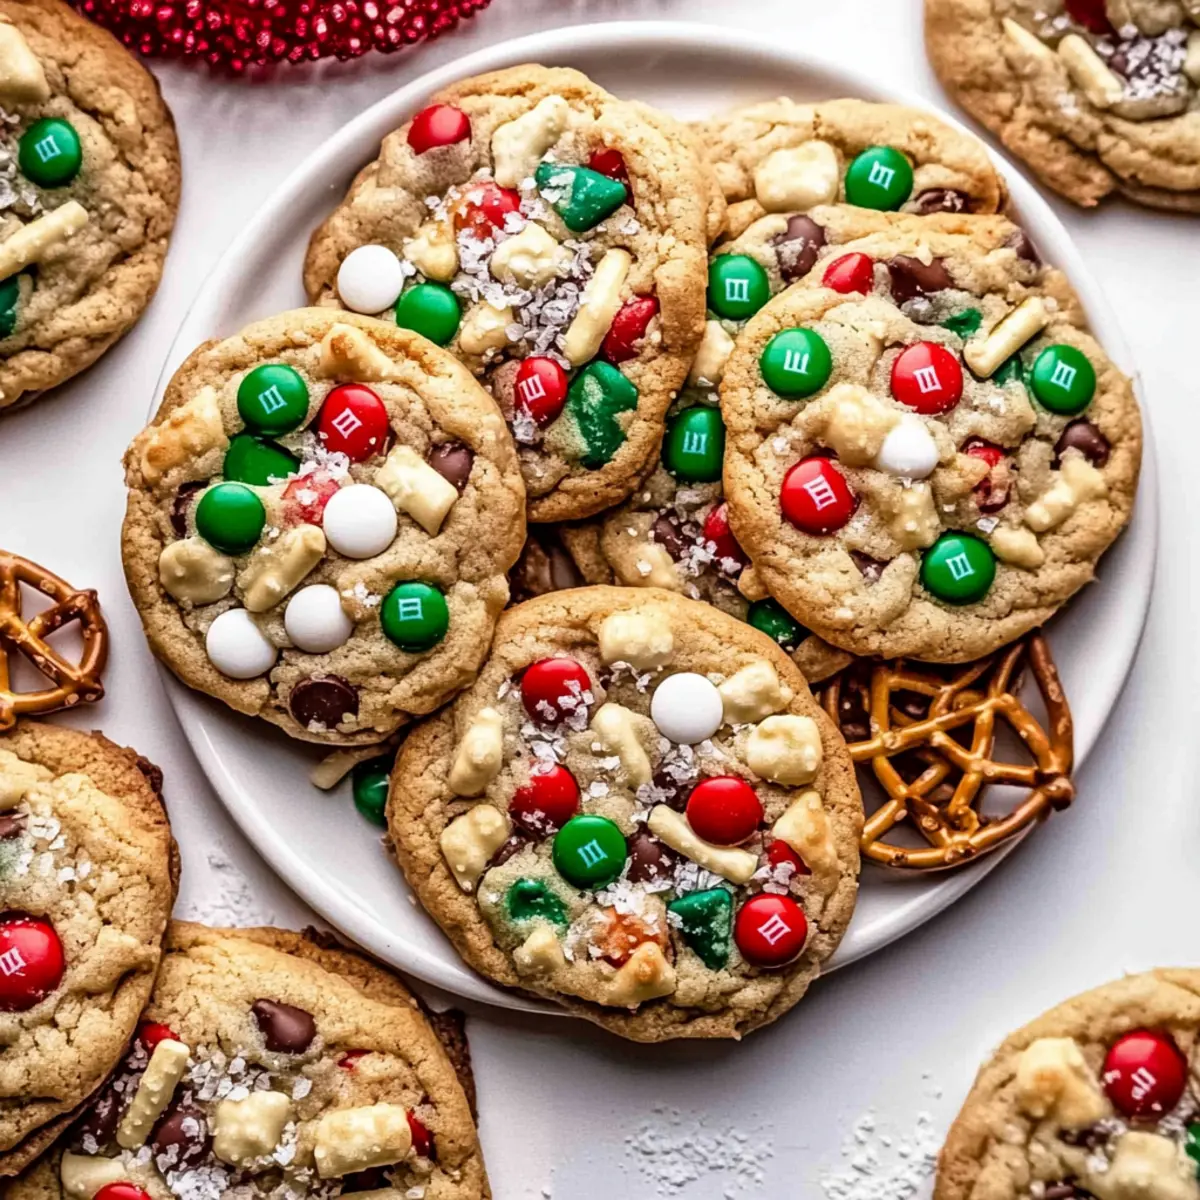
Using a spatula, gently fold in the colorful red and green M&Ms, white chocolate chips, pretzel pieces, potato chip pieces, and optional sprinkles. Mix until everything is evenly distributed throughout the dough. The combination of textures from these mix-ins will add that special sweet and salty touch to your Christmas Kitchen Sink Cookies.
Step 6: Scoop Dough
With a cookie scoop or tablespoon, form about 20 balls of dough and place them on your prepared baking sheets, ensuring they are spaced at least two inches apart. If desired, add a few extra mix-ins on top of each dough ball for a decorative touch. This spacing allows the cookies to spread nicely while baking.
Step 7: Bake Cookies
Place the baking sheets in the preheated oven and bake for 10-12 minutes. For chewier centers, aim for around 10 minutes; for crisper edges, leave them in closer to 12 minutes. The edges should be lightly golden while the centers appear slightly underbaked, which is perfect for that delicious chewiness.
Step 8: Shape Cookies
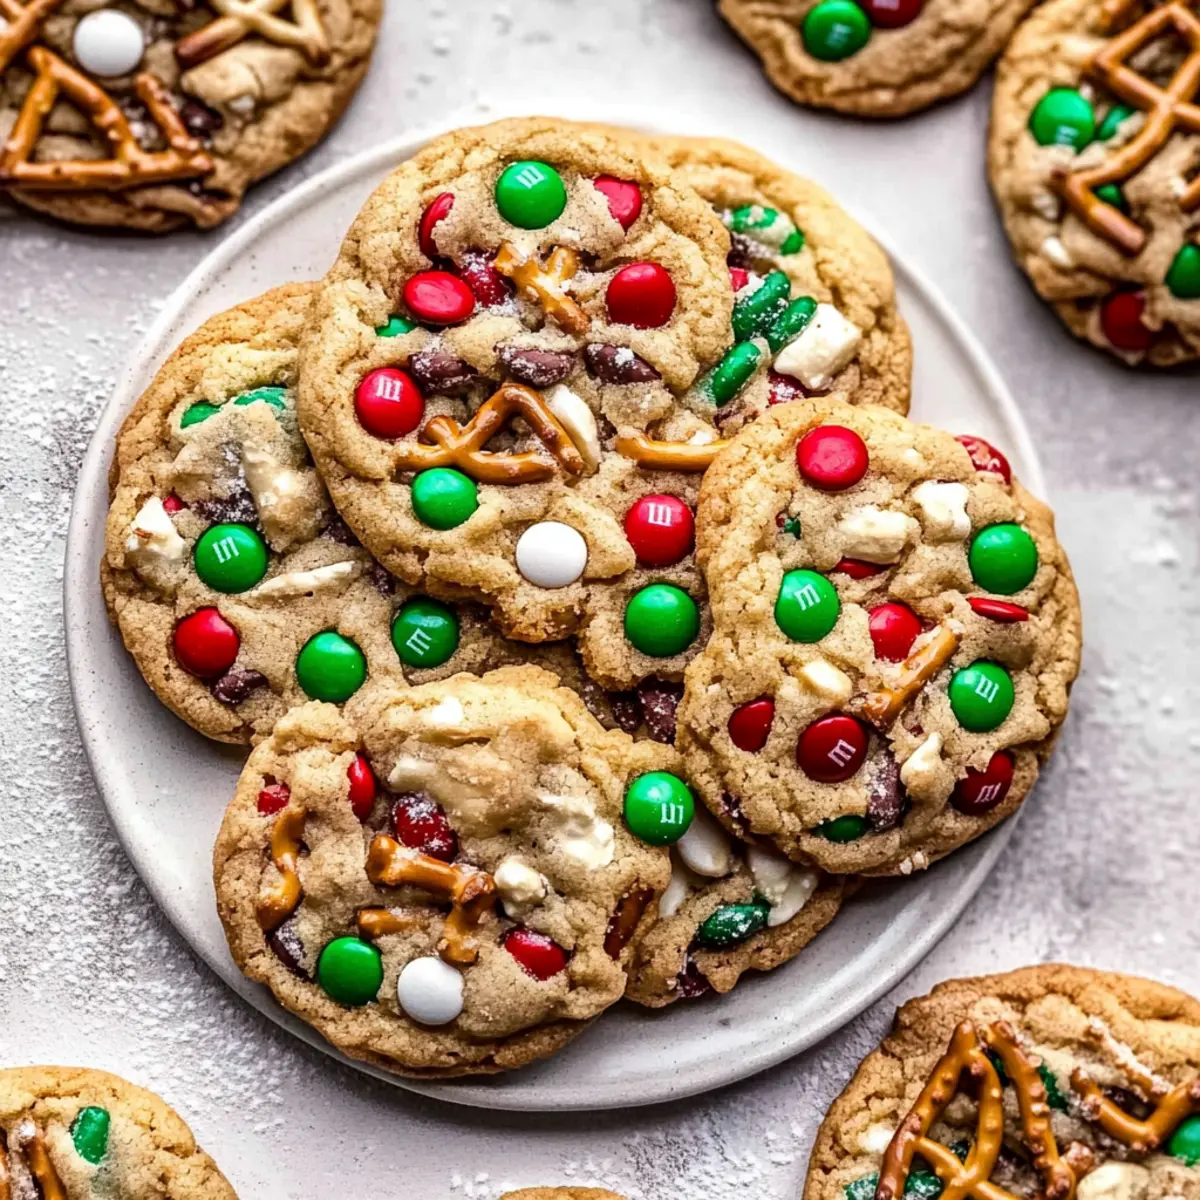
Immediately remove the cookies from the oven and, while they’re still warm, use a large circular cookie cutter to gently reshape them into perfect rounds. This step is essential for achieving that beautiful, uniform appearance for your Christmas Kitchen Sink Cookies, providing both a festive look and evenly baked texture.
Step 9: Cool
Allow the cookies to cool on the baking sheet for 5 minutes before transferring them to wire racks. Let them cool completely for an additional 10 minutes. This cooling process is crucial to set the cookies, ensuring they hold their delightful chewy texture while preventing them from breaking apart.

What to Serve with Christmas Kitchen Sink Cookies?
Indulging in the festive flavors of these delightful cookies is a treat, but pairing them with the right accompaniments can elevate your holiday experience even more.
-
Creamy Hot Cocoa: This rich, velvety drink provides a warm, comforting contrast to the crunchy and chewy cookies while enhancing the holiday spirit.
-
Vanilla Ice Cream: A scoop of velvety vanilla ice cream is a perfect match, offering a creamy counterpart to the sweet and salty tantalization of the cookies. Picture enjoying this delightful duo by a crackling fire!
-
Fresh Fruit Salad: Bright, juicy fruits like oranges, berries, and pomegranates add a refreshing contrast to the rich sweetness of the cookies. This combination can cleanse the palate and brighten up your dessert table.
-
Spiced Eggnog: Serve festive spiced eggnog alongside these cookies to spread cozy cheer. The hint of nutmeg and cinnamon in the drink beautifully complements the cookies’ sweet and savory flavors.
-
Nutty Trail Mix: Whipping up a batch of nutty trail mix, packed with crunchy nuts and dried fruits, gives an adventurous texture alongside the chewiness of the cookies, making for an exciting snack combo!
-
Decadent Chocolate Sauce: A drizzle of warm chocolate sauce adds an extra layer of indulgence, enhancing the sweet profile while contrasting with the salty components of the cookies.
-
Gingerbread Latte: The spiced warmth of a gingerbread latte can bring a seasonal twist to your cookie pairing, creating a delightful Holiday experience sure to please.
-
Festive Spritz Cookies: For double the holiday joy, serve these cookies with other festive treats like spritz cookies to create a colorful dessert platter that everyone will adore.
-
Maple Pecan Pie: Consider adding a slice of maple pecan pie to the mix, as its nutty sweetness will harmonize beautifully with the contrasting flavors of the cookies.
Enjoy crafting a memorable holiday gathering, one delicious bite at a time!
Expert Tips for Christmas Kitchen Sink Cookies
-
Measure Flour Properly: Spoon and level flour instead of scooping directly from the bag to prevent dense cookies. Proper measurement is key for perfect Christmas Kitchen Sink Cookies.
-
Use Room Temperature Eggs: Ensure your egg yolks are at room temperature for better incorporation into the dough, leading to a richer flavor and better texture.
-
Don’t Overmix Dough: Mix the dry ingredients until just combined; overmixing can lead to tough cookies instead of the intended chewy texture.
-
Cookie Cutter Trick: Shape the cookies immediately after baking while they’re still warm—this helps achieve that perfect round shape and uniform appearance.
-
Storage for Freshness: Store leftover cookies in an airtight container for up to three days to maintain their chewy goodness and crunch from mix-ins.
Make Ahead Options
These Sweet and Salty Christmas Kitchen Sink Cookies are perfect for busy bakers looking to save time during the hectic holiday season! You can prepare the dough up to 3 days in advance; simply shape it into balls and store them in an airtight container in the refrigerator. Alternatively, you can freeze the unbaked dough for up to 2 weeks. Just make sure to wrap each ball tightly in plastic wrap to maintain freshness and prevent freezer burn. When you’re ready to bake, there’s no need to thaw the dough—just bake them straight from the fridge or freezer, adding a couple of extra minutes to the baking time. This way, you can enjoy freshly baked cookies whenever you need a sweet treat!
How to Store and Freeze Christmas Kitchen Sink Cookies
Airtight Container: Store leftover cookies in an airtight container at room temperature for up to 3 days to keep them fresh and chewy.
Refrigeration: If you want to maintain maximum freshness, you can store them in the fridge for up to a week, but let them come to room temperature before serving.
Freezer: For longer storage, freeze cookie dough balls or baked cookies in a single layer on a baking sheet, then transfer to a freezer-safe bag for up to 2 weeks.
Reheating: To enjoy them warm, reheat baked cookies in the microwave for about 10-15 seconds or in the oven at 350°F (175°C) for 5 minutes.
Christmas Kitchen Sink Cookies Variations
Feel free to let your creativity shine by customizing these cookies to suit your taste!
-
Nutty Burst: Substitute half the pretzel pieces with chopped nuts for an added crunch. Consider walnuts or pecans for a rich flavor.
-
Chocolate Lover’s Delight: Use dark chocolate chips instead of white chocolate for a deeper, richer taste. The bittersweet contrast with the sweet M&Ms is heavenly!
-
Gluten-Free Option: Replace all-purpose flour with gluten-free flour blend to cater to dietary needs. Just keep an eye on the texture, as it might need slight adjustments.
-
Minty Fresh: For a festive twist, add crushed peppermint candies to the mix. This refreshing flavor will elevate your holiday cookie experience!
-
Fruit Fest: Swap in dried cranberries or cherries for a tart and chewy surprise within your cookies. They add a lovely pop of color too!
-
Spicy Kick: Add a sprinkle of cinnamon or ginger to the dough for a warming spice profile. The hint of warmth will make these cookies even more cozy!
-
Savory Sweet: Introduce crushed tortilla chips in place of potato chips for a savory twist that enhances the sweet elements beautifully.
-
Tasty Twists: For additional fun, mix in butterscotch chips along with the M&Ms for an extra layer of sweetness. You’ll be amazed at how well they complement each other!
Whether trying out Chocolate Lava Cookies for gooey goodness or making Patriotic Thumbprint Cookies for a colorful splash, the world of cookies is vast and delicious. Enjoy experimenting!
Christmas Kitchen Sink Cookies Recipe FAQs
How do I choose the best ingredients for Christmas Kitchen Sink Cookies?
Absolutely! When selecting the ingredients, freshness is essential. Look for salted butter that’s creamy and smooth, and choose light brown sugar that has a soft, moist texture. For the M&Ms, ensure they’re vibrant in color without any fading, and for chocolate chips, opt for a brand you love for taste. Always pick pretzels that are crunchy and not stale to retain that satisfying crunch in your cookies!
What’s the best way to store Christmas Kitchen Sink Cookies?
To maintain the freshness of your cookies, store them in an airtight container at room temperature for up to 3 days. If you want to keep them longer, consider refrigerating them, although the texture may change slightly. For the best flavor and chewiness, I recommend letting them come back to room temperature before serving.
Can I freeze Christmas Kitchen Sink Cookies?
Absolutely! To freeze, start by shaping the cookie dough into balls and placing them in a single layer on a baking sheet. Once frozen solid, transfer the balls to a freezer-safe bag or container, ensuring you remove as much air as possible. The dough can be frozen for up to 2 weeks. When ready to bake, preheat your oven and bake from frozen, adding an extra minute or two to the baking time.
What should I do if my cookies turn out too chewy or dense?
Very! If your cookies are overly chewy or dense, it could be due to too much flour. Always spoon your flour into the measuring cup instead of scooping it, which can pack the flour down. Additionally, ensure you’re mixing just until combined; overmixing can also lead to gummy cookies. For the next batch, try reducing the flour by a tablespoon or two until you achieve the perfect texture.
Are there any dietary considerations for Christmas Kitchen Sink Cookies?
Absolutely! If you have dietary restrictions, you can substitute the all-purpose flour with a gluten-free blend to accommodate those with gluten sensitivities. Just keep in mind that gluten-free flours may require slight adjustments in liquid ratios. Also, if making for someone with allergies, be cautious with mix-ins like M&Ms and pretzels, as they often contain common allergens. Always check labels and feel free to get creative with allergy-friendly substitutes!
How long can I make the dough ahead of time for Christmas Kitchen Sink Cookies?
Very! You can prepare the cookie dough ahead of time and store it in the fridge for up to 3 days. Just wrap the dough tightly in plastic wrap or place it in an airtight container. If you’d like to keep it longer, you can freeze the formed dough balls as previously mentioned. This makes baking on busy days a breeze—just scoop, shape, and bake!
Chewy Christmas Kitchen Sink Cookies for Sweet Holiday Joy
Ingredients
Equipment
Method
- Preheat the oven to 350°F (175°C) and line two baking sheets with parchment paper.
- Cream softened salted butter, light brown sugar, and granulated white sugar in a large mixing bowl for 2 minutes until light and fluffy.
- Add egg yolks and vanilla, mixing for another 2 minutes until pale and fluffy.
- Gradually sift in flour, baking powder, baking soda, and salt, mixing on low speed until just combined.
- Fold in M&Ms, white chocolate chips, pretzels, potato chips, and jimmies until evenly distributed.
- Scoop about 20 balls of dough onto prepared sheets, spaced 2 inches apart, and add extra mix-ins on top if desired.
- Bake for 10-12 minutes, aiming for 10 minutes for chewier centers and 12 for crisper edges.
- Remove from oven and reshape cookies while warm using a large circular cookie cutter.
- Cool on the baking sheet for 5 minutes before transferring to wire racks to cool completely for an additional 10 minutes.