


Introduction to Grilled Cheese Roll-Ups
There’s something undeniably comforting about a classic grilled cheese sandwich.
But let me tell you, Grilled Cheese Roll-Ups take that nostalgia and flip it on its head!
These delightful little bites are not just a snack; they’re a fun twist that can turn any ordinary day into a mini celebration.
Whether you’re racing against the clock or looking to impress your family with a quick, creative dish, these roll-ups are your answer.
They’re easy to whip up, and trust me, the melted cheese wrapped in crispy bread will have everyone coming back for more!
Why You’ll Love This Grilled Cheese Roll-Ups
Grilled Cheese Roll-Ups are the ultimate solution for busy days.
They come together in just 16 minutes, making them perfect for a quick snack or a last-minute appetizer.
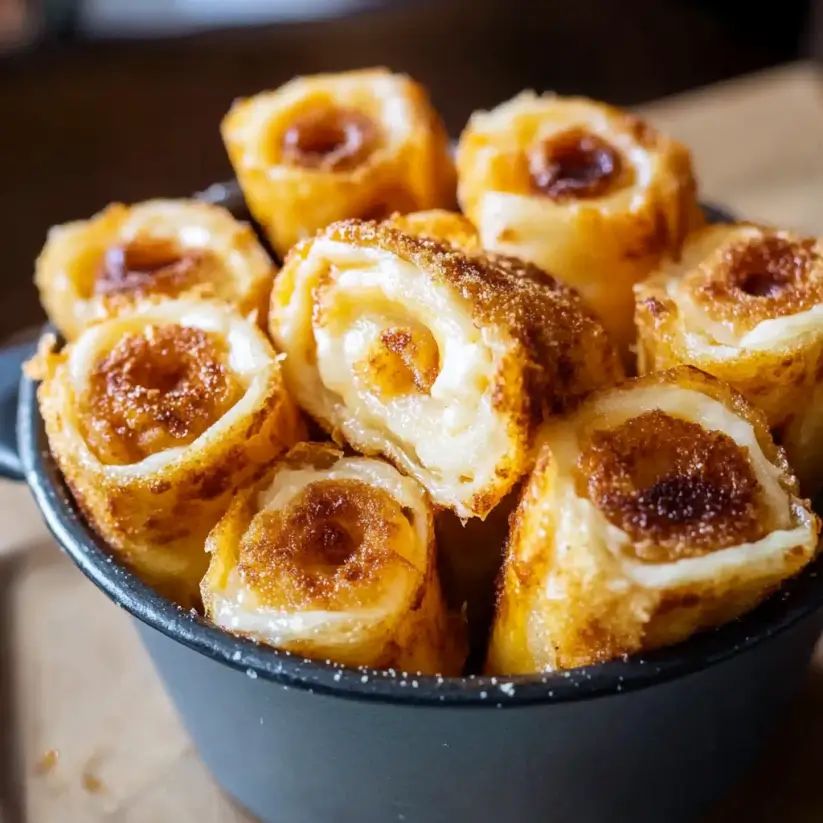
The crispy exterior gives way to gooey, melted cheese, creating a flavor explosion in every bite.
Plus, they’re customizable! You can easily switch up the cheese or add spices to suit your taste.
What’s not to love?
Ingredients for Grilled Cheese Roll-Ups
To create these delightful Grilled Cheese Roll-Ups, you’ll need a few simple ingredients that you might already have in your kitchen.
Here’s what you’ll need:
- Bread: Choose between white or whole wheat. The bread should be soft enough to roll without cracking.
- Cheddar Cheese: Classic choice! But feel free to experiment with your favorite cheese for a unique flavor.
- Butter: This adds richness and helps achieve that golden, crispy exterior. You can use unsalted or salted, depending on your preference.
- Garlic Powder (optional): A sprinkle of this adds a savory kick. It’s optional, but I highly recommend it for extra flavor.
- Chopped Fresh Parsley (optional): This is for garnish. It adds a pop of color and freshness to your roll-ups.
For exact measurements, check the bottom of the article where you can find everything listed for easy printing.
These ingredients are versatile, so don’t hesitate to swap in your favorites or what you have on hand!
How to Make Grilled Cheese Roll-Ups
Making Grilled Cheese Roll-Ups is a breeze!
Follow these simple steps, and you’ll have a delicious snack ready in no time.
Let’s dive in!
Step 1: Preheat the Skillet
Start by preheating your skillet over medium heat.
This is crucial for achieving that perfect golden-brown crust.
A hot skillet ensures the cheese melts beautifully while the bread crisps up nicely.
Step 2: Prepare the Bread
Next, take your slices of bread and trim off the crusts.
This step is key for rolling them up without any cracks.
Then, grab a rolling pin and flatten each slice.
You want them thin but not too fragile—think of it as creating a cozy blanket for the cheese!
Step 3: Assemble the Roll-Ups
Now, it’s time to assemble!
Place a slice of cheese at one end of each flattened bread slice.
Roll them up tightly, like a little cheese burrito.
Make sure the seam is on the bottom to keep everything snug inside.
Step 4: Butter the Roll-Ups
In a small bowl, mix your butter with garlic powder if you’re using it.
Spread this buttery goodness evenly over the outside of each roll-up.
This will give them that irresistible crispy texture and flavor when cooked.
Step 5: Cook the Roll-Ups
Carefully place the roll-ups seam side down in your preheated skillet.
Cook for about 2-3 minutes on each side.
You’re looking for that golden brown color and melted cheese oozing out.
Keep an eye on them; they can go from perfect to burnt in a flash!
Step 6: Serve and Enjoy
Once they’re beautifully golden, remove the roll-ups from the skillet.
If you like, sprinkle some chopped parsley on top for a fresh touch.
Slice them in half, and serve warm.
These Grilled Cheese Roll-Ups are best enjoyed fresh, so dig in and savor every cheesy bite!

Tips for Success
- Use fresh bread for the best texture. Stale bread can crack when rolled.
- Don’t rush the cooking process; a medium heat ensures even cooking.
- Experiment with different cheeses for unique flavors—mozzarella or gouda work great!
- For extra crunch, add a sprinkle of breadcrumbs to the butter before cooking.
- Serve immediately for the best gooey cheese experience!
Equipment Needed
- Skillet: A non-stick skillet works best, but any frying pan will do.
- Rolling Pin: If you don’t have one, a wine bottle or a sturdy glass can substitute.
- Spatula: Essential for flipping those roll-ups without losing any cheesy goodness.
- Small Bowl: For mixing the butter and garlic powder.
Variations
- Spicy Kick: Add a slice of pepper jack cheese or a few jalapeño slices for a fiery twist.
- Herbed Delight: Mix fresh herbs like basil or thyme into the butter for an aromatic flavor boost.
- Sweet Surprise: Try adding a thin layer of apple slices or fig jam inside for a sweet and savory combo.
- Gluten-Free Option: Use gluten-free bread to make these roll-ups suitable for those with dietary restrictions.
- Vegan Version: Substitute dairy cheese with vegan cheese and use plant-based butter for a delicious alternative.
Serving Suggestions
- Dip it: Serve with marinara sauce or a zesty ranch dressing for an extra flavor boost.
- Pair it: Enjoy with a side of crispy potato chips or a fresh garden salad.
- Drink it: A cold glass of iced tea or a light beer complements these roll-ups perfectly.
- Presentation: Arrange on a colorful platter and garnish with fresh herbs for a pop of color.
FAQs about Grilled Cheese Roll-Ups
Can I make Grilled Cheese Roll-Ups ahead of time?
Absolutely! You can prepare the roll-ups and store them in the fridge for a few hours before cooking. Just remember to cook them fresh for the best texture and flavor.
What type of cheese works best for these roll-ups?
While cheddar is a classic choice, feel free to experiment! Mozzarella, gouda, or even a mix of cheeses can elevate your Grilled Cheese Roll-Ups to new heights.
Can I use different types of bread?
Definitely! Sourdough, rye, or even gluten-free bread can be used. Each type will bring its own unique flavor and texture to your roll-ups.
How do I store leftovers?
If you have any leftovers, store them in an airtight container in the fridge. They can be reheated in a skillet for a quick snack later!
Can I make these roll-ups in the oven?
Yes! Preheat your oven to 375°F (190°C), place the roll-ups on a baking sheet, and bake for about 10-12 minutes until golden and crispy. This method is great for making larger batches!
Final Thoughts
Grilled Cheese Roll-Ups are more than just a snack; they’re a delightful experience that brings joy to any table.
The crispy exterior and gooey cheese create a comforting harmony that takes me back to simpler times.
Whether you’re sharing them with family or enjoying them solo, each bite is a reminder of the little pleasures in life.
These roll-ups are perfect for any occasion, from casual movie nights to fancy gatherings.
So, roll up your sleeves, get cooking, and let the magic of melted cheese and crispy bread brighten your day!
Grilled Cheese Roll-Ups: A Fun Twist on a Classic Snack!
Ingredients
Method
- Preheat a skillet over medium heat.
- Trim the crusts off the bread slices and flatten them with a rolling pin.
- Place a slice of cheese at one end of each flattened bread slice and roll them up tightly.
- In a small bowl, mix the butter with garlic powder if using. Spread the mixture evenly over the outside of each roll-up.
- Place the roll-ups seam side down in the preheated skillet. Cook for about 2-3 minutes on each side or until golden brown and the cheese is melted.
- Remove from the skillet and sprinkle with chopped parsley if desired. Slice in half and serve warm.
Nutrition
Notes
- For a spicy kick, add a slice of pepper jack cheese or a few slices of jalapeños inside the roll-ups.
- Try using different types of bread, such as sourdough or rye, for a unique flavor twist.