

Sweeping aromas of peppermint and dark chocolate transport me back to festive gatherings, where sweet treats are cherished as much as good company. This St. Patrick’s Day, let’s indulge in a healthier homemade delight—Homemade Andes Mint Chocolates that you can whip up with ease. Perfect for playful celebrations or cozy evenings, these mint chocolates cater beautifully to Paleo, Keto, and Vegan diets, allowing you to indulge without the guilt. What I love most is that they are low in sugar yet brimming with delicious flavor—proving that wholesome desserts can still satisfy your sweet tooth! Have you ever tried making your own candy at home? You’re in for a fun surprise!
Why Make Homemade Andes Mint Chocolates?
Irresistible Treat: These Homemade Andes Mint Chocolates bring you the perfect blend of mint and rich chocolate, satisfying even the most discerning sweet tooth.
Healthier Alternative: Crafted to be low in sugar and aligned with Paleo, Keto, and Vegan diets, they redefine indulgence without sacrificing taste.
Easy to Make: With just a few simple ingredients, you can create a delightful dessert that impresses family and friends.
Festive Appeal: Ideal for St. Patrick’s Day, these minty chocolates add a fun touch to any celebration!
Flavorful Variety: Feel free to experiment with natural colorings or toppings, creating a personalized touch that elevates each piece.
Perfect Gift: Packaged beautifully, they make a thoughtful and healthy gift for loved ones craving something sweet—check out other fun dessert ideas while you’re at it!
Homemade Andes Mint Chocolates Ingredients
For the Filling
• Cacao Butter – Provides a creamy, coconut-free filling. Substitution: Coconut butter can be used for a similar taste but will alter the texture.
• Powdered Monk Fruit – Acts as a zero-calorie sweetener for the filling, mimicking the sweetness of powdered sugar. Note: Alternatives include regular powdered sugar if not concerned with a low-calorie count.
• Peppermint Flavoring/Extract – Infuses minty freshness. Note: Adjust quantity based on potency; peppermint extract is stronger.
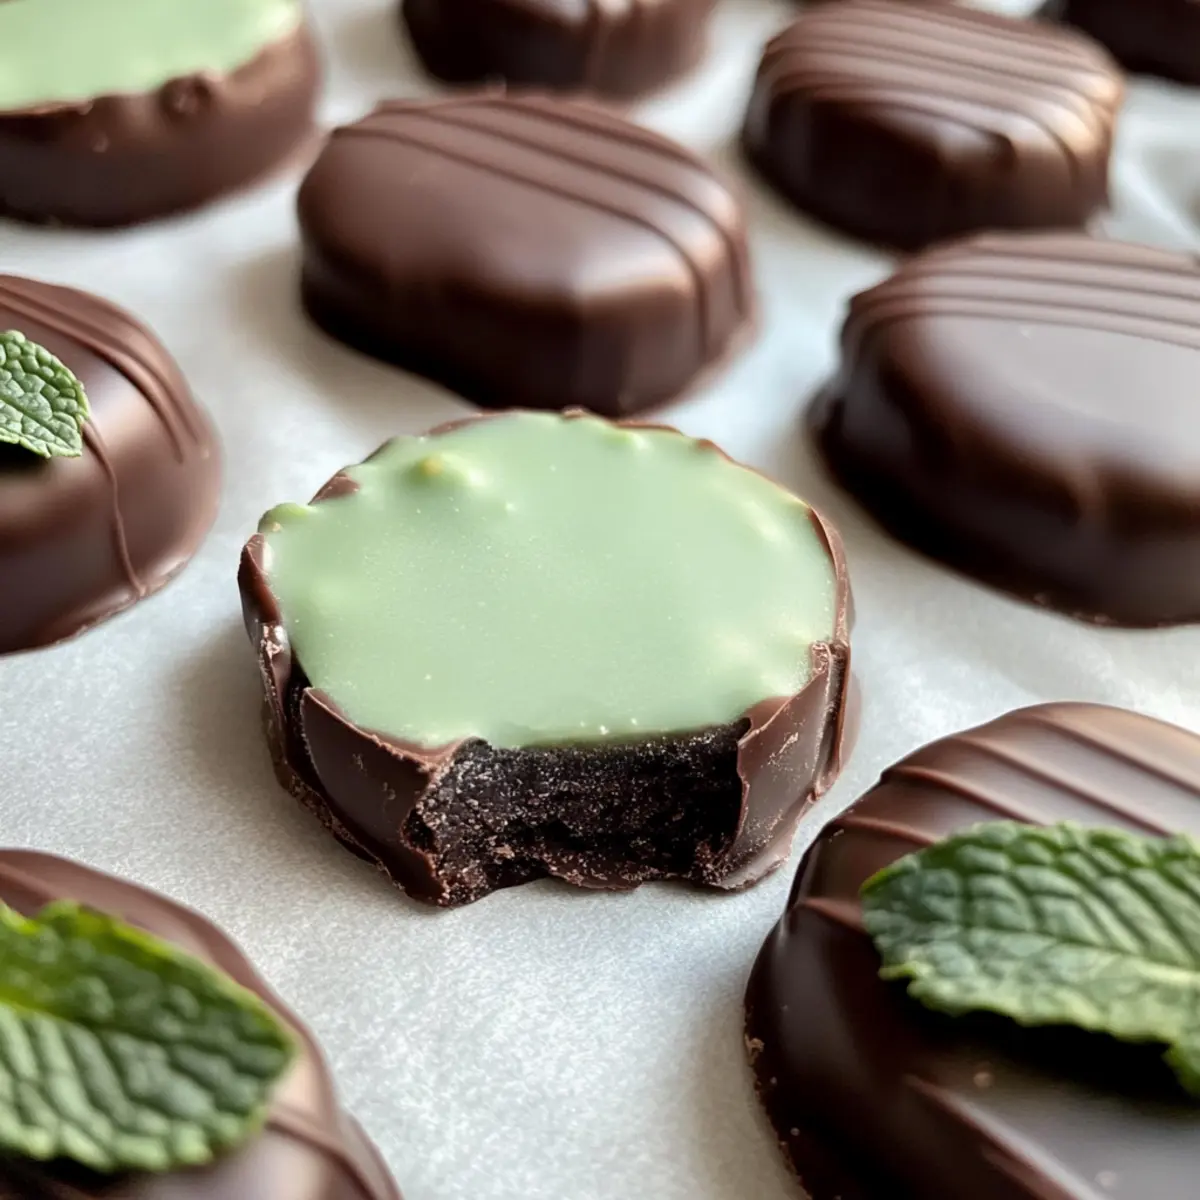
• Spirulina – Used for natural coloring, giving the mint center a vibrant green hue. Substitutions: Matcha, chlorella, or omitting coloring entirely.
For the Coating
• Dark Chocolate Chips (100% cacao recommended) – Acts as the outer coating, providing a rich chocolate experience. Note: Select extra dark chocolate to maintain a low sugar profile.
The Homemade Andes Mint Chocolates blend luscious flavors and healthy ingredients, making them ideal for both festive occasions like St. Patrick’s Day and everyday indulgence!
Step‑by‑Step Instructions for Homemade Andes Mint Chocolates
Step 1: Melt the Cacao Butter
In a small saucepan, add your cacao butter and melt it over low heat, stirring frequently to ensure an even consistency. This process should take about 5-8 minutes. Once fully melted and glossy, remove it from the heat to prevent overheating, as you want to keep the cacao butter smooth for your filling.
Step 2: Whisk in Sweetness and Flavor
With the melted cacao butter off the heat, whisk in your powdered monk fruit to create a sweet base for your filling. Add peppermint flavoring to taste, and incorporate spirulina for a pop of vibrant color. Stir well for about 1-2 minutes until completely blended, creating a minty mixture that evokes your Homemade Andes Mint Chocolates.
Step 3: Fill the Muffin Pan
Using a tablespoon, pour ½ to 1 tablespoon of the mint filling into each slot of a mini muffin pan, ensuring the centers are evenly filled. With a gentle tap on the counter, help the mixture settle into place and remove any air bubbles. Freeze these for about 10-20 minutes, until they are firm and set.
Step 4: Melt the Dark Chocolate
After the mint centers have set, clean your saucepan and place it back on low heat. Add dark chocolate chips and stir continuously until completely melted and smooth, which should take around 5-7 minutes. Keeping the chocolate in a fluid state is key for a lush coating over your mint filling, ensuring a delightful chocolate experience.
Step 5: Coat the Mint Filling
Once your dark chocolate is melted, take each mint center from the freezer using a fork. Dip them into the melted chocolate, allowing any excess to drip back into the saucepan. Place each coated piece onto a lined baking sheet, creating a lovely layer of chocolate around your minty filling.
Step 6: Add Decorative Touches
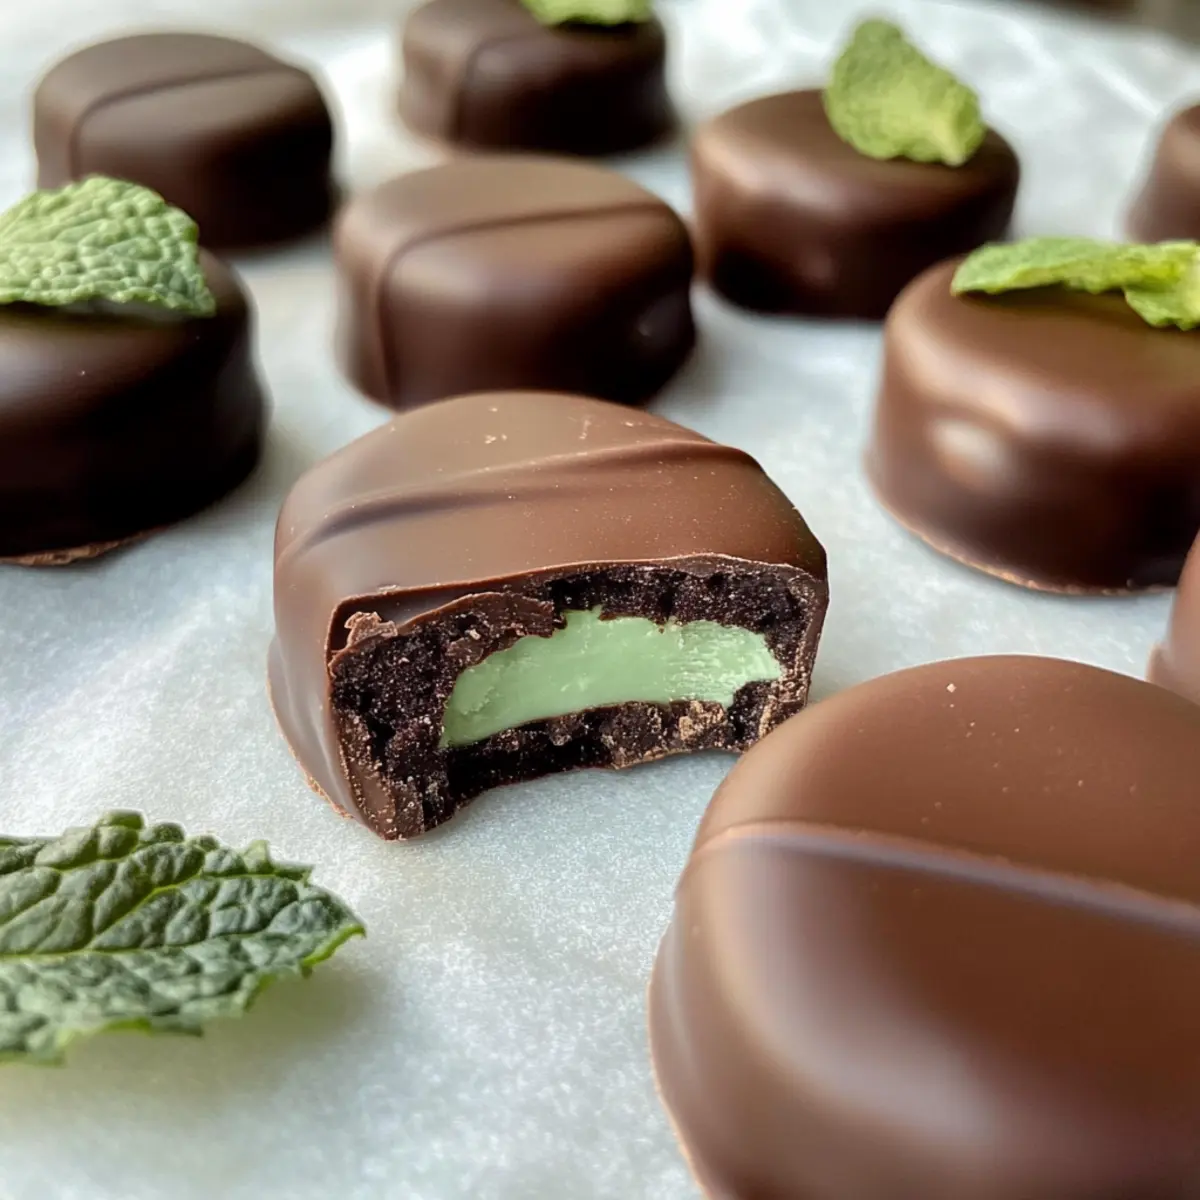
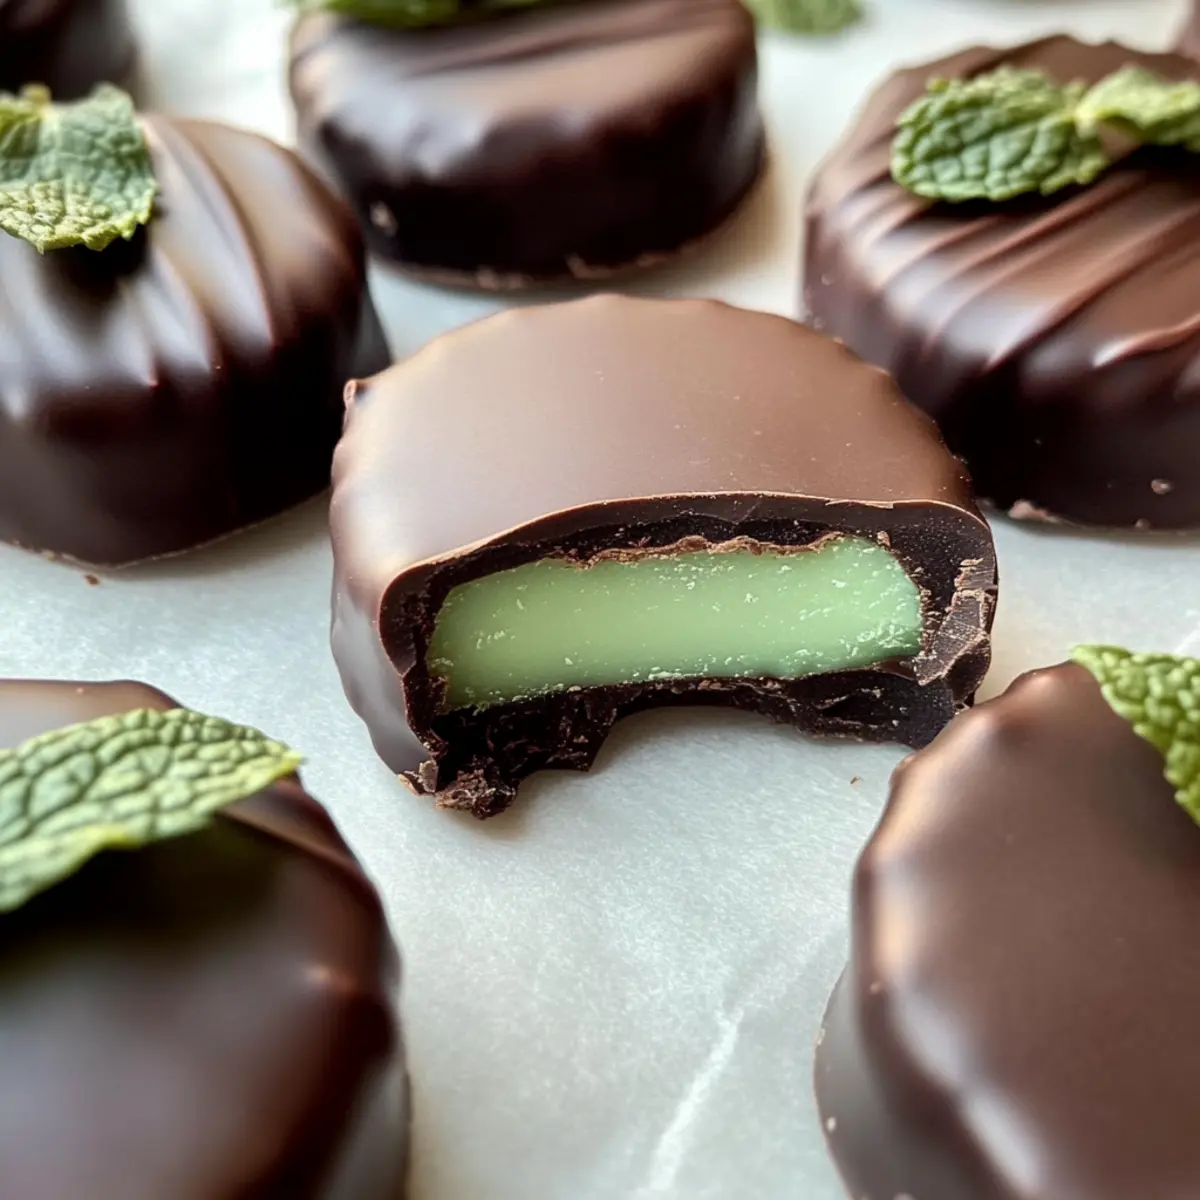
If desired, drizzle any remaining melted chocolate over the tops of each mint chocolate, creating a decorative finish. For an extra touch, you can add a small fresh mint leaf on top of each piece. This presentation not only looks beautiful but also enhances the peppermint aroma for your Homemade Andes Mint Chocolates.
Step 7: Freeze and Store
Once finished, place the baking sheet in the freezer for about 20-30 minutes to set the chocolate completely. After setting, transfer your mint chocolates to an airtight container and store them in the fridge for optimal freshness. They will last up to a week, or even longer in the freezer, ready to enjoy whenever your sweet tooth strikes!
Homemade Andes Mint Chocolates Variations
Explore the flavorful possibilities with these delicious twists and swaps that let you make the recipe your own!
-
Dairy-Free: Substitute dark chocolate chips with dairy-free chocolate for a completely vegan-friendly treat.
-
Nut-Free: Replace cacao butter with a seed butter like sunflower seed butter for a smooth, nut-free filling that still satisfies.
-
Sugar-Free: Try erythritol or stevia in place of powdered monk fruit for a different low-calorie sweetener option that fits your dietary needs.
-
Colorful Fun: Instead of spirulina, add a dash of natural beet powder for a beautiful pink hue that adds both color and taste.
-
Extra Minty: For a mint explosion, toss in some crushed peppermint candy or add peppermint oil in small quantities for intense flavor.
-
Texture Variation: Consider adding a sprinkle of crushed nuts or sea salt in the filling for extra crunch and a beautiful contrast to the smooth chocolate.
-
Heat It Up: For those who enjoy a little spice, add a pinch of cayenne pepper or chili powder to the dark chocolate coating for a surprising kick.
-
Chocolate Coating Options: Experiment with white chocolate or even a tinted chocolate to create a whimsical version perfect for parties or celebrations!
Feel free to mix and match these variations as you create your own signature version of Homemade Andes Mint Chocolates! If you’d like more inspiration, check out my simple dessert recipes or discover how to make a delicious chocolate fondue to pair with your treats!
What to Serve with Homemade Andes Mint Chocolates?
Indulge in a delightful feast by pairing your homemade treats with complementary sides that enhance the chocolatey flavor and minty freshness.
-
Creamy Vanilla Ice Cream: The smooth, rich ice cream contrasts perfectly with the chocolate and mint, creating a satisfying dessert experience. You can drizzle a little hot fudge for an extra layer of indulgence.
-
Fresh Fruit Salad: A mix of berries and melons adds a refreshing and bright contrast to the rich flavors of the chocolates, balancing sweetness with a lovely crunch.
-
Chocolate Mint Tea: This warm drink echoes the flavors of your homemade chocolates perfectly, providing a soothing finish to the dessert and enhancing the minty essence.
-
Crushed Ginger Cookies: The spicy crunch of ginger cookies offers a delightful crunch and warmth, perfectly complementing the freshness of the mint and the richness of the chocolate.
-
Pistachio Baklava: The nutty flakes of baklava add a lovely texture alongside your chocolates, creating a truly festive offering that surprises the palate with its sweet and savory bites.
-
Coconut Macaroons: These sweet treats provide an inviting chewiness and exude tropical vibes, contrasting the firmer texture of the mint chocolates while keeping the celebration vibrant and fun.
-
Mint Mojito: This refreshing cocktail elevates your dessert experience, with its zesty lime and mint complementing the flavors beautifully and bringing a spirited touch to any gathering.
-
Dark Chocolate Drizzled Popcorn: Sweet, salty, and crunchy, this light snack enhances the chocolate experience with contrasting textures that keep everyone reaching for more.
-
Hazelnut Coffee: A warm cup of hazelnut coffee ties everything together with its nutty richness, creating a cozy atmosphere and complementing the decadent chocolate.
Feel free to mix and match these suggestions to create a memorable feast that perfectly highlights your Homemade Andes Mint Chocolates!
Expert Tips for Homemade Andes Mint Chocolates
- Sweetness Balance: Taste as you go: Adjust powdered monk fruit and peppermint flavoring depending on your personal sweetness preference for your Homemade Andes Mint Chocolates.
- Chill Times: Ensure proper chilling: For best results, freeze chocolate layers long enough to set completely; this prevents melting during coating.
- Coating Perfection: Use a fork: Coating the mint filling with dark chocolate using a fork helps keep hands clean and allows excess chocolate to drip off easily.
- Storage Solutions: Keep them fresh: Store your chocolates in an airtight container in the fridge, especially if you’ve added fresh mint, to ensure maximum freshness.
- Creative Variations: Experiment freely: Substitute spirulina with other natural colorings like matcha for unique presentations of your delicious mint chocolates.
Make Ahead Options
These Homemade Andes Mint Chocolates are an excellent choice for meal prep enthusiasts! You can prepare the mint filling up to 24 hours in advance, allowing the flavors to meld beautifully. Simply whip up the filling and pour it into your mini muffin pan as directed, then freeze until set. If you’re really busy, you can also freeze the chocolate-coated chocolates and they’ll stay fresh for up to 3 months. When you’re ready to serve, just let the frozen chocolates sit at room temperature for about 10-15 minutes, and they’ll remain just as delectable. This way, your healthy dessert is ready whenever a sweet craving strikes, saving you precious time in the kitchen!
How to Store and Freeze Homemade Andes Mint Chocolates
Fridge: Store your chocolate mint treats in an airtight container in the refrigerator for up to 1 week to maintain freshness.
Freezer: For longer storage, place the chocolates in a container or freezer bag, sealing tightly. They can last for up to 3 months in the freezer.
Defrosting: When ready to enjoy, simply take them out of the freezer and let them sit at room temperature for about 10-15 minutes before indulging in your Homemade Andes Mint Chocolates.
Reheating: If coating melts during storage, gently reheat dark chocolate on low heat, stirring until smooth, to re-coat as needed before serving.

Homemade Andes Mint Chocolates Recipe FAQs
How do I choose ripe ingredients for my Homemade Andes Mint Chocolates?
Absolutely! Selecting high-quality ingredients is essential. For cacao butter, look for pure, organic options that are creamy and fresh. When choosing dark chocolate chips, ensure they are at least 70% cacao content to maintain the health benefits and flavor. Fresh peppermint extract is a great addition for authentic flavor, and you can find vibrant spirulina that’s bright and without clumping for a perfect minty color.
How should I store my Homemade Andes Mint Chocolates, and how long will they last?
To keep your chocolates fresh, store them in an airtight container in the refrigerator for up to 1 week. If you’re planning on enjoying them longer, they can be stored in the freezer for up to 3 months—just make sure to seal them tightly in a freezer-safe container or bag to prevent freezer burn.
Can I freeze my Homemade Andes Mint Chocolates, and what’s the proper method?
Very much so! To freeze your mint chocolates, place them in a single layer on a baking sheet initially, ensuring they don’t touch each other. Freeze them for about 20-30 minutes until solid. Once set, transfer them to a container or freezer bag, and they can stay frozen for up to 3 months. When you’re ready to enjoy, let them thaw at room temperature for about 10-15 minutes.
What should I do if my chocolate coating isn’t smooth or is breaking?
If you find your dark chocolate coating isn’t smooth, it might have overheated. Heat your chocolate slowly and gently on low heat, stirring constantly. If it begins to clump or seize, add a small teaspoon of coconut oil or cocoa butter while stirring to help regain consistency. This ensures a lovely, smooth coating for your Homemade Andes Mint Chocolates!
Are there any dietary considerations I should be aware of for my Homemade Andes Mint Chocolates?
Absolutely! This recipe is already aligned with Paleo, Keto, and Vegan diets. If allergies are a concern, double-check the dark chocolate for any potential allergens, as some brands may include common allergens like soy or milk. For variations, feel free to substitute sweeteners or extracts to cater to different dietary needs. Always taste as you go to ensure your final product meets your preferences!
Homemade Andes Mint Chocolates with a Healthy Twist
Ingredients
Equipment
Method
- Melt the Cacao Butter: In a small saucepan, add your cacao butter and melt it over low heat, stirring frequently to ensure an even consistency. This process should take about 5-8 minutes.
- Whisk in Sweetness and Flavor: With the melted cacao butter off the heat, whisk in your powdered monk fruit to create a sweet base for your filling. Add peppermint flavoring to taste, and incorporate spirulina. Stir well for about 1-2 minutes until completely blended.
- Fill the Muffin Pan: Using a tablespoon, pour ½ to 1 tablespoon of the mint filling into each slot of a mini muffin pan. Freeze these for about 10-20 minutes, until they are firm and set.
- Melt the Dark Chocolate: Clean your saucepan and place it back on low heat. Add dark chocolate chips and stir continuously until completely melted.
- Coat the Mint Filling: Once your dark chocolate is melted, take each mint center from the freezer using a fork. Dip them into the melted chocolate and place each coated piece onto a lined baking sheet.
- Add Decorative Touches: If desired, drizzle any remaining melted chocolate over the tops of each mint chocolate. For an extra touch, you can add a small fresh mint leaf on top.
- Freeze and Store: Once finished, place the baking sheet in the freezer for about 20-30 minutes to set the chocolate completely.