

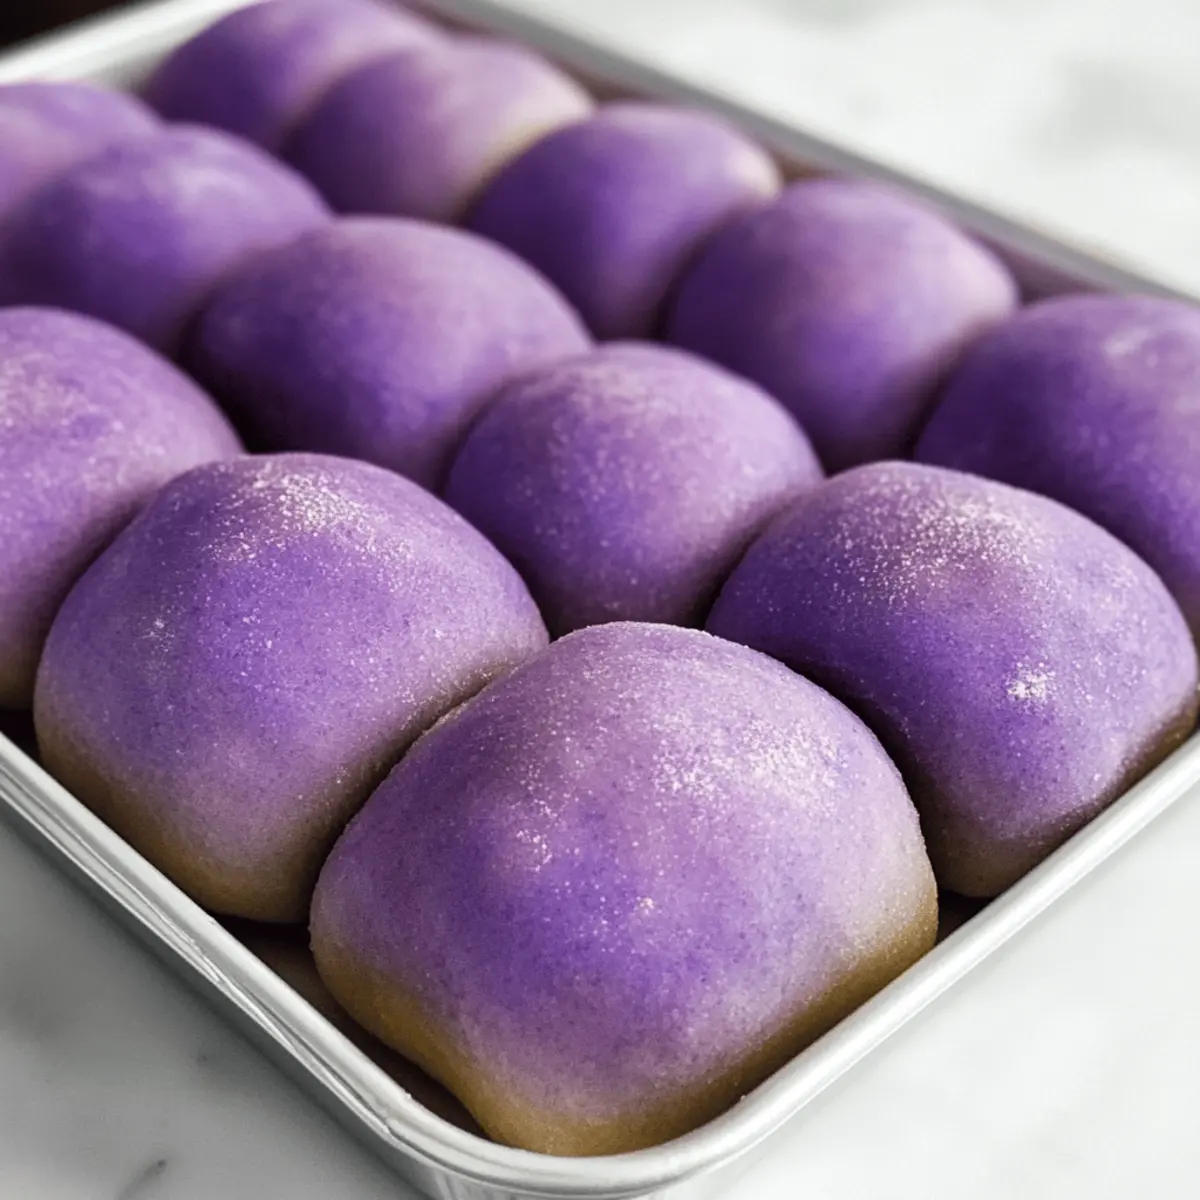
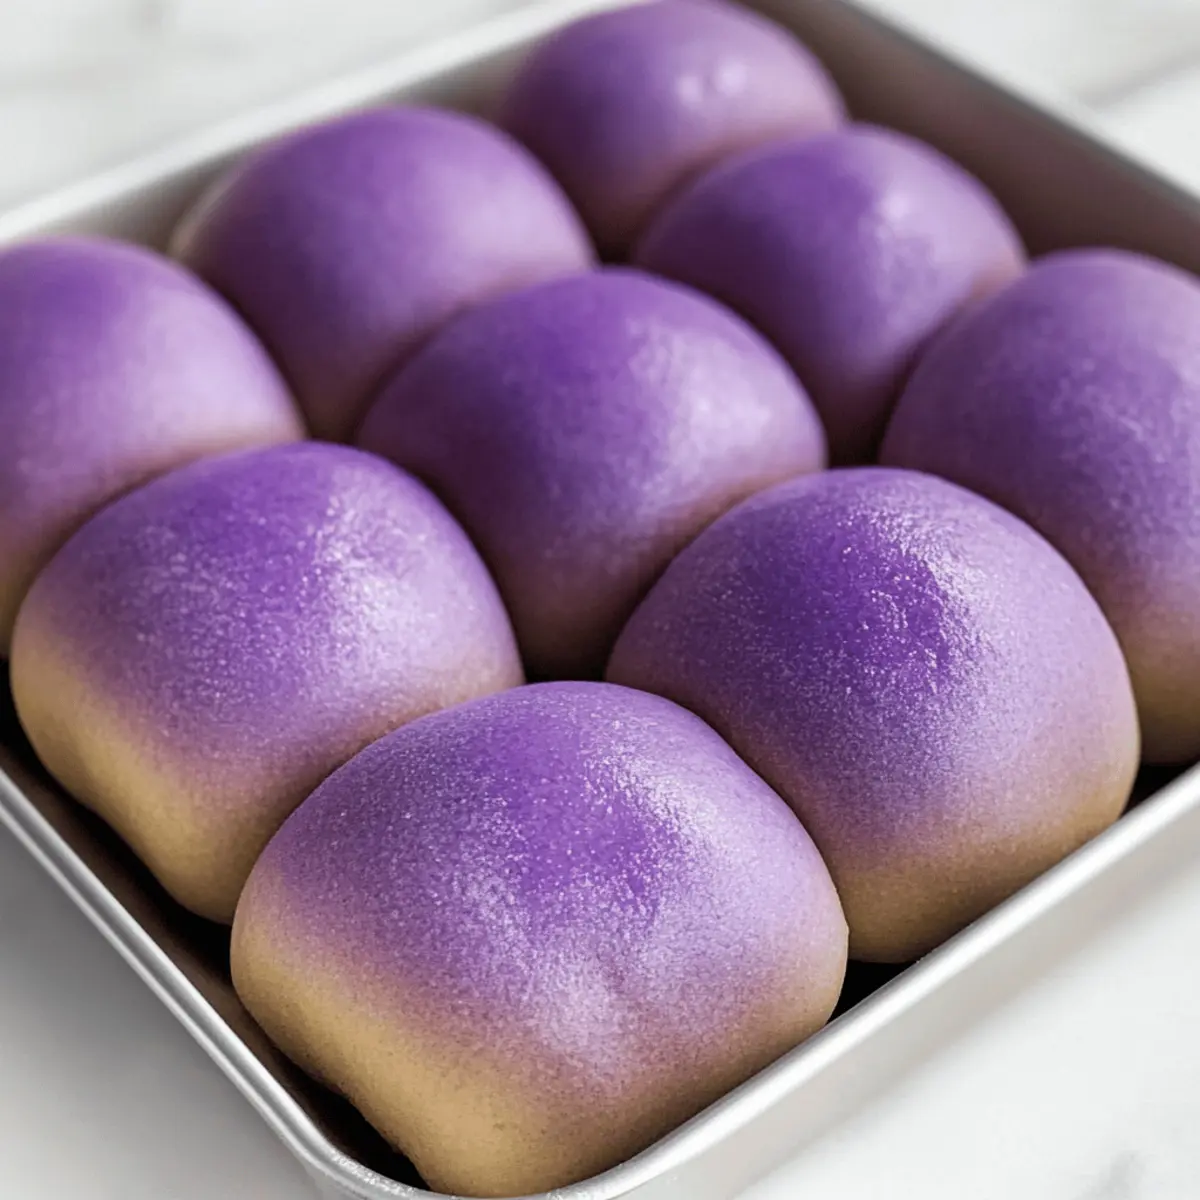
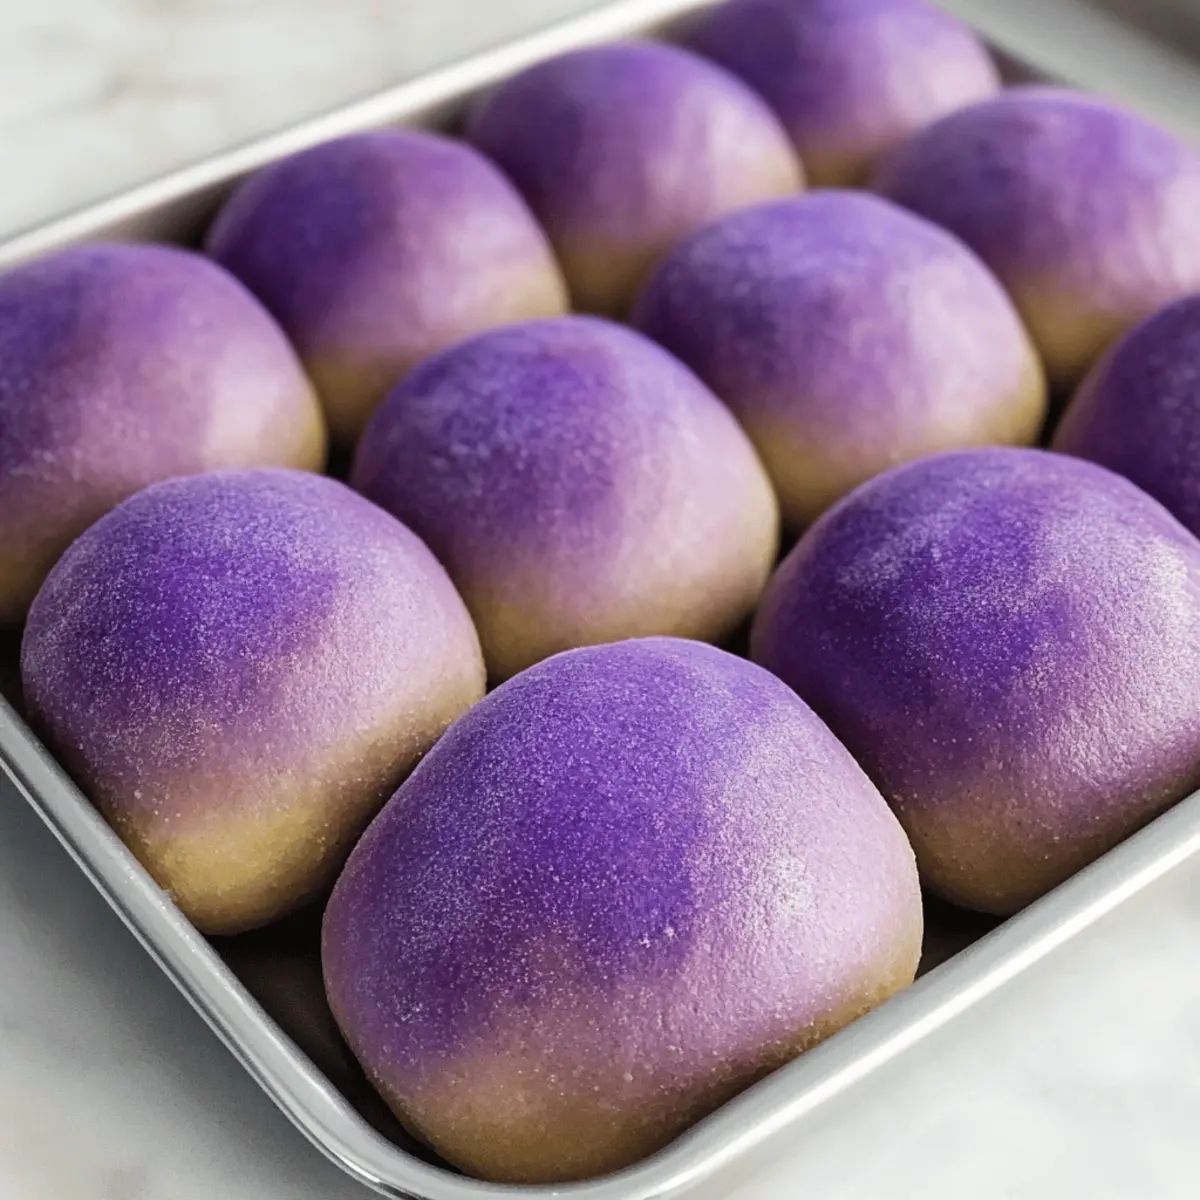
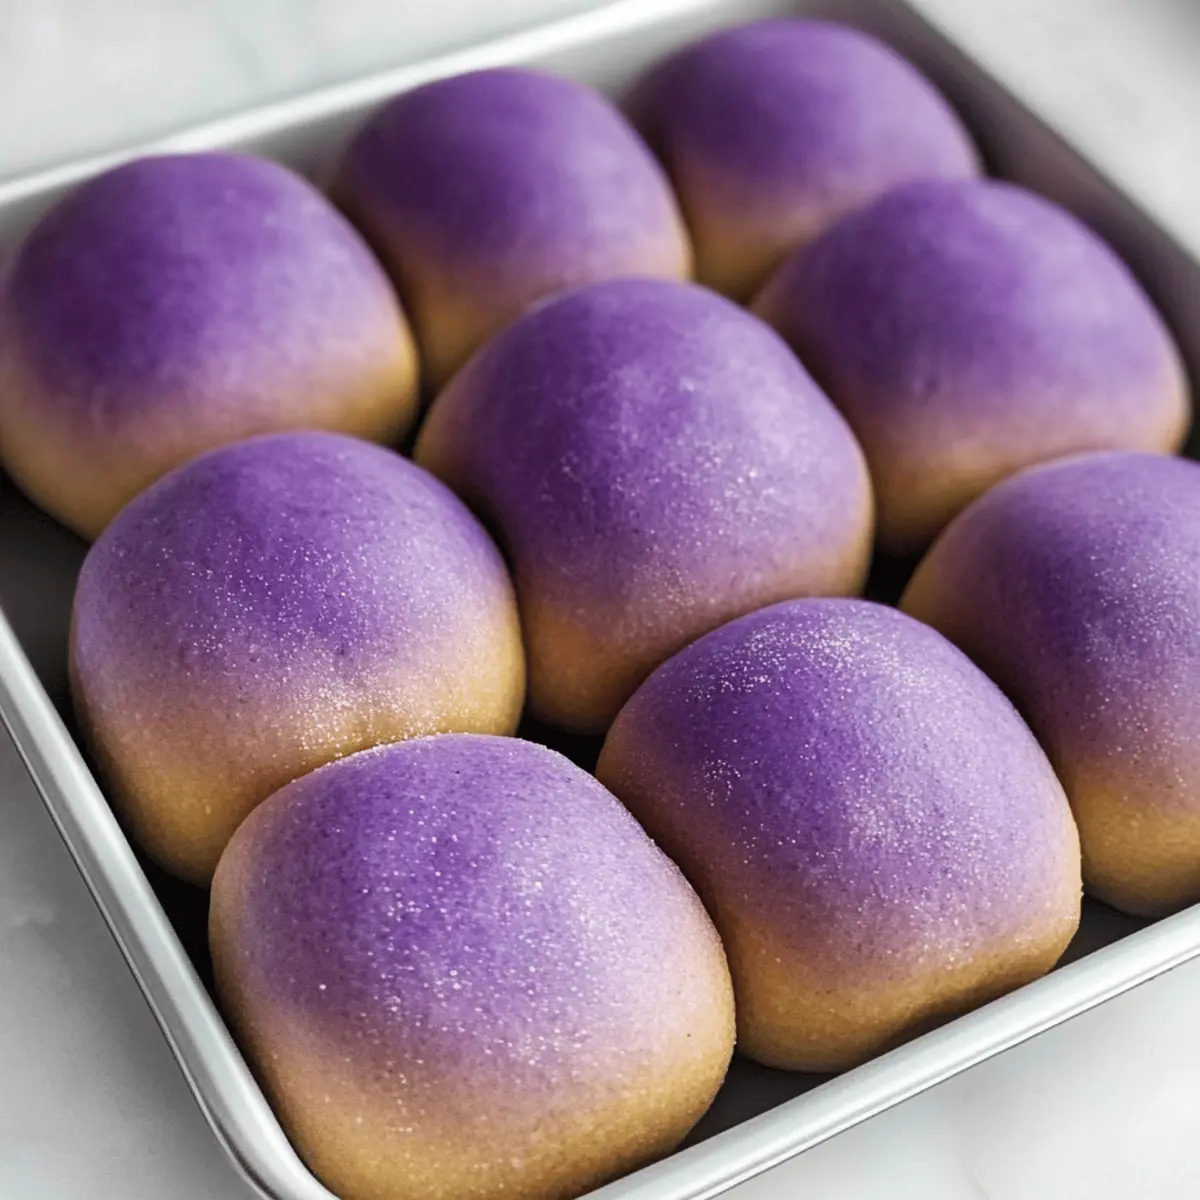
As I watched the vibrant purple dough rise in my kitchen, I couldn’t help but marvel at the allure of these Hawaiian Taro Rolls. Taro, a beloved staple in Hawaiian cuisine, adds a unique sweetness and beautiful hue that transforms a simple dinner roll into a culinary masterpiece. Not only are these light and fluffy rolls a feast for the eyes, but they’re also incredibly easy to make—perfect for those busy weeknights or when entertaining guests. With a delightful texture and a hint of sweetness, these kid-friendly rolls make a fantastic side for any meal, ensuring that your table feels both special and inviting. Are you ready to bring a taste of Hawaii to your kitchen? Let’s dive into this delightful recipe!
Why are Taro Rolls so special?
Vibrant Color: The stunning purple hue of these rolls not only catches the eye but also adds a festive touch to any meal.
Kid-Friendly: With their slight sweetness, these rolls are perfect for even the pickiest eaters, making family dinners a breeze.
Easy to Make: Enjoy a straightforward recipe that allows you to whip up these decadent rolls without spending hours in the kitchen.
Cultural Delight: Embrace the flavors of Hawaiian cuisine and share the unique taste of taro with your loved ones, similar to the delicious Taiwanese Beef Rolls.
Versatile Pairing: Serve them warm with butter or as a delightful side dish to your favorite entrée, and watch them disappear from the table!
Elevate your cooking experience with these Taro Rolls—your family and guests will thank you!
Taro Rolls Ingredients
• Taro Rolls are a delicious and vibrant addition to any meal!
For the Dough
- Bread Flour – Provides structure and texture for the rolls; unbleached is best for fluffiness.
- Sugar – Adds sweetness to the rolls; coconut sugar can be used for a unique flavor.
- Instant Yeast – Ensures a quick rise for fluffy rolls; feel free to substitute with active dry yeast, although it may require longer rising times.
- Salt – Enhances overall flavor; essential for balancing sweetness, but can be omitted for a low-sodium diet.
- Warm Milk – Activates the yeast and enriches the dough; any milk type works, or substitute with a dairy-free option.
- Poi – Adds traditional Hawaiian flavor and moisture; you can use taro puree if poi is unavailable.
- Egg – Gives richness and helps bind the dough; vegan options include flaxseed meal or chia seeds.
- Butter (softened) – Adds a rich flavor and tenderness; replace with vegan butter or coconut oil if needed.
- Purple Food Coloring – For that signature vibrant hue; optional if a natural look is preferred.
Get ready to create your own heavenly Taro Rolls, which are sure to impress!
Step‑by‑Step Instructions for Taro Rolls
Step 1: Prepare Dough
In a large mixing bowl, combine 4 cups of bread flour, 1/4 cup of sugar, and 2 teaspoons of instant yeast, stirring well to incorporate. In a separate bowl, mix 1 cup of warm milk, 1 cup of poi, 1 beaten egg, and 1/4 cup of softened butter until smooth. If desired, add a few drops of purple food coloring for that stunning hue we’re after.
Step 2: Combine Ingredients
Gradually add the wet mixture to the dry mix, stirring until a shaggy dough forms. At this stage, your dough should be moist and a bit sticky. If needed, adjust the consistency by adding a little more warm milk, just enough to make the dough smooth and cohesive. This is key to achieving the perfect texture for your Taro Rolls.
Step 3: Knead Dough
Transfer the dough onto a lightly floured surface or into a stand mixer with a dough hook attachment. Knead the dough for about 10 minutes, until it becomes smooth and elastic, yet still tacky to the touch. This step is essential for developing the gluten, creating that lovely fluffy texture we desire in the Taro Rolls.
Step 4: Shape Rolls
After kneading, let the dough rest for about 10 minutes to relax the gluten. Then, divide it into 15 equal pieces using your bench scraper. Take each piece and shape it into a smooth ball, tucking the edges underneath to create tension on top. This uniformity helps ensure even baking and a beautiful rise.
Step 5: First Rise
Place the shaped rolls into a greased baking dish, leaving some space between them. Cover the dish with a clean kitchen towel and let the rolls rise in a warm spot until they double in size, which should take about 1 to 2 hours, depending on the room temperature. You’ll know they’re ready when they look puffy and have nearly doubled.
Step 6: Bake
Once the rolls have risen, preheat your oven to 325°F (165°C). Carefully uncover the dough and place it in the oven. Bake for 20 to 25 minutes, or until the tops are a beautiful golden brown and the rolls sound hollow when tapped. This delightful aroma will fill your kitchen as the Taro Rolls become a reality!
Step 7: Cool and Serve
After baking, remove the rolls from the oven and let them cool in the pan for about 10 minutes. Gently transfer them to a wire rack to cool completely. Serve warm, perhaps with a pat of butter, and watch as everyone enjoys these soft, sweet Taro Rolls at your dinner table!
How to Store and Freeze Taro Rolls
Room Temperature: Store leftover Taro Rolls in an airtight container at room temperature for up to 4-5 days to maintain their fluffiness and flavor.
Fridge: If you’re in a humid environment, consider refrigerating the rolls, but they may dry out faster. Use within 3 days for optimal taste.
Freezer: For longer storage, freeze Taro Rolls in a zip-top bag or tightly wrapped in plastic wrap for up to 3 months. Thaw in the refrigerator before reheating.
Reheating: To enjoy your Taro Rolls warm, reheat in a preheated oven at 350°F for about 10 minutes. Enjoy the delightful taste of freshly baked Taro Rolls again!
Make Ahead Options
These Taro Rolls are perfect for busy home cooks wanting to save time during mealtime! You can prepare the dough up to 24 hours in advance by following the initial steps, allowing the rolls to rise until doubled in size before refrigerating the unbaked rolls. To maintain their fluffy texture, cover the shaped rolls tightly with plastic wrap to prevent drying out. When you’re ready to enjoy these delightful Taro Rolls, simply allow them to come to room temperature (about 30 minutes) before baking. Preheat your oven to 325°F and bake for 20-25 minutes. Enjoy fresh, warm rolls that are just as delicious as the day you made them!
What to Serve with Hawaiian Taro Rolls
Ah, the delight of Taro Rolls brings forth a wave of imagination about the perfect meal! Let’s explore some delicious pairings that will elevate your dining experience.
-
Savory Grilled Chicken: The tender, juicy flavors of grilled chicken beautifully contrast the sweetness of the rolls, making for a mouth-watering combination.
-
Tropical Fruit Salad: Bright, fresh fruits like mango and pineapple complement the rolls’ sweetness while adding a refreshing crunch that’s perfect for any meal.
-
Creamy Coconut Curry: A luscious coconut curry enhances the rolls’ flavor profile, bringing a tropical essence that dances on your palate.
-
Garlic Butter Shrimp: The richness and warmth of garlic butter shrimp create a savory experience, a perfect match for the fluffy texture of the Taro Rolls.
-
Mixed Green Salad: Crisp greens with a tangy vinaigrette provide a refreshing counterbalance to the rolls’ soft sweetness, making each bite more exciting.
-
Macadamia Nut Cookies: For dessert, these nutty, chewy cookies echo the Hawaiian influence while keeping your meal balanced and delightful.
-
Pineapple Juice: Refreshing and naturally sweet, a cold glass of pineapple juice serves as the perfect beverage, inviting sunshine to your table.
-
Herbed Vegetable Medley: Lightly sautéed seasonal vegetables add color and nutrients, making each bite more vibrant while enhancing the overall meal experience.
Each of these pairings harmonizes beautifully with Taro Rolls, creating a feast that is not just fulfilling but a celebration of flavors!
Taro Rolls Variations & Substitutions
Discover the endless possibilities with your Taro Rolls to make every batch unique and delightful!
- Gluten-Free: Substitute bread flour with a gluten-free flour blend to accommodate dietary needs without sacrificing texture.
- Coconut Sweetness: Use coconut sugar in place of regular sugar for a tropical twist that enhances the Hawaiian flavor.
- Dairy-Free Delight: Swap out milk for almond or coconut milk and use vegan butter for a fully dairy-free roll.
- Herbal Infusion: Add fresh herbs like rosemary or thyme to the dough for an aromatic experience that’s unexpected and delightful.
- Cinnamon Sugar: Before the second rise, sprinkle a mixture of cinnamon and sugar on the dough for a sweet, spiced version.
- Savory Twist: Incorporate diced green onions or shredded cheese into the dough for a savory variation that pairs beautifully with soups and stews.
- Increased Moisture: For extra softness, add a tablespoon of sour cream or plain yogurt into the wet mixture. This will give your rolls a nice, tender crumb.
- Fruity Flair: Try mixing in finely chopped pineapple or mango to the dough for a fruity burst that pays homage to Hawaiian culture.
Exploring these variations can turn your delightful Taro Rolls into personalized masterpieces, similar to those delicious Taiwanese Beef Rolls that can surprise your family and guests alike. Enjoy your culinary adventure!
Tips for the Best Taro Rolls
-
Flour Matters: Choose unbleached bread flour for better structure and texture; it helps achieve the fluffiness we love in Taro Rolls.
-
Yeast Activation: Always use warm milk to activate the instant yeast properly; if the liquid is too hot, it will kill the yeast.
-
Monitor the Dough: Keep an eye on the dough while kneading; it should be tacky but not overly sticky. Adjust with small amounts of flour if needed.
-
Perfect Rise: Don’t rush the first rise; letting the dough double in size enhances flavor and creates that lovely airy texture in the rolls.
-
Store Carefully: If you have leftovers, store Taro Rolls in an airtight container for 4-5 days or freeze them for up to 3 months for a quick treat later on!
Taro Rolls Recipe FAQs
What type of poi should I use for the Taro Rolls?
I recommend using fresh poi if possible, as it adds an authentic Hawaiian flavor and moisture to the rolls. If fresh poi isn’t available, taro puree works well as a substitute.
How should I store leftover Taro Rolls?
Store your Taro Rolls in an airtight container at room temperature for up to 4-5 days. If your kitchen tends to be humid, you might want to refrigerate them, but use within 3 days as they could dry out.
Can I freeze Taro Rolls?
Absolutely! To freeze Taro Rolls, shape and place the unbaked rolls on a baking sheet and freeze until firm. Then transfer them to a zip-top bag or tightly wrap in plastic wrap, where they can be frozen for up to 3 months. When you’re ready to bake, let them thaw in the refrigerator overnight before baking as directed.
What should I do if my rolls didn’t rise?
If your Taro Rolls don’t rise, check that your yeast is fresh and the liquid used was warm but not hot—around 110°F is ideal. If the dough is too thick or dry, you can add a small amount of warm milk gradually while kneading until it reaches the right consistency. Ensure you’re also giving them enough time to rise in a warm spot!
Are Taro Rolls safe for kids and those with allergies?
Yes, Taro Rolls are kid-friendly due to their slight sweetness. However, check for allergies related to specific ingredients like eggs or dairy. You can easily make vegan swaps, like using flaxseed meal instead of eggs, to accommodate dietary needs. Always consult ingredient labels for allergens.
Can I make Taro Rolls gluten-free?
Yes! You can substitute the bread flour with a gluten-free flour blend. However, it’s important to note that the texture may vary, so I recommend using a blend that contains xanthan gum for better results. Happy baking!
Taro Rolls: Light, Fluffy Hawaiian Treats for Every Dinner
Ingredients
Equipment
Method
- In a large mixing bowl, combine 4 cups of bread flour, 1/4 cup of sugar, and 2 teaspoons of instant yeast, stirring well to incorporate.
- In a separate bowl, mix 1 cup of warm milk, 1 cup of poi, 1 beaten egg, and 1/4 cup of softened butter until smooth. Add a few drops of purple food coloring if desired.
- Gradually add the wet mixture to the dry mix, stirring until a shaggy dough forms. Adjust the consistency with more warm milk if needed.
- Transfer the dough onto a lightly floured surface or into a stand mixer with a dough hook. Knead for about 10 minutes until smooth and elastic.
- Let the dough rest for about 10 minutes, then divide into 15 equal pieces and shape into balls.
- Place shaped rolls in a greased baking dish, cover with a towel, and let rise until doubled, about 1-2 hours.
- Preheat oven to 325°F (165°C). Bake rolls for 20-25 minutes until golden brown and sound hollow when tapped.
- Remove from oven, cool in the pan for 10 minutes, then transfer to a wire rack. Serve warm.