

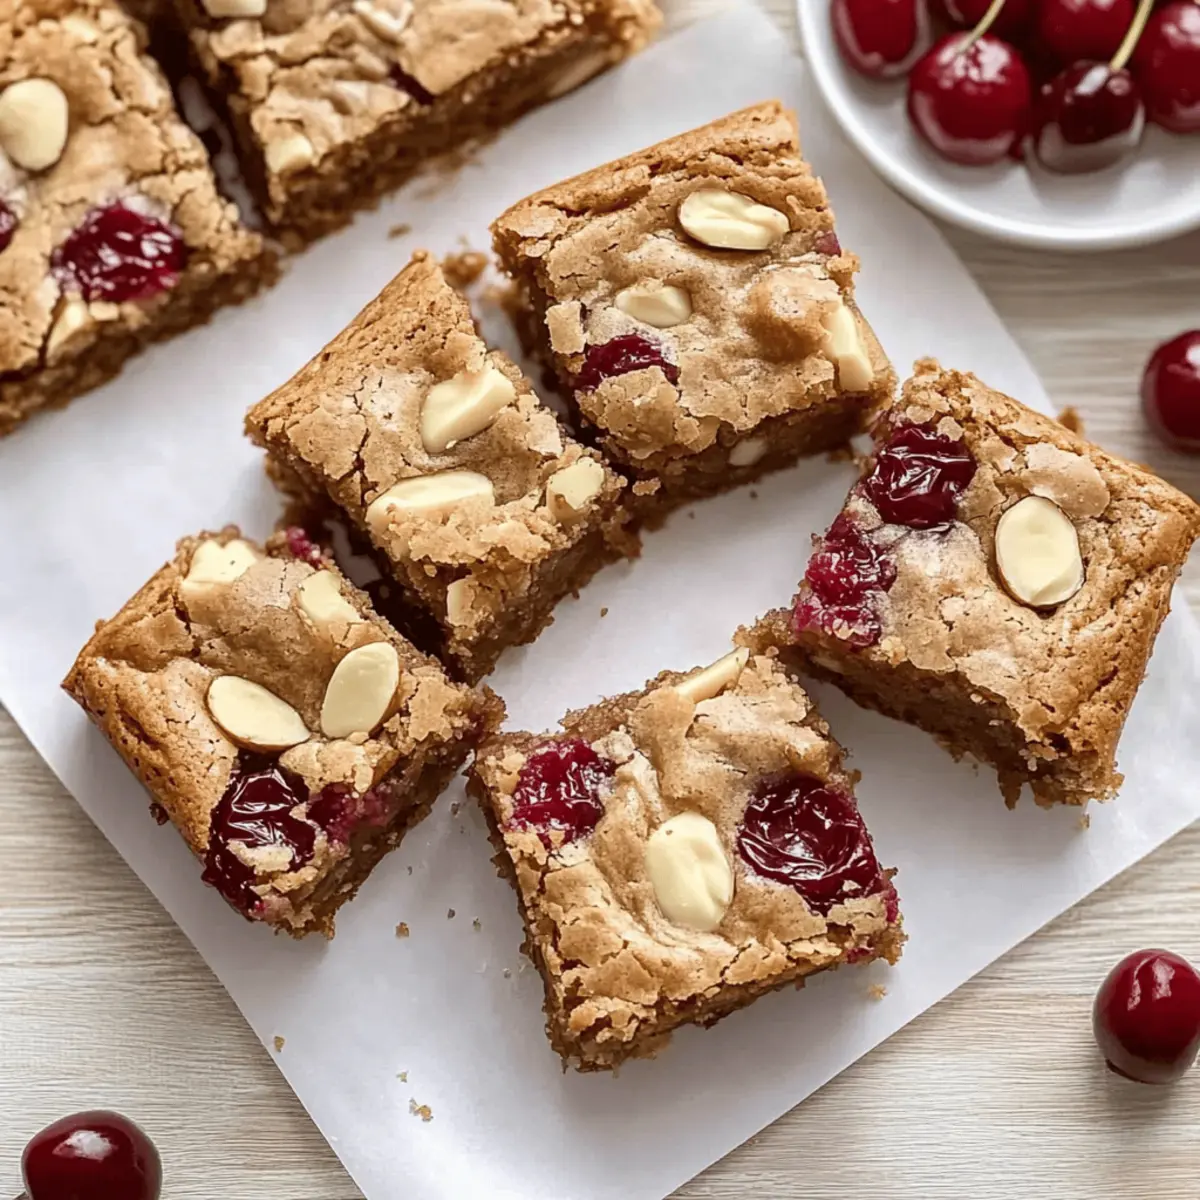
As I opened my pantry, I couldn’t help but notice a can of cherry pie filling sitting there, waiting to be transformed into something delightful. That’s when the idea struck me: Why not whip up a batch of Cherry Blondies? These chewy, almond-studded beauties are not only a breeze to make, requiring just 10 minutes of prep, but they also bring a wallet-friendly twist to dessert night. The combination of creamy white chocolate and the nutty depth from browned butter elevates them beyond your average sweet treat. Whether you’re hosting a gathering or indulging in some well-deserved self-care, these Cherry Blondies are sure to satisfy your cravings. How will you customize your batch?
Why Are Cherry Blondies So Irresistible?
Chewy, the texture of these blondies is simply divine, boasting a satisfying bite that makes each piece incredibly enjoyable. Quick prep, you’ll only need 10 minutes to whip these up, making them a go-to for spontaneous dessert cravings. Budget-friendly, using pantry staples and a can of cherry pie filling means you won’t break the bank. Versatile, feel free to swap in fresh cherries or different nuts to make them your own. Crowd-pleasing, these chewy treats are perfect for sharing at gatherings or cozy evenings in. Pair them with a scoop of ice cream for an unforgettable dessert experience!
Cherry Blondies Ingredients
• Discover what’s needed to create these scrumptious Cherry Blondies!
For the Batter
- All-purpose flour – Provides structure for the blondies; consider a gluten-free flour blend for a gluten-free version.
- Baking powder – Helps the blondies rise, ensuring a light texture.
- Salt – Enhances flavor and balances the sweetness.
- Large egg – Binds the ingredients and contributes moisture; a flax egg can be a great vegan substitute.
- Vanilla extract – Adds warmth and depth of flavor.
- Almond extract – Provides a subtle almond taste; use sparingly as it’s quite potent.
- Cherry pie filling – Adds sweetness and tartness effortlessly; you can swap in fresh pitted cherries, but be sure to pat them dry.
- Salted butter – Melts and browns to create a rich, nutty flavor; unsalted butter can also work if you add a pinch of salt.
- Granulated sugar – Sweetens the blondies while contributing to proper browning.
- Brown sugar – Adds moisture and deeper flavor.
For the Mix-ins
- White chocolate chips – Contributes delightful creaminess and sweetness.
- Slivered almonds – Adds a satisfying crunch and nutty flavor.
Step‑by‑Step Instructions for Cherry Blondies
Step 1: Preheat the Oven
Begin by preheating your oven to 350°F (175°C). While it’s warming up, take an 8×8” baking dish and grease it lightly, then line the bottom with parchment paper for easy removal later. This ensures your Cherry Blondies will come out clean and intact after baking.
Step 2: Combine Dry Ingredients
In a medium mixing bowl, whisk together all-purpose flour, baking powder, and salt until well blended. This dry mixture is crucial for the structure of your Cherry Blondies, so make sure there are no lumps. Set this bowl aside for the moment as you prepare the wet ingredients.
Step 3: Mix the Wet Ingredients
In a separate large bowl, whisk together the large egg, vanilla extract, almond extract, and cherry pie filling until smooth. This mixture will add moisture and flavor to your Cherry Blondies, creating a delectable base. Make sure everything is well combined before moving on to the next step.
Step 4: Brown the Butter
In a medium saucepan over medium heat, add cubed salted butter and melt it until it becomes frothy. Continue cooking for 5-8 minutes, stirring consistently, until it turns golden brown and emits a nutty aroma. This step is key to enhancing the flavor of your Cherry Blondies, so keep a close eye on it to avoid burning.
Step 5: Combine Sugars with Butter
Remove the browned butter from heat and allow it to cool slightly. In a large mixing bowl, mix the browned butter with granulated sugar and brown sugar using a hand mixer until fully incorporated and creamy. The sugars will melt slightly in the warm butter, creating a rich sweetness that complements the cherry flavor.
Step 6: Incorporate the Cherry Mixture
Next, stir the cherry mixture into the sugar and butter blend until fully integrated. This will ensure that the delicious cherry flavor is evenly distributed throughout your Cherry Blondies. At this stage, the batter should be looking rich and inviting, ready for the dry ingredients.
Step 7: Fold in the Dry Ingredients
Gradually fold the flour mixture into the wet ingredients using a spatula until a thick batter forms. Be careful not to overmix; just combine until you see no dry flour. This thick batter is what gives your Cherry Blondies their chewy texture, so mix gently yet thoroughly.
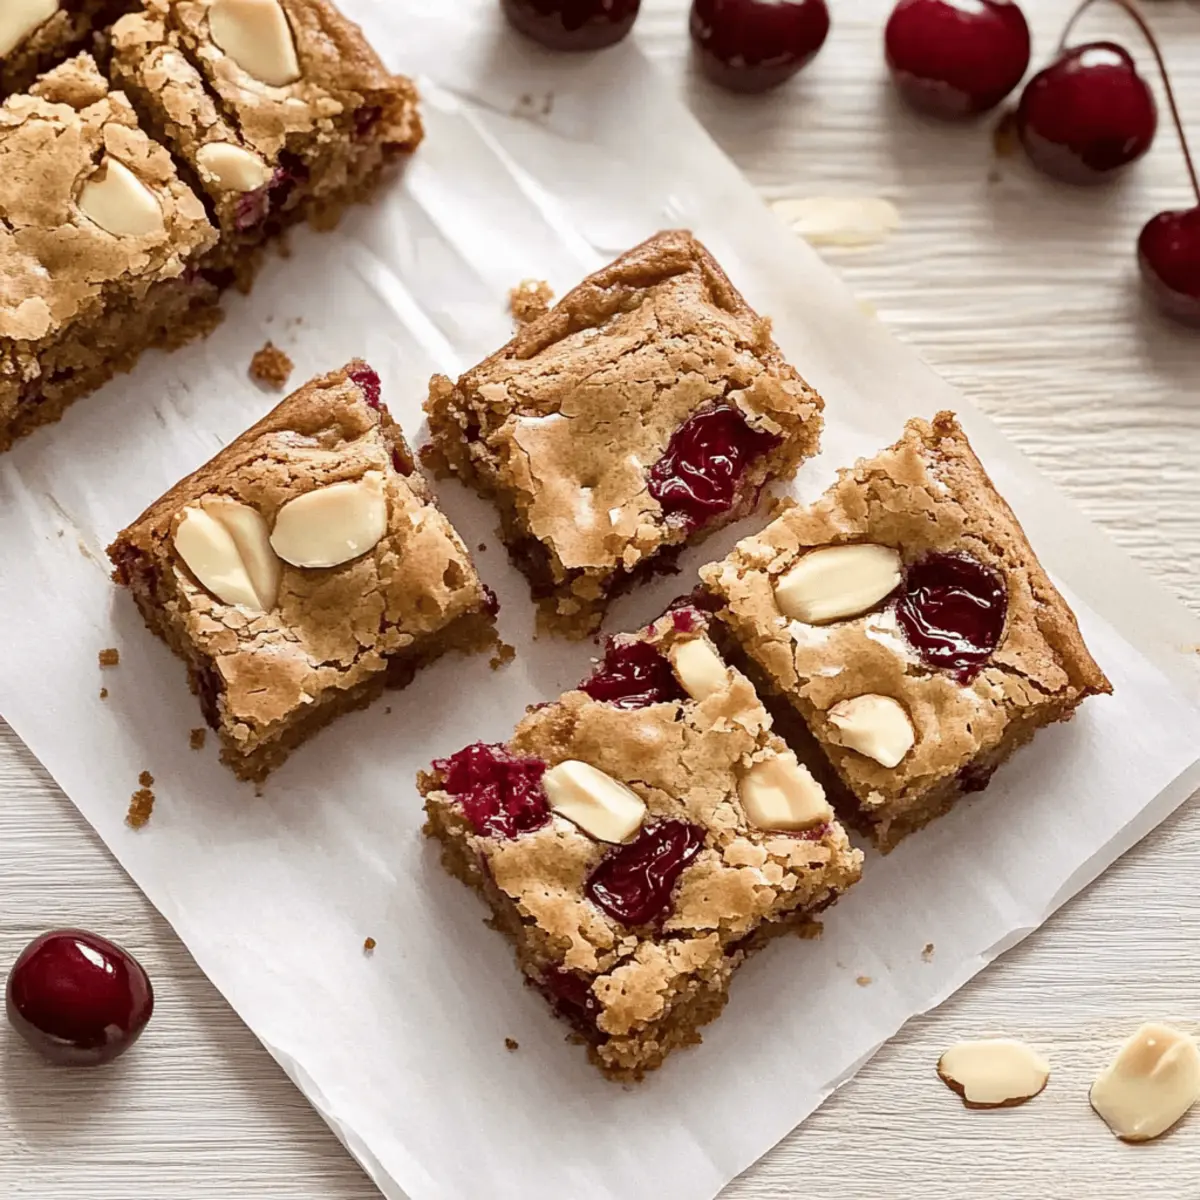
Step 8: Add Chocolate and Nuts
Gently fold in the white chocolate chips and slivered almonds to the batter. This step adds delightful bursts of creaminess and crunch to your Cherry Blondies, making each bite a delightful blend of textures. Ensure the mix-ins are evenly distributed throughout the batter before moving on.
Step 9: Prepare for Baking
Transfer your batter to the prepared baking dish and spread it evenly with a spatula. For an extra touch of finesse, feel free to sprinkle some additional white chocolate and almonds on top for added flavor and visual appeal. Your Cherry Blondies are finally ready to bake in the oven.
Step 10: Bake the Blondies
Place the baking dish in the preheated oven and bake for 50-55 minutes. Check for doneness by inserting a toothpick into the center; it should come out clean or with just a few moist crumbs. The edges should be golden brown, while the center remains slightly soft but set.
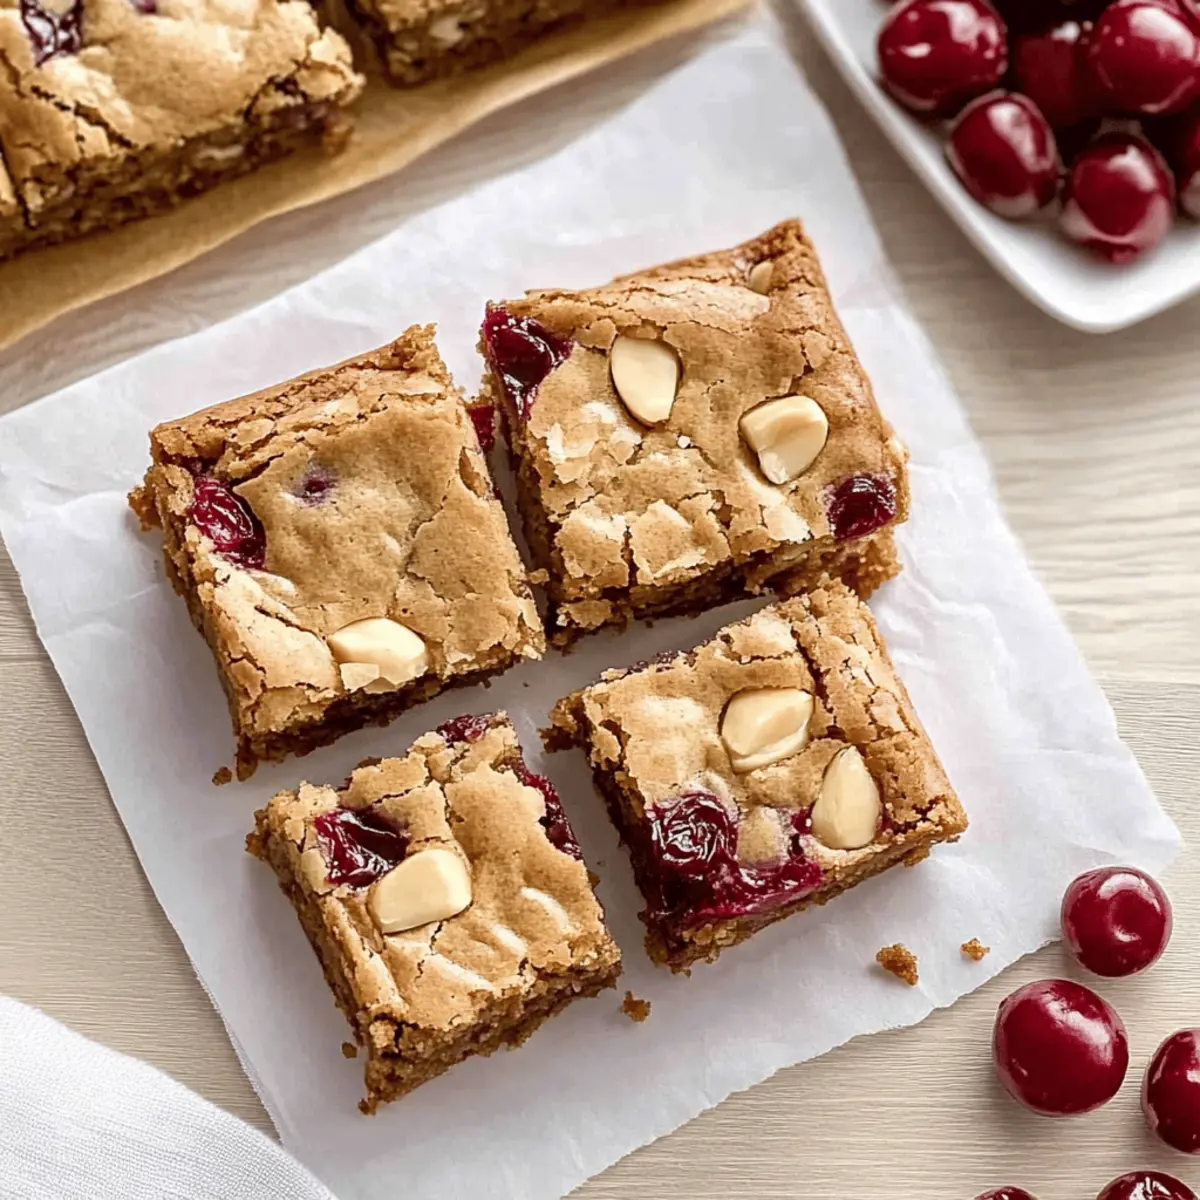
Step 11: Cool and Slice
Once baked, remove the Cherry Blondies from the oven and let them cool in the pan for about 20 minutes. This cooling period allows the blondies to firm up a bit, making it easier to cut them into squares. After cooling, lift them out using the parchment paper and slice them into your desired portions.
Cherry Blondies Variations & Substitutions
Feel free to personalize your Cherry Blondies and turn them into a version that delights your taste buds even more!
-
Gluten-Free: Use a gluten-free flour blend to replace all-purpose flour for a gluten-free option without sacrificing texture.
-
Vegan: Substitute the large egg with a flax egg by mixing 1 tablespoon of ground flaxseed with 2.5 tablespoons of water.
-
Nut-Free: Omit the slivered almonds entirely for a nut-free version that’s just as delicious, or swap in pumpkin seeds for a crunchy element.
-
Fresh Cherries: Swap out cherry pie filling for fresh pitted and pat-dried cherries to enjoy a juicy and tart burst in every bite.
-
Chocolate Lovers: Replace white chocolate chips with dark chocolate chips for a richer chocolate experience that pairs wonderfully with cherries.
-
Fruit Fusion: Change it up by incorporating other fruits like blueberries or raspberries for a delightful twist on flavors. Just make sure to adjust the sweetness accordingly!
-
Cream Cheese Swirl: Add dollops of cream cheese mixture (cream cheese, sugar, and a splash of vanilla) to the batter before baking for a creamy, decadent ribbon of flavor.
-
Spicy Kick: For a surprising twist, add a pinch of cayenne pepper or chili powder to the batter for a delightful heat that contrasts beautifully with the sweetness of cherries.
These scrumptious variations will make your Cherry Blondies the talk of the dessert table! If you’re looking for more inspiration, check out my Cherry Pie Filling Recipe for homemade goodness, or try my Classic Blondies for a buttery alternative!
What to Serve with Chewy Cherry Blondies?
Indulging in these delicious treats opens up a world of delightful pairings that enhance their sweet, nutty flavor profile.
-
Vanilla Ice Cream: The creamy texture of vanilla ice cream contrasts beautifully with the chewy blondies, creating a decadent dessert experience.
A luscious scoop alongside your warm blondies creates a blissful harmony of flavors and temperatures, melting together in every bite. -
Coffee or Espresso: A rich cup of coffee perfectly complements the sweetness of the cherry blondies, enhancing their flavor profiles without overpowering them.
The bitterness of the brew balances the sugary treat brilliantly, turning dessert into a heartwarming ritual. -
Fresh Whipped Cream: Light and fluffy, whipped cream adds a delightful texture and airy sweetness that matches the cherry and almond flavors.
Drizzle some over the blondies for an elegant touch that elevates the dessert to a new level of indulgence. -
Chocolate Ganache: The richness of ganache brings an exceptional depth that pairs beautifully with the white chocolate in the blondies.
Pour it over the chopped blondies or serve on the side for a luxurious, indulgent experience. -
Cherry Compote: A dollop of warm cherry compote brings out the yummy cherry flavor while adding an extra tangy twist to the dessert.
The fresh burst of fruitiness enhances the cherry hues of your blondies, creating a luscious, fruity delight that’s hard to resist. -
Sparkling Water with Lemon: Refreshing and light, sparkling water with a twist of lemon cuts through the sweetness, cleansing your palate.
It’s a perfect drink to balance the richness of your blondies while uplifting the overall dessert experience. -
Chopped Nuts: Sprinkle some extra slivered almonds or other nuts over your blondies for added crunch and flavor.
This simple touch enhances the textural contrast, making each mouthful more interesting and delightful.
Expert Tips for Cherry Blondies
-
Brown Butter Watch: Keep a close eye on your butter as it browns. It can go from perfect to burnt in just seconds, impacting your Cherry Blondies’ flavor.
-
Don’t Overmix: When folding in the dry ingredients, mix just until incorporated. Overmixing can lead to dense, tough blondies instead of chewy and delightful ones.
-
Cool Before Cutting: Allow your blondies to cool in the pan for at least 20 minutes before slicing. This helps them set and achieves the perfect chewy texture.
-
Storage Know-How: Store your Cherry Blondies in an airtight container in the fridge for up to 4 days, or freeze them for up to 3 months for longer enjoyment.
-
Customize Your Add-ins: Feel free to swap nuts or chocolate types to suit your taste. Almonds add a lovely crunch, but walnuts or pecans work just as well!
Make Ahead Options
These Cherry Blondies are perfect for meal prep, allowing you to save time during busy weeks! You can prepare the batter up to 24 hours in advance by mixing the dry ingredients and storing them separately in an airtight container. For the wet ingredients, mix the eggs, extracts, and cherry pie filling and refrigerate them until you are ready to bake. When it’s time to finish, simply combine the two mixtures, fold in the white chocolate and almonds, and bake as directed. This way, you’ll enjoy delicious, fresh blondies with minimal effort on your hectic days!
How to Store and Freeze Cherry Blondies
Fridge: Store your Cherry Blondies in an airtight container for up to 3-4 days. This keeps them fresh and chewy, ready for your next sweet craving.
Freezer: To enjoy these blondies later, wrap them individually in plastic wrap and then place them in a freezer-safe bag. They can be frozen for up to 3 months.
Reheating: For the best texture, reheat frozen Cherry Blondies in the microwave for about 20-30 seconds. Enjoy them warm for that freshly-baked taste!
Cherry Blondies Recipe FAQs
What kind of cherries should I use for Cherry Blondies?
Absolutely! You can use cherry pie filling for sweetness and ease, but if you prefer fresh cherries, just make sure to pit and pat them dry before use. This prevents excess moisture in your blondies, keeping them perfectly chewy!
How should I store Cherry Blondies?
To keep your Cherry Blondies fresh and chewy, store them in an airtight container in the fridge for up to 3-4 days. If you’re anything like me and may not finish them in time, they also freeze beautifully for up to 3 months. Just wrap them individually in plastic wrap for best results!
Can I freeze Cherry Blondies?
Yes, you can! To freeze your Cherry Blondies, cut them into squares and wrap each piece in plastic wrap. Place the wrapped squares in a freezer-safe bag or container. When you’re ready to enjoy, simply reheat in the microwave for about 20-30 seconds until warmed through for that fresh-baked taste!
What should I do if my blondies are too gooey?
Very! If your blondies seem too gooey after baking, it’s likely they need extra cooling time. They should set as they cool in the pan for at least 20 minutes. If you find they still aren’t firming up, they may need a few more minutes in the oven. Just be careful not to overbake, as this can lead to dryness!
Are these Cherry Blondies suitable for those with allergies?
Definitely! If you have nut allergies, you can omit the slivered almonds or replace them with seeds like sunflower seeds for crunch. Additionally, a flax egg can replace the large egg for a vegan option. Just remember to check your cherry pie filling, as some brands may contain allergens like gluten.
How do I know when my Cherry Blondies are done baking?
To check for doneness, insert a toothpick into the center of your blondies after baking for about 50-55 minutes. It should come out clean or with a few moist crumbs attached. The edges of the blondies will be a lovely golden brown, while the center might look slightly soft but set.
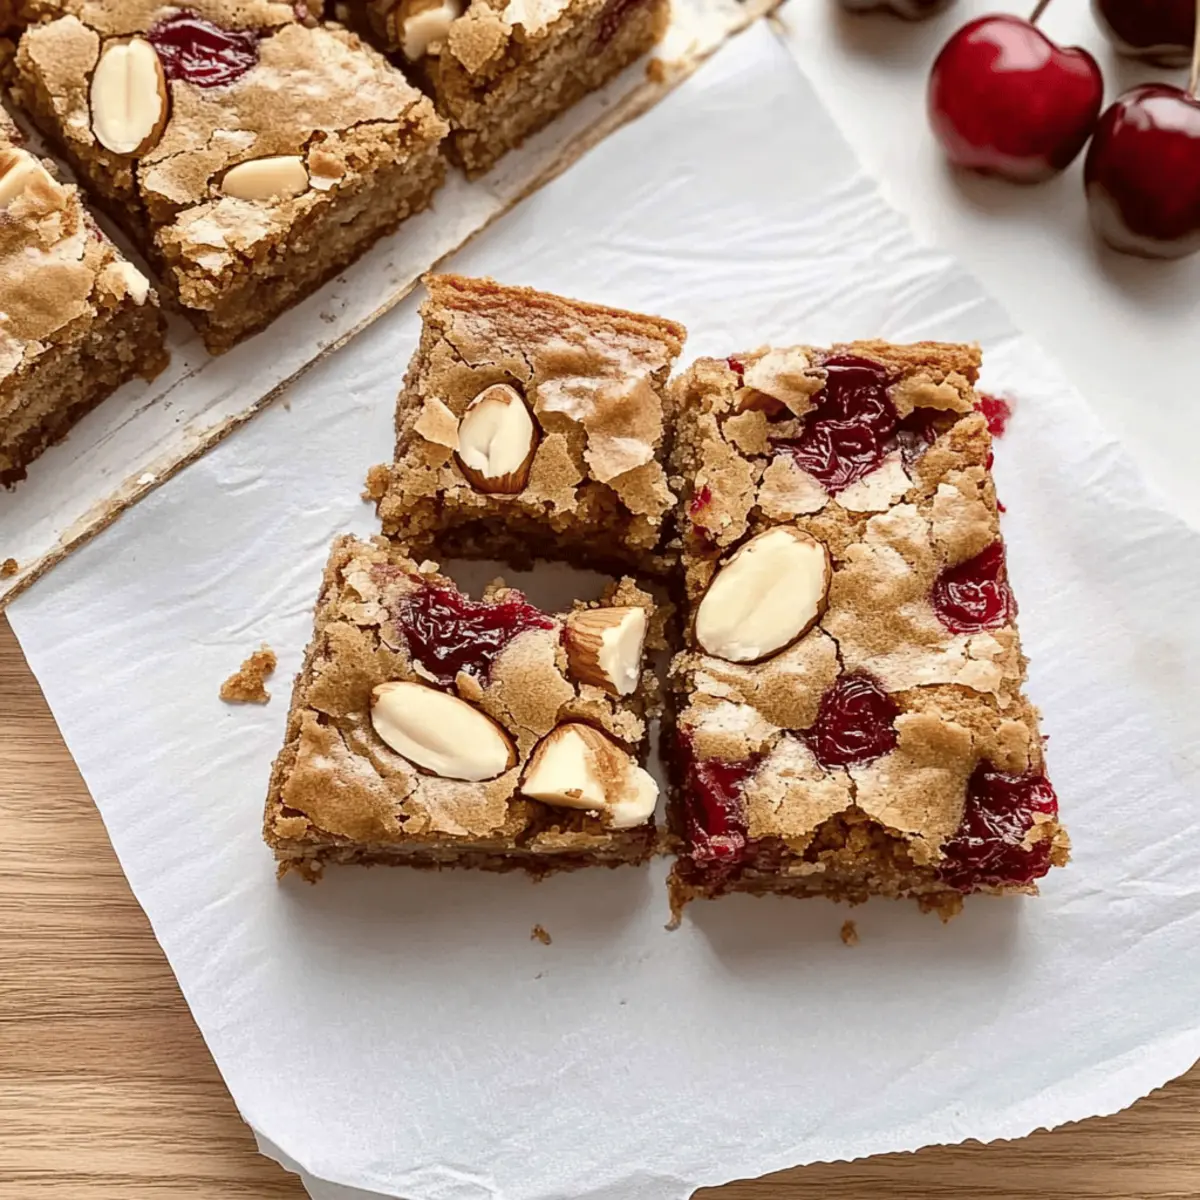
Chewy Cherry Blondies That Everyone Will Love
Ingredients
Equipment
Method
- Preheat your oven to 350°F (175°C) and grease an 8x8” baking dish, lining the bottom with parchment paper.
- In a medium mixing bowl, whisk together all-purpose flour, baking powder, and salt until well blended. Set aside.
- In a large bowl, whisk together the egg, vanilla extract, almond extract, and cherry pie filling until smooth.
- In a medium saucepan, melt the cubed salted butter until frothy, then cook for 5-8 minutes until golden brown.
- Mix the browned butter with granulated and brown sugar until creamy.
- Stir the cherry mixture into the sugar and butter blend until fully integrated.
- Fold the flour mixture into the wet ingredients until a thick batter forms.
- Gently fold in the white chocolate chips and slivered almonds to the batter.
- Transfer the batter to the prepared baking dish and spread evenly. Optionally, add more chocolate and almonds on top.
- Bake for 50-55 minutes or until a toothpick comes out clean.
- Cool in the pan for about 20 minutes before lifting out and slicing.