

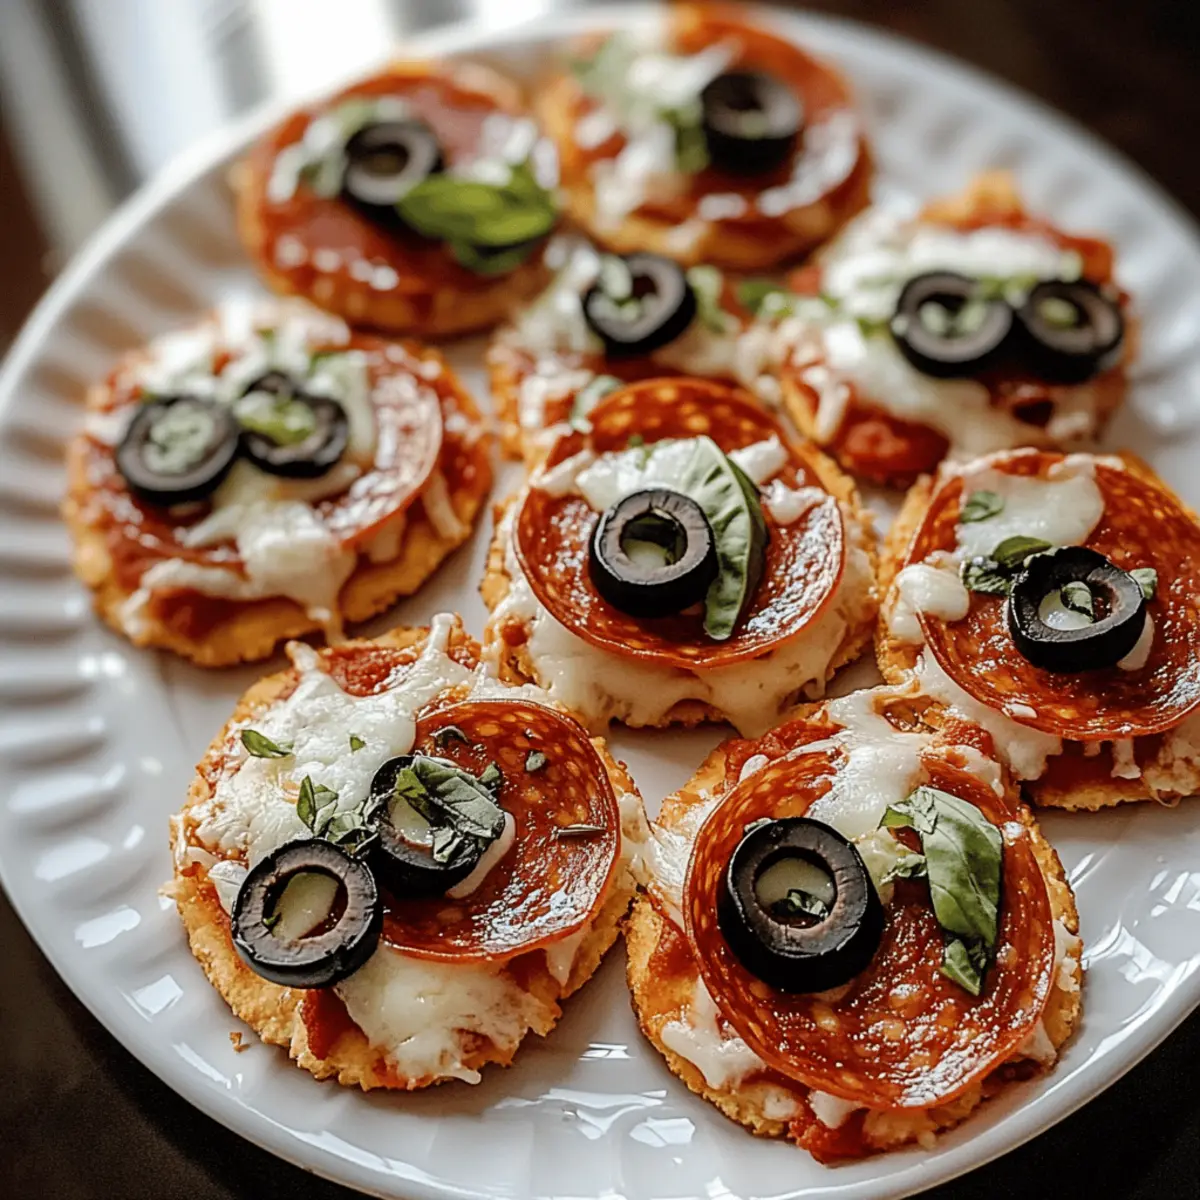
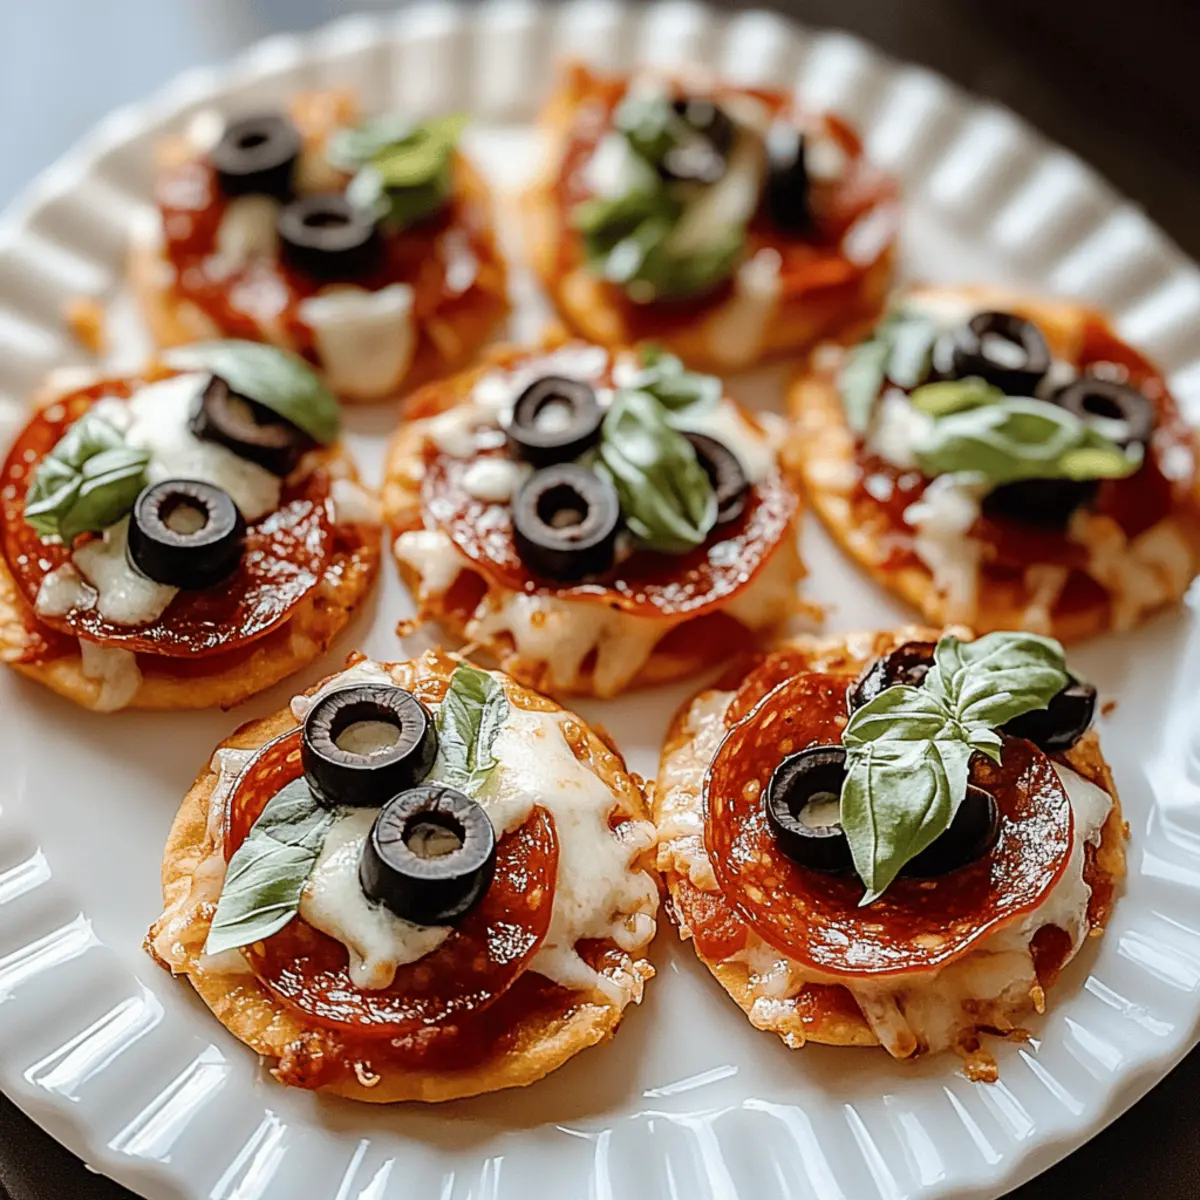
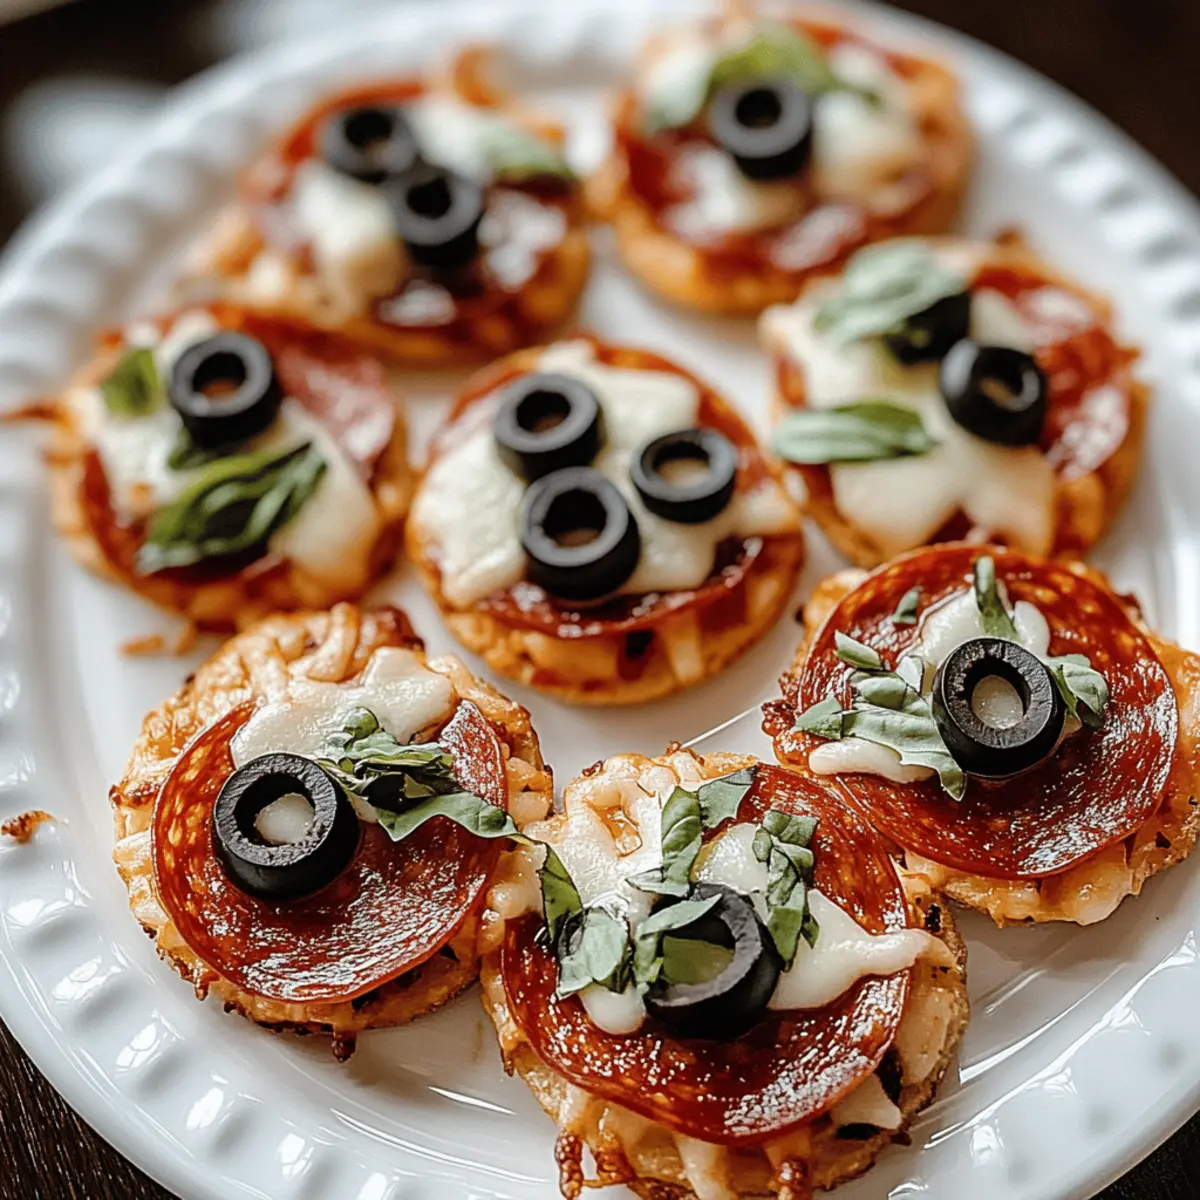
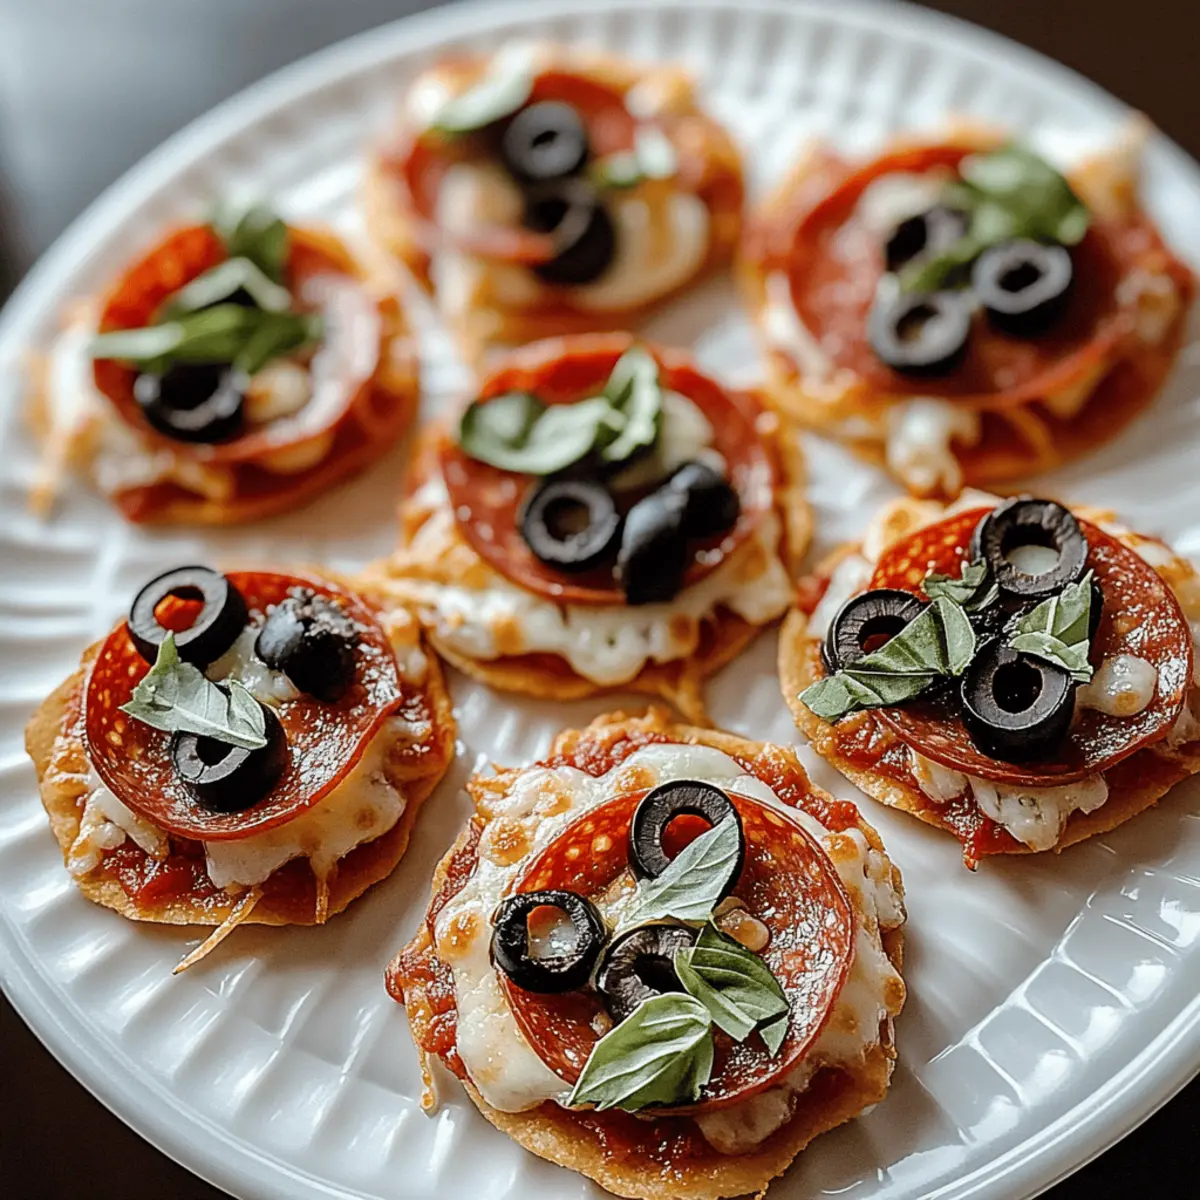
As I rummaged through the fridge one rainy afternoon, a delightful thought struck me: what if we could craft our own Italian Lunchables Pizza at home? These delicious Mini DIY Italian Lunchables Pizzas transform lunchtime into a whimsical culinary adventure, perfect for both kids and adults alike. With just 15 minutes of prep and 12 minutes of bake time, this beginner-friendly recipe not only saves you from fast food but also delivers endless customization options to satisfy every palate. Whether you’re planning a fun family gathering or looking for a quick snack, these mini pizzas allow your creativity to soar while keeping everyone happy and full! Ready to create some cheesy goodness that could elevate your lunch game?
Why Is This Recipe a Must-Try?
Easy to Make: Even if you’re a beginner, this recipe takes just 15 minutes to prep!
Endless Customization: Top these mini pizzas with your favorite ingredients, whether you love classic pepperoni or fresh veggies.
Kid-Friendly Fun: Get the kids involved in making their very own pizza creations, making lunchtime a delightful activity.
Perfect for Any Occasion: Whether it’s a family gathering or a quick after-school snack, these mini pizzas are always a hit.
Homemade Goodness: Say goodbye to fast food with a hearty, cheesy lunch that’s both satisfying and fun. Try serving them alongside some of our Mini Fruit Pizzas for an extra treat!
Italian Lunchables Pizza Ingredients
• Create your cheesy masterpiece with these simple ingredients!
For the Crust
- Mini Pre-Made Pizza Crusts – These are ready-to-go, perfect for a quick lunch; you can also use gluten-free crusts if needed.
For the Sauce
- Pizza Sauce – This adds moisture and flavor; marinara sauce serves as a great substitute if you prefer.
For the Cheese
- Shredded Mozzarella Cheese – Essential for that gooey texture; feel free to use cheddar or vegan cheese for different tastes.
- Grated Parmesan Cheese – Adds a salty kick and extra flavor; you can replace it with nutritional yeast for a dairy-free option.
For the Toppings
- Mini Pepperoni Slices – A classic choice that brings savory goodness; try swapping for bell peppers or mushrooms for a vegetarian alternative.
- Sliced Black Olives – They offer a briny contrast; omit them if they aren’t your favorite.
- Italian Seasoning – Enhances the overall flavor profile; using fresh herbs can elevate your pizza!
For Garnish
- Fresh Basil Leaves – These add a delightful herbal note to your mini pizzas; garnish them for a splash of freshness.
- Optional Red Pepper Flakes – For a bit of heat, sprinkle some on; if you prefer mild flavors, feel free to skip!
Step‑by‑Step Instructions for Italian Lunchables Pizza
Step 1: Preheat the Oven
Begin by preheating your oven to 375°F (190°C), positioning an oven rack in the center. This allows for even cooking, ensuring your Italian Lunchables Pizza crusts bake perfectly. As the oven warms up, gather all your ingredients and equipment—you’ll need a baking sheet or pizza stone to support your mini pizzas.
Step 2: Arrange the Crusts
Next, take your mini pre-made pizza crusts and arrange them evenly on the baking sheet or pizza stone. Make sure there’s space between crusts for proper airflow, which helps them crisp up nicely. This step is crucial for ensuring each mini pizza gets that delightful, golden-brown edge when baked.
Step 3: Spread the Sauce
Now, take about 1 tablespoon of pizza sauce and spread it generously on each crust, leaving a small edge around the outside. This will serve as the flavorful base for your Italian Lunchables Pizza. Ensure the sauce is evenly distributed and use a small spoon for easy spreading.
Step 4: Add the Cheese
Once the sauce is applied, evenly sprinkle a generous amount of shredded mozzarella cheese over each sauced crust. The cheese should cover the sauce but not spill over the edges, ensuring it melts beautifully during baking. This is where the gooey cheesy goodness begins!
Step 5: Top with Meat and Veggies
Next, layer your mini pizzas with mini pepperoni slices and any additional toppings like sliced black olives, if desired. Feel free to customize with your favorite ingredients for a unique touch. This step adds the savory and briny flavors that complement the cheesy base perfectly.
Step 6: Sprinkle with Parmesan and Seasoning
Dust each mini pizza with a sprinkling of grated Parmesan cheese and Italian seasoning. These enhancements will elevate the overall flavor profile, making your Italian Lunchables Pizza irresistible. Don’t hold back; this is where you can add a personal touch—fresh herbs work great too!
Step 7: Bake the Pizzas
Place the baking sheet in the preheated oven and bake your mini pizzas for 10 to 12 minutes. Watch closely as they bake—the cheese should melt and become bubbly, while the edges turn a light golden brown. This is the moment of transformation to flavorful, crispy delights!
Step 8: Cool Before Serving
After roasting, remove the baking sheet from the oven and let the mini pizzas cool for about a minute. This helps the cheese set slightly, making it easier to handle when serving. The delicious aroma of your Italian Lunchables Pizza should fill your kitchen, inviting everyone to dig in!
Step 9: Garnish and Serve
Finally, garnish your mini pizzas with fresh basil leaves and a sprinkle of red pepper flakes, if you’re feeling adventurous. Serve them warm on a wooden board or in lunchboxes for a fun meal. These customizable Italian Lunchables Pizzas are now ready to bring joy to your lunchtime!
Storage Tips for Italian Lunchables Pizza
Fridge: Store your Italian Lunchables Pizza in an airtight container for up to 3 days to maintain freshness.
Freezer: For longer storage, layer cooled mini pizzas with parchment paper and place them in a freezer-safe bag. They can be frozen for up to 2 months.
Reheating: When ready to enjoy, reheat in the oven at 350°F (175°C) for about 10 minutes for the best results, ensuring the cheese melts beautifully again.
Thawing: If frozen, thaw in the fridge overnight before reheating to maintain the best texture and flavor.
What to Serve with Mini DIY Italian Lunchables Pizzas
Looking to elevate your meal experience and turn your mini pizza creations into a feast?
- Crispy Garlic Bread: Paired with marinara dipping sauce, this crunchy delight complements the cheesy goodness of the pizzas.
- Fresh Garden Salad: A vibrant mix of greens provides a refreshing contrast to the rich flavors of the mini pizzas; toss with a light vinaigrette for balance.
- Fruit Skewers: Colorful and juicy, these add a sweet touch that contrasts with the savory pizza flavors, perfect for kids and adults alike.
- Italian Antipasto Platter: A spread of olives, cheeses, and cured meats makes for an elegant, shareable addition to your pizza party, enticing guests before the main course.
- Zesty Coleslaw: The crunchy texture and tangy dressing create an appealing contrast to the gooey cheese and crispy crust—ideal for rounding out a delicious meal.
- Sparkling Lemonade: This refreshing drink adds a zesty touch that complements the savory elements while keeping the meal light and fun, perfect for warm afternoons.
- Chocolate Dipped Strawberries: As a sweet finish, these bite-sized treats provide a playful way to end the meal while enhancing the overall dining experience.
- Mini Chocolate Chip Cookies: A classic sweet that never fails to please, just the right size for satisfying that post-pizza craving.
- Gelato: For a truly Italian experience, serve a scoop of gelato on the side—a creamy, indulgent treat that will enchant everyone!
Make Ahead Options
These Mini DIY Italian Lunchables Pizzas are perfect for meal prep, allowing you to save time on busy days! You can prepare the mini pizza crusts with sauce, cheese, and toppings up to 24 hours in advance. Simply assemble the pizzas, then cover them tightly with plastic wrap and refrigerate until you’re ready to bake. This ensures everything stays fresh and the ingredients won’t dry out. When you’re ready to enjoy your pizza creations, bake them straight from the fridge for about 12-15 minutes, as they might require a little extra time. You’ll have delicious, cheesy goodness that’s just as satisfying and far healthier than fast food!
Italian Lunchables Pizza: Customization Made Easy
Feel free to get creative with your toppings and personalize these delicious mini pizzas to suit your taste!
- Vegetarian Delight: Omit the pepperoni and include bell peppers, mushrooms, and zucchini. This vibrant mix adds visual appeal and flavor to your lunch.
- Cheese Swap: Try using a different cheese like cheddar or a dairy-free option. Each cheese brings a unique taste, making every pizza feel new and exciting.
- Low-Carb Option: Swap the mini pizza crusts for cauliflower crusts for a healthier twist. It’s a great choice for those looking to reduce carbs without sacrificing flavor!
- Herb Boost: Replace Italian seasoning with fresh herbs like basil or oregano for a garden-fresh taste. Your homemade pizzas will explode with aromatic flavors that transport you straight to Italy.
- Heat It Up: For an added kick, sprinkle some jalapeños or spicy salami on top. The heat pairs beautifully with the gooey cheese, creating a delightful contrast.
- Gourmet Touch: Drizzle a bit of balsamic glaze over the cooked pizza for a touch of sophistication. This simple addition transforms your mini pizzas into fancy gourmet bites.
- Comfort Classic: Add a dollop of ricotta cheese atop your mini pizzas before baking for a creamy finish. It’s like a little hug for your taste buds!
Feeling inspired? Don’t stop here! Pair these delightful mini DIY Italian Lunchables Pizzas with our irresistible Italian Basil Chicken for a satisfying meal or serve them alongside some sweet and fun Mini Fruit Pizzas for dessert. Enjoy exploring these variations!
Expert Tips for Italian Lunchables Pizza
-
Don’t Overcrowd: Ensure there’s enough space between the crusts on the baking sheet to allow for even cooking and a perfectly crispy edge.
-
Watch the Cheese: Keep an eye on the edges during baking; they should be a light golden brown. Overcooking can lead to tough, chewy cheese.
-
Cool Briefly: Let your Italian Lunchables Pizza rest for a minute after removing from the oven. This cooling period helps the cheese set, preventing sliding toppings when served.
-
Mix It Up: Feel free to swap out cheeses or toppings based on your mood or dietary preferences. Customize these mini pizzas to ensure everyone loves them!
-
Fresh Herbs: Using fresh herbs like basil or oregano instead of dried can enhance the flavor significantly. Don’t skip this step for that extra fresh burst!
Italian Lunchables Pizza Recipe FAQs
How can I choose the best mini pizza crusts?
Absolutely! When selecting mini pre-made pizza crusts, look for ones that are golden brown, without dark spots or a soft texture, which can indicate they are past their prime. If you’re aiming for a gluten-free option, many stores now offer excellent gluten-free crusts made from cauliflower or almond flour.
What’s the best way to store leftovers?
To maintain their deliciousness, store your Italian Lunchables Pizza in an airtight container in the refrigerator for up to 3 days. If you plan to keep them longer, it’s best to freeze them, but make sure they’re completely cooled first. Layer them with parchment paper in a freezer-safe bag, and they’ll stay good for up to 2 months!
Can I freeze these mini pizzas?
Yes, you can! For freezing, start by allowing the cooked mini pizzas to cool completely. Then, stack them with parchment paper between each pizza to prevent sticking. Place them in a freezer-safe bag or container. When you’re ready to munch, thaw overnight in the fridge and reheat in the oven at 350°F (175°C) for about 10 minutes to revive that gooey, cheesy goodness.
How do I avoid soggy pizza crusts?
Oh, a common concern! To avoid soggy crusts, ensure your crusts are spaced apart on the baking sheet to promote even cooking and prevent steaming. Additionally, avoid overloading your pizzas with sauce and toppings—keep them balanced so that each mini pizza bakes to a delightful crisp without becoming too wet.
Are there any dietary considerations for this recipe?
Very much so! This Italian Lunchables Pizza can be adjusted to accommodate various dietary needs. For a vegan option, swap out all cheese for your favorite vegan alternatives and use a dairy-free pizza sauce. If someone has allergies, make sure to check all ingredient labels for potential allergens like gluten, dairy, or specific toppings. Customizing to your and your family’s preferences makes pizza night a lot of fun!
Italian Lunchables Pizza: Fun, Customizable Mini Treats
Ingredients
Equipment
Method
- Preheat the oven to 375°F (190°C) and gather all ingredients.
- Arrange mini pre-made pizza crusts on a baking sheet or pizza stone.
- Spread 1 tablespoon of pizza sauce onto each crust.
- Sprinkle shredded mozzarella cheese evenly over the sauce.
- Top with mini pepperoni slices and other desired toppings.
- Dust with grated Parmesan cheese and Italian seasoning.
- Bake for 10 to 12 minutes until cheese is bubbly and edges are golden brown.
- Cool for 1 minute before serving.
- Garnish with fresh basil leaves and red pepper flakes, then serve.