
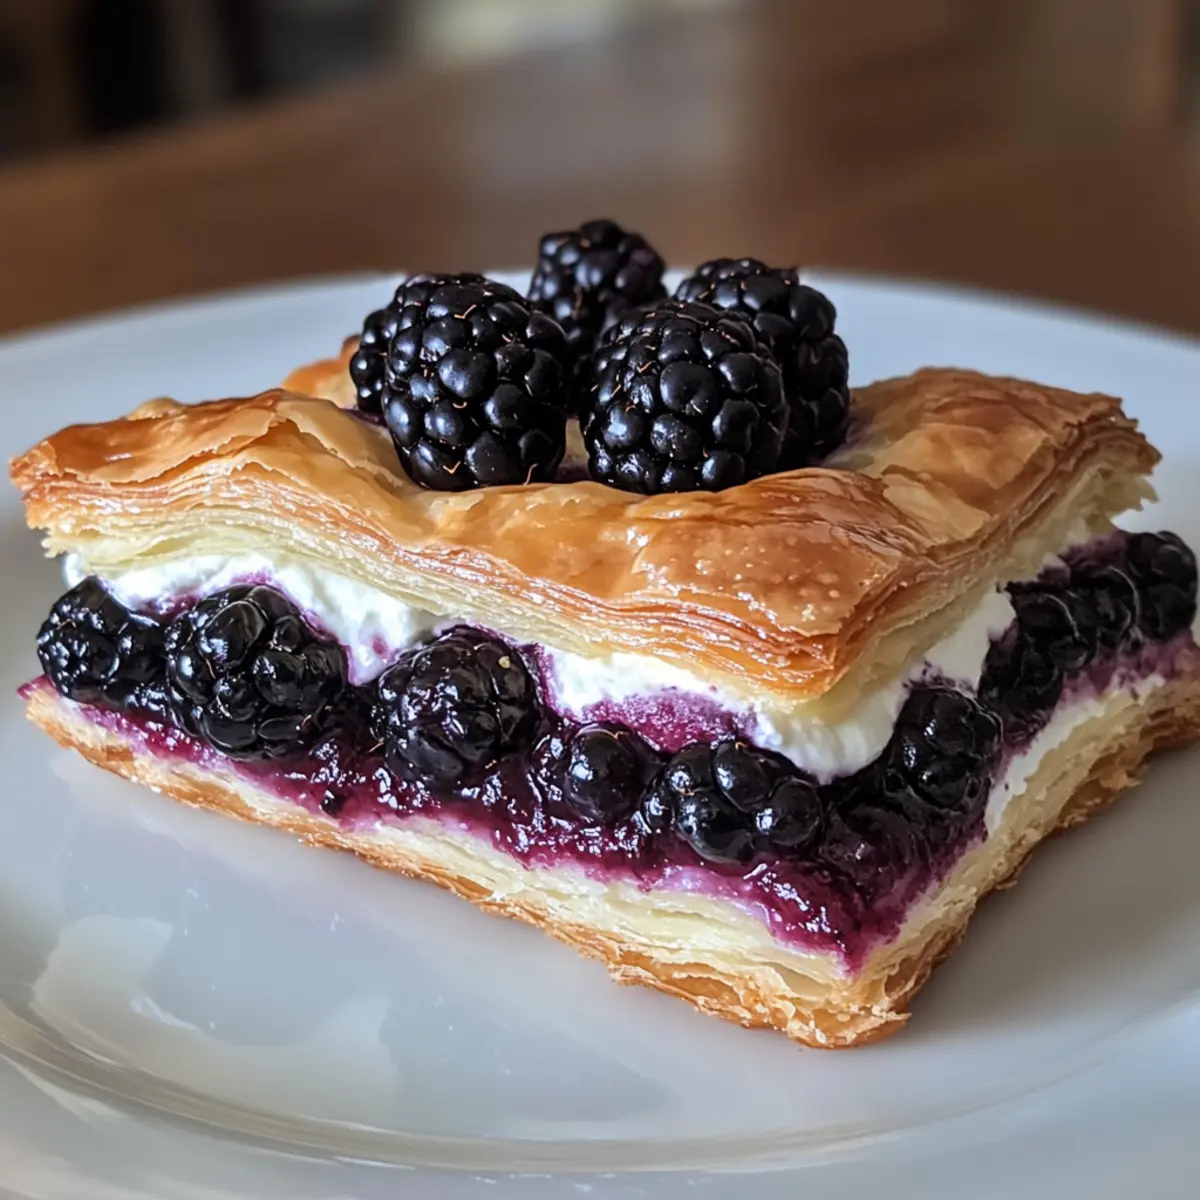
Stumbling upon a cozy bakery in a quaint little town, the enticing aroma of freshly baked pastries wafted through the air, luring me in like a moth to a flame. Among the delights on display was the fluffy Blackberry Cream Cheese Danish, a stunning blend of flaky pastry and creamy filling, topped with sweet-tart blackberries that beckoned for a bite. This recipe recreates that exact magic at home, proving that even novice bakers can whip up these buttery sensations. Not only are they perfect for an indulgent breakfast or a delicious afternoon treat, but they’re also adaptable for gluten-free and vegan diets, making these danishes a versatile addition to any table. So, are you ready to elevate your baking game and impress your loved ones with a touch of homemade charm?
Why is this Danish so special?
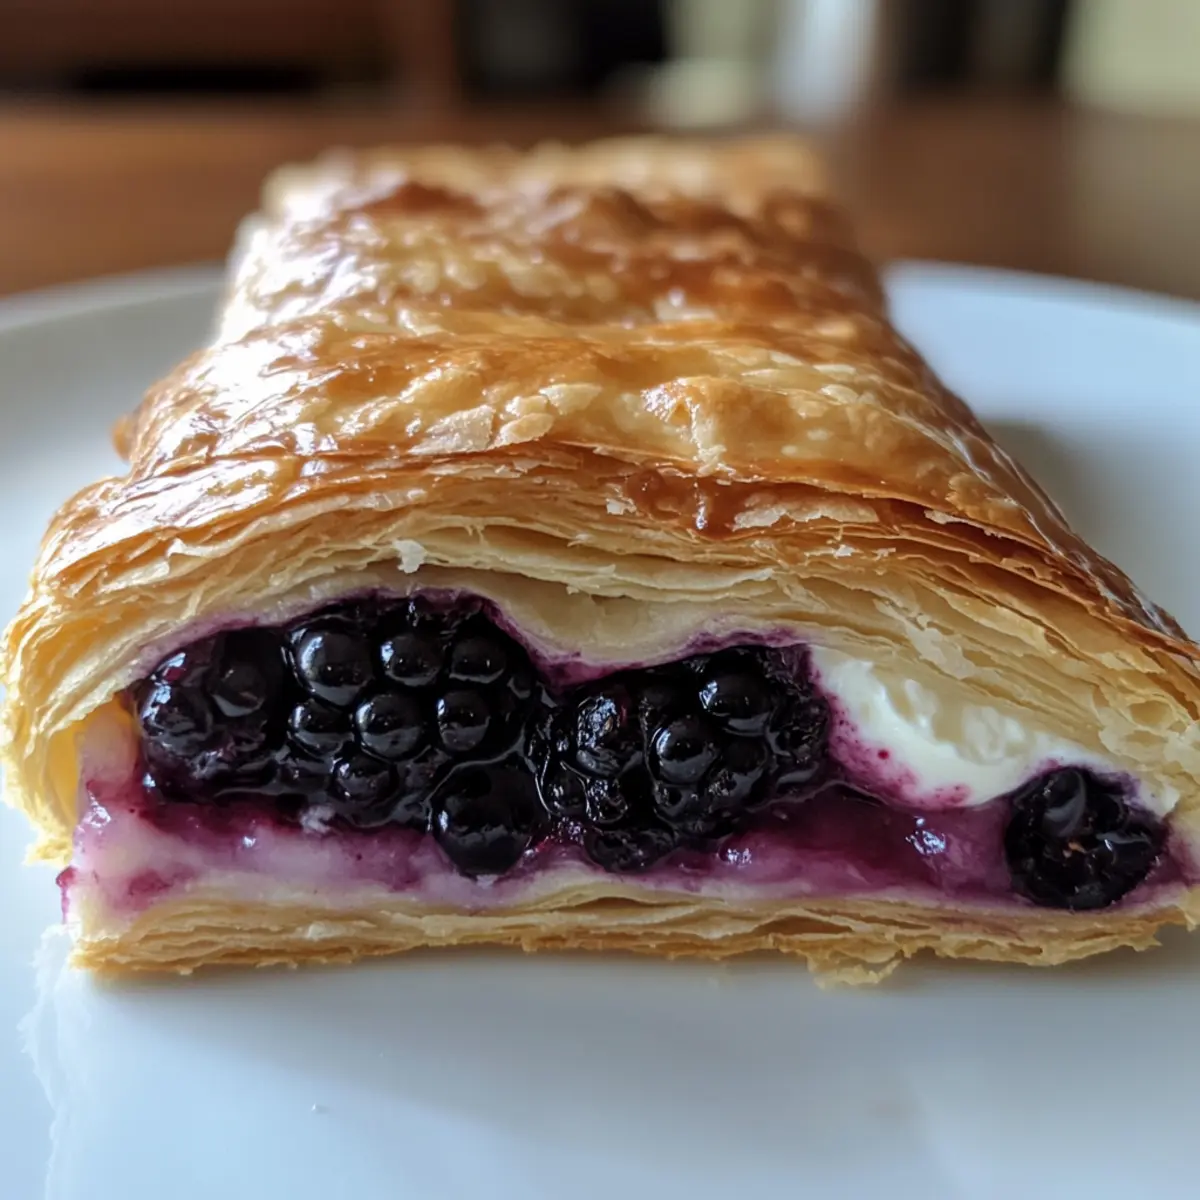
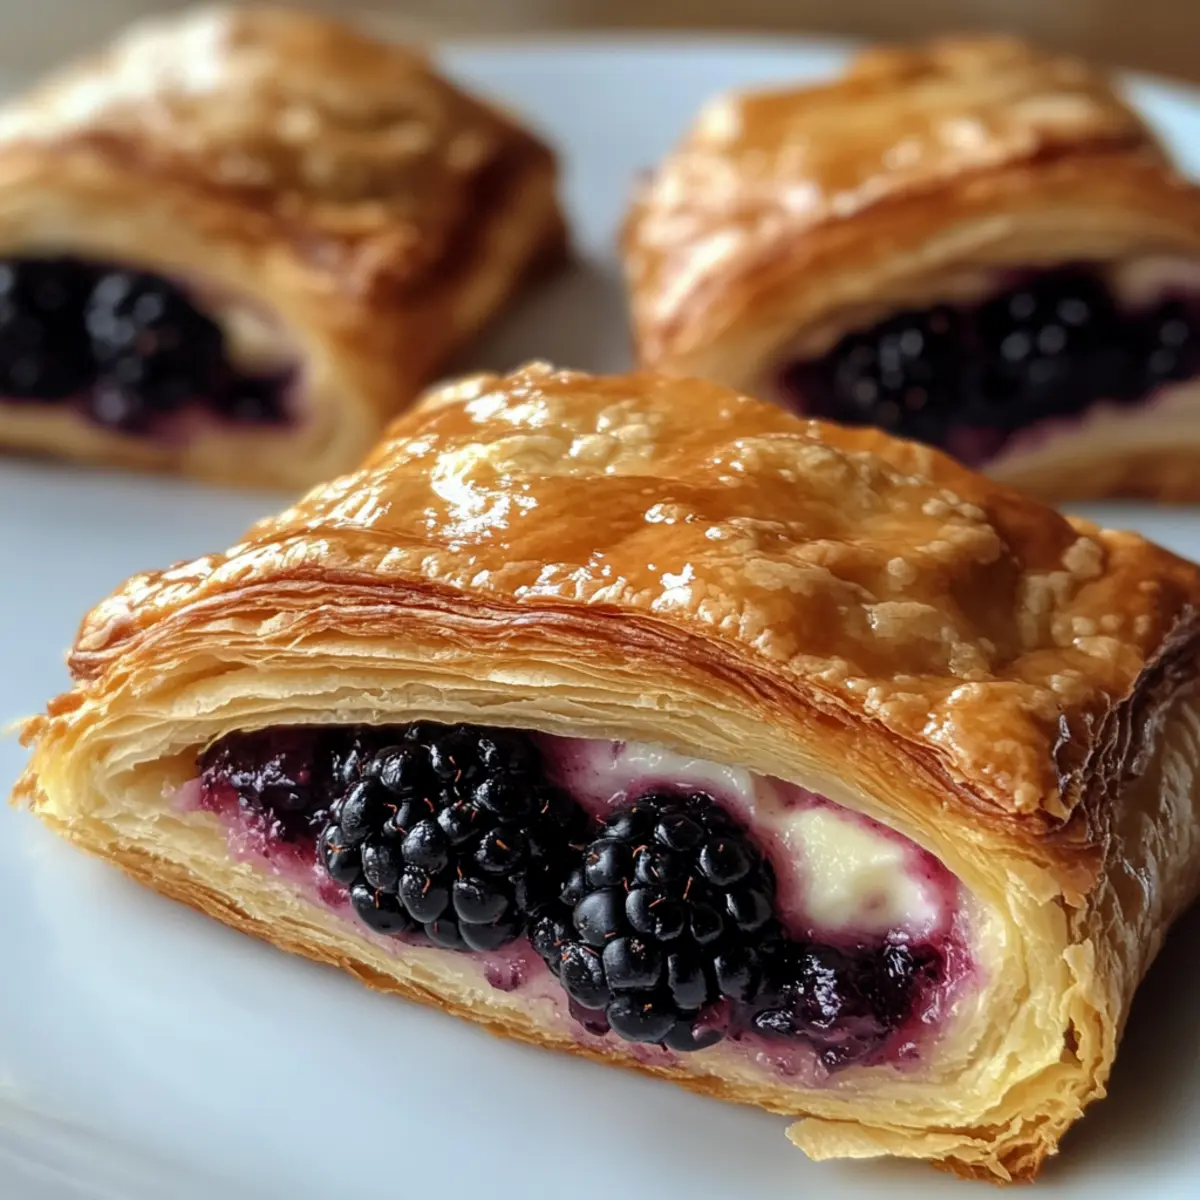
Flaky Layers: Each bite features beautifully flaky pastry, a texture you’ll love.
Creamy Filling: The cream cheese filling adds a luxurious creaminess that perfectly complements the fruit.
Customizable: Feel free to swap in your favorite fruits or even make it gluten-free or vegan. For more sweet inspirations, check out my Mini Patriotic Cheesecakes or Key Lime Cheesecake.
Effortlessly Impressive: These danishes impress guests at brunches or cozy family breakfasts without the need for a bakery visit.
Quick Prep: With simple steps and an easy-to-follow process, you’ll be enjoying homemade pastries in no time.
Crowd-Pleaser: Perfect for sharing, it brings smiles to everyone at the table, whether it’s a special occasion or just a Saturday morning.
Blackberry Cream Cheese Danish Ingredients
Create the perfect pastry with simple ingredients for your homemade delight.
For the Dough
- Warm Water – Activates yeast; use around 110°F to ensure your yeast foams up beautifully.
- Sugar – Feeds the yeast and adds a touch of sweetness; feel free to substitute with honey or agave.
- Yeast – The secret to fluffiness; make sure it’s fresh for the best rise!
- All-Purpose Flour – Provides essential structure; consider using white whole wheat for a healthier twist.
- Salt – Balances sweetness and enhances flavor; don’t skip this vital ingredient.
- Cold Butter – Creates those irresistible flaky layers; opt for high-fat butter for amazing results.
- Cold Milk – Adds moisture and richness; for a vegan version, switch to non-dairy milk.
For the Cream Cheese Filling
- Cream Cheese – Offers a rich, creamy filling; can be substituted with almond paste or vegan cream cheese for alternatives.
- Powdered Sugar – Sweetens the filling; optional for vegan options if you’re using alternative sweeteners.
- Vanilla Extract – Boosts flavor; choose pure vanilla extract for a delightful taste.
- Lemon Juice – Brightens the filling’s flavor; this is optional, but lime can work well too!
For Topping
- Blackberries – Fresh, juicy fruit topping that adds flavor and visual appeal; swap in peaches or pears when they’re in season.
Step‑by‑Step Instructions for Blackberry Cream Cheese Danish
Step 1: Prepare Yeast Mixture
In a small bowl, combine warm water at approximately 110°F, sugar, and yeast. Stir gently and let it sit for 5-10 minutes until foamy and bubbly. This step is crucial for activating your yeast, which will help the dough rise beautifully in your Blackberry Cream Cheese Danish.
Step 2: Mix Dry Ingredients
In a large mixing bowl, whisk together the all-purpose flour and salt until well combined. Next, cut in cold butter using a pastry cutter or your fingers until the mixture resembles coarse crumbs with pea-sized lumps. This will create those flaky layers essential for your danish.
Step 3: Form Dough
Make a well in the center of the dry ingredients and pour in the yeast mixture along with cold milk. Stir gently with a wooden spoon until just combined, ensuring you form a shaggy, rough dough. Avoid overmixing, as this can affect the texture of your Blackberry Cream Cheese Danish.
Step 4: Laminate Dough
Transfer the dough onto a floured surface and shape it into a rectangle. Fold the dough into thirds, like a letter, then wrap it in plastic wrap. Chill in the refrigerator for 30 minutes to 1 hour. This process adds layers, crucial for a flaky texture.
Step 5: Prepare Cream Cheese Filling
While the dough chills, prepare the filling. In a mixing bowl, blend softened cream cheese, powdered sugar, vanilla extract, and lemon juice until smooth and creamy. Keep the filling chilled until you’re ready to assemble your Blackberry Cream Cheese Danish for the best texture.
Step 6: Shape Pastries
Once the dough is chilled, roll it out into a large rectangle about 1/4 inch thick. Cut it into 8 equal squares. In the center of each square, place a spoonful of the cream cheese mixture and a few blackberries. Fold the corners of the squares towards the center to create a delightful package.
Step 7: Final Rise
Arrange the shaped pastries on a parchment-lined baking sheet, leaving space between each one. Cover them with a clean kitchen towel and let them rise for about 20 minutes. Preheat your oven to 375°F during this time, preparing for the baking of your delicious Blackberry Cream Cheese Danish.
Step 8: Bake
After the final rise, lightly brush the pastries with milk to promote browning. Bake in the preheated oven for 20-25 minutes, or until they are golden brown and puffed up. The delightful aroma of the baking danishes will fill your kitchen, making it even more inviting.
Step 9: Glaze
Once baked, allow the danishes to cool slightly before glazing. In a small bowl, mix powdered sugar with a splash of milk to create a smooth glaze. Drizzle it over the cooled Blackberry Cream Cheese Danish for a sweet finishing touch, enhancing both flavor and appearance.
Blackberry Cream Cheese Danish Variations
Feel free to unleash your creativity and adapt this recipe to suit your taste preferences and dietary needs!
- Gluten-Free: Use a gluten-free flour blend for a delightful, airy texture without the gluten.
- Vegan: Switch cream cheese with vegan cream cheese or almond paste, and use non-dairy milk and butter to keep it plant-based.
- Fruit Swaps: Replace blackberries with peaches in summer or roasted pears in autumn for a seasonal twist. The filling can shine with so many fruity flavors!
- Add Spices: Sprinkle in cinnamon or nutmeg to the cream cheese filling for an aromatic enhancement. This simple twist can elevate the overall flavor profile of your danish.
- Top it Off: Consider adding a sprinkle of chopped nuts on top before baking for added crunch and a wonderful textural contrast. Walnuts or almonds would work perfectly here!
- Lemon Zest: For a zesty kick, incorporate fresh lemon or lime zest into the cream cheese mixture for an uplifting burst of flavor.
- Sweeten Differently: Swap powdered sugar in the filling for maple syrup or honey for a unique sweetening option, enhancing the caramel-like qualities in your danish.
- Creamier Filling: If you prefer a creamier filling, blend in a couple of tablespoons of Greek yogurt for an extra rich and tangy layer.
As you broaden your culinary repertoire, don’t forget to explore delicious options like my Loaded Chili Cheese and Red Velvet Cheesecake Bars for your next family gathering! Each variation brings something special, making your homemade treats even more enjoyable. Happy baking!
What to Serve with Blackberry Cream Cheese Danish
Bring your brunch table to life with delightful pairings that enhance this flaky treat!
- Fresh Fruit Salad: A vibrant medley of seasonal fruits brightens the plate, offering a refreshing balance to the creamy filling.
- Coffee: A warm cup of coffee complements the sweetness of the danish, creating a cozy vibe for your morning routine.
- Herbal Tea: Sour flavors from herbal tea contrast beautifully with the sweet creaminess, providing an elegant afternoon experience.
- Whipped Cream: Light and airy, a dollop of whipped cream adds an indulgent touch that elevates this already decadent pastry.
- Greek Yogurt: Creamy, tangy yogurt serves as a rich yet healthy side, perfectly balancing the sweet filling while adding protein.
- Honey Drizzle: A drizzle of honey over the warm danish amplifies its sweetness and adds a touch of floral flavor—simply divine!
- Mini Quiches: Include savory mini quiches on the table for a contrasting flavor that delights the palate and rounds out your brunch spread.
- Sparkling Water: Refreshing and light, sparkling water enhances the dining experience, giving a bubbly touch that’s perfect for celebration.
Expert Tips for the Best Blackberry Cream Cheese Danish
- Cold Ingredients: Always start with cold butter and milk; this is crucial for achieving those flaky layers in your Danish.
- Perfect Yeast Activation: Ensure your yeast mixture is bubbly and foamy to guarantee your dough rises properly, avoiding denser pastries.
- Minimal Mixing: When forming the dough, mix just until combined. Overmixing can lead to a tough texture instead of that tender, flaky bite in your Blackberry Cream Cheese Danish.
- Chill for Flakiness: Don’t skip the chilling step! This allows the butter to firm up, resulting in layers that puff beautifully during baking.
- Let Rise Thoroughly: Allowing pastries to rise adequately before baking will help them puff up and become airy, enhancing their overall texture.
- Fruit Substitutions: When experimenting with different fruits, ensure they’re fresh and not overly juicy to avoid soggy pastries.
How to Store and Freeze Blackberry Cream Cheese Danish
- Room Temperature: Store leftover danishes in an airtight container at room temperature for up to 48 hours to maintain their flakiness.
- Fridge: If you plan to keep them longer, refrigerate in an airtight container for up to 3 days. Reheat in the oven for a few minutes to restore some crispness.
- Freezer: For longer storage, freeze unbaked or baked danishes in a freezer-safe container for up to 1 month. Thaw in the fridge before baking or warming.
- Reheating: Warm danishes in the oven at 350°F for about 10 minutes for optimal taste and texture, making your Blackberry Cream Cheese Danish feel freshly baked again!
Make Ahead Options
These Blackberry Cream Cheese Danishes are perfect for busy home cooks looking to save time during their week! You can prepare the dough and store it in the refrigerator for up to 24 hours before shaping and baking, ensuring maximum flakiness when it’s time to enjoy. Additionally, the cream cheese filling can be made ahead and kept chilled for up to 3 days, ready to use whenever you are. Just remember to let the dough rest at room temperature for about 10 minutes before rolling it out, and ensure you cover it well to maintain its quality. When you’re ready to bake, follow the final steps of shaping, allowing for a quick rise, and then enjoy these delectable pastries just as fresh and delicious as if they were baked that day!
Blackberry Cream Cheese Danish Recipe FAQs
How do I choose the best blackberries for my danish?
Absolutely! When selecting blackberries, look for those that are plump, firm, and deep purple in color. Avoid any with dark spots or excessive softness, as these may be overripe. Fresh blackberries should also have a slight shine and a fragrant aroma. If fresh ones aren’t available, thawed frozen blackberries can work in a pinch—just make sure they’re drained of excess juice to prevent sogginess!
What is the best way to store leftover danishes?
Very! To keep your danishes at their best, store them in an airtight container at room temperature for up to 48 hours. If you prefer to keep them longer, you can refrigerate them for up to 3 days. When ready to enjoy, reheat in the oven at 350°F for about 5-10 minutes to restore their delightful flakiness.
Can I freeze my blackberry cream cheese danish? If so, how?
Definitely! You can freeze either unbaked or baked danishes. To freeze unbaked danishes, shape them and place them on a parchment-lined baking sheet. Freeze them until solid, then transfer to a freezer-safe container for up to 1 month. For baked ones, allow them to cool completely before placing them in a container. Thaw unbaked danishes in the fridge overnight before baking, or reheat baked ones at 350°F for about 10 minutes for that fresh-out-of-the-oven taste.
What if my yeast doesn’t foam?
Oh no! If your yeast mixture doesn’t foam after 5-10 minutes, it’s likely that your yeast is either expired or the water temperature was too hot or too cold. Ensure your warm water is between 100°F and 110°F—too hot will kill the yeast, while too cold will not activate it. If your yeast is expired, it’s best to start fresh with new yeast to ensure your danishes rise beautifully.
Are there any dietary considerations for this recipe?
Yes, indeed! You can easily adapt this recipe for gluten-free and vegan diets. For a gluten-free option, use a certified gluten-free all-purpose flour blend. If you’re looking for vegan alternatives, substitute the cream cheese for vegan cream cheese, and use non-dairy milk. Just remember to check labels for any potential allergens, especially if you’re serving to guests with dietary restrictions.
How can I make these danishes in advance?
Very easily! Prepare the dough ahead of time and refrigerate it for up to 24 hours before shaping and baking. This makes it a breeze to whip up delicious pastries even on a busy morning! Just remember to allow the dough to come to room temperature for about 10 minutes before rolling it out. This will prevent it from being too firm to work with.
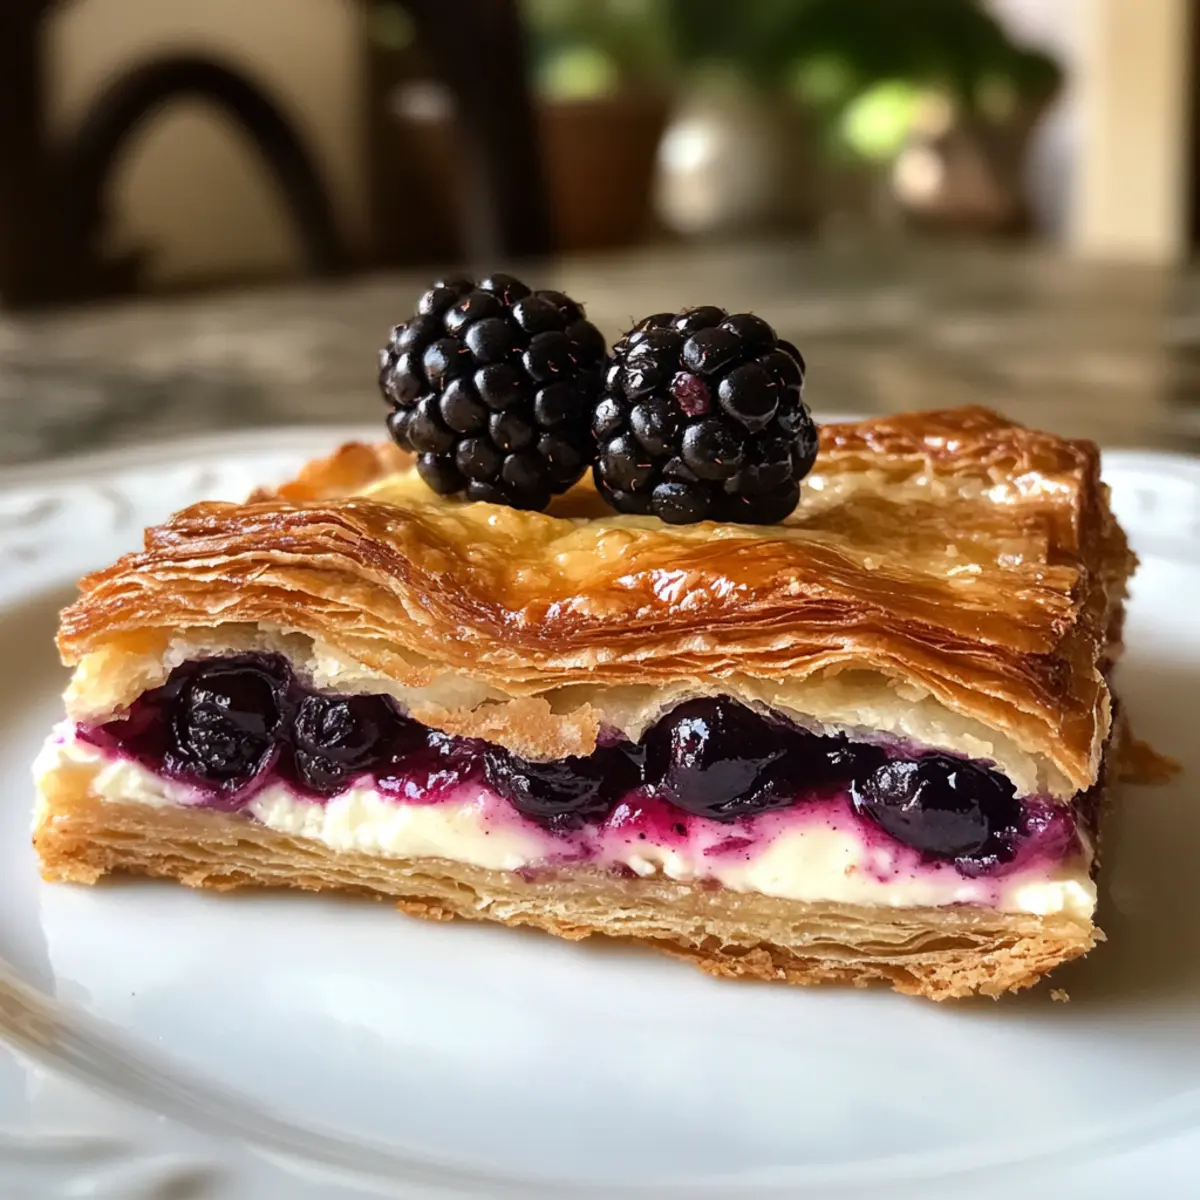
Heavenly Blackberry Cream Cheese Danish: Your New Favorite Treat
Ingredients
Equipment
Method
- In a small bowl, combine warm water, sugar, and yeast. Stir and let sit for 5-10 minutes until foamy.
- In a large bowl, whisk together flour and salt. Cut in cold butter until mixture resembles coarse crumbs.
- Make a well in the dry ingredients and pour in the yeast mixture and cold milk. Stir gently until just combined.
- Transfer dough to a floured surface and shape into a rectangle. Fold into thirds and chill in the refrigerator for 30 minutes to 1 hour.
- Blend cream cheese, powdered sugar, vanilla extract, and lemon juice until smooth. Keep chilled until ready to use.
- Roll out the chilled dough into a rectangle about 1/4 inch thick. Cut into 8 equal squares and fill each with cream cheese mixture and blackberries.
- Arrange pastries on a baking sheet and let rise for about 20 minutes, preheating your oven to 375°F during this time.
- Lightly brush pastries with milk and bake for 20-25 minutes until golden brown.
- Allow to cool slightly and glaze with powdered sugar mixed with milk before serving.