

As I rummaged through my pantry the other day, I stumbled upon a box of Ritz crackers, sparking a delicious idea. Why settle for ordinary snacks when you can whip up Easy Cheesy Garlic Ritz Bits? These crispy bites are not just quick to make, but they also transform simple ingredients into a melty, garlicky delight that your taste buds will thank you for. With just a few steps, you can say goodbye to boring store-bought snacks and embrace the bliss of homemade goodness. Packed with gooey cheddar and fresh garlic, they’re perfect for sharing at gatherings or enjoying during a cozy night in. Intrigued? Let’s dive into this scrumptious recipe that’s bound to become your new go-to for snacking!
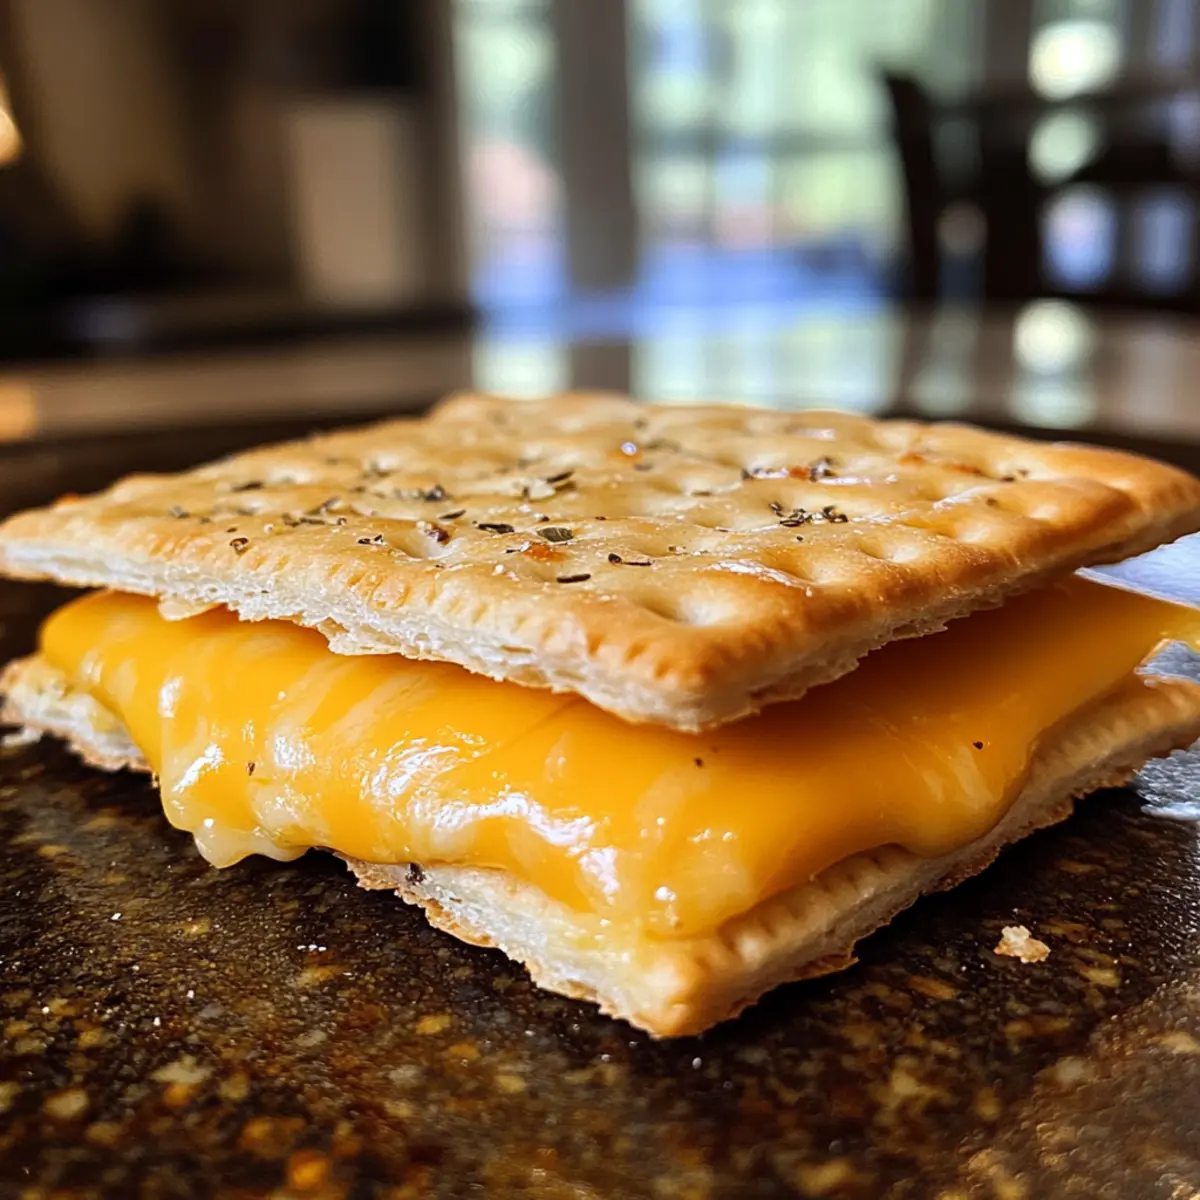
Why Are These Ritz Bits So Irresistible?
Flavor Explosion: Each bite delivers a stunning blend of creamy cheddar and aromatic garlic that tantalizes the taste buds.
Effortlessly Easy: With minimal prep time, you can whip up a batch in just 20 minutes—perfect for unexpected guests!
Crispy Delight: The golden, buttery edges provide a satisfying crunch that elevates the entire snacking experience.
Versatile Variations: Customize these bites with your favorite additions, like smoked paprika or gouda, making them uniquely yours!
Perfect for Any Occasion: Serve them warm as a crowd-pleasing appetizer, or enjoy them as a cozy treat for movie night. Say goodbye to dull store-bought snacks and hello to these cheesy, garlicky morsels!
Cheesy Garlic Ritz Bits Ingredients
For the Bites
• Ritz Crackers – The crispy base of your cheesy delight; use original Ritz for the best flavor compatibility.
• Cheddar Cheese – Provides rich, melty goodness; opt for fresh shredded cheese to enhance the melting experience.
• Fresh Garlic – Infuses the bites with aromatic flavor; real garlic outshines garlic powder in delivering that punch.
• Butter – Creates those irresistible toasty edges; unsalted butter is ideal for better control over flavors.
Optional Add-ins
• Smoked Paprika – Adds a touch of warmth and depth; perfect for those who love a hint of spice.
• Smoked Gouda – A flavorful twist; substitute half the cheddar for extra smokiness that transforms these Cheesy Garlic Ritz Bits.
• Roasted Garlic Powder – For an additional layer of garlicky goodness; sprinkle some in for a richer flavor infusion.
Step‑by‑Step Instructions for Cheesy Garlic Ritz Bits
Step 1: Preheat the Oven
Begin by preheating your oven to 325°F (163°C). This temperature is crucial for achieving the perfect balance of a crispy exterior and melty cheese. While the oven warms up, prepare your baking sheet by lining it with parchment paper. This will prevent sticking and ensure easy cleanup after you whip up your Cheesy Garlic Ritz Bits.
Step 2: Prepare the Cheese Mixture
In a mixing bowl, combine freshly shredded cheddar cheese with minced garlic. This mixture is the heart of your Cheesy Garlic Ritz Bits, providing rich, aromatic flavor. Stir well until the garlic is evenly distributed throughout the cheese, creating a gooey, flavorful center. You’ll want to use fresh ingredients for the best taste, so skip the garlic powder!
Step 3: Assemble the Cracker Sandwiches
Take two Ritz Crackers and place a spoonful of the cheese and garlic mixture between them. Gently press down to create little sandwiches, ensuring the filling is enclosed. Continue this process until you’ve assembled all your cheesy bites. Keep a close eye during assembly, as you want to maintain a balanced amount of filling in each cracker for the ultimate snack experience.
Step 4: Brush with Butter
Melt a couple of tablespoons of unsalted butter and brush the top of each cracker sandwich generously. This will give your Cheesy Garlic Ritz Bits a beautiful golden color and a delightful buttery flavor as they bake. Make sure every top cracker is well-coated for that irresistible crispy finish.
Step 5: Bake the Ritz Bits
Carefully place the assembled cracker sandwiches on your prepared baking sheet, leaving a little space between each one for even baking. Slide the sheet into the preheated oven and bake for about 10-12 minutes. Keep an eye on them; they’re done when the cheese is bubbly and the crackers are golden brown.
Step 6: Cool Before Serving
After baking, remove the Cheesy Garlic Ritz Bits from the oven and let them cool briefly on the baking sheet. This step is vital for locking in that delightful crunchy texture while preventing burns from the hot melted cheese. Allow them to sit for about 5 minutes before serving, as this will enhance the overall snacking experience.
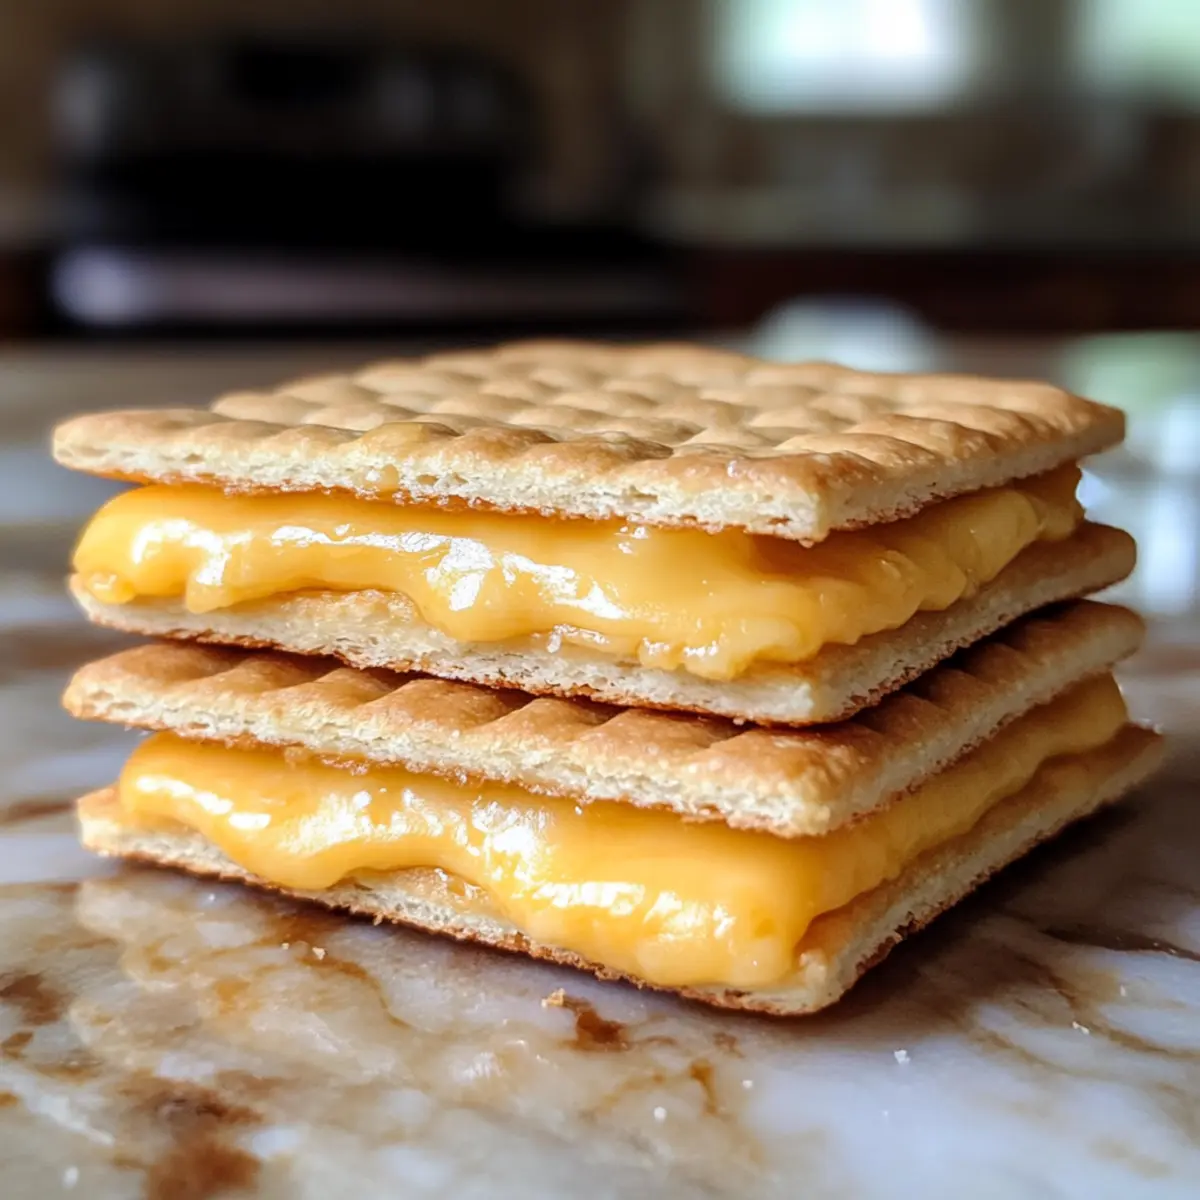
What to Serve with Easy Cheesy Garlic Ritz Bits
Elevate your snacking experience with these complimentary delights that perfectly balance the rich, garlicky goodness of the Ritz bits.
- Creamy Ranch Dip: This cool, tangy dip complements the warm, cheesy bites, offering a refreshing contrast that enhances every mouthful.
- Marinara Sauce: A zesty tomato sauce not only adds flavor but also a fun, dunkable twist to make your snacking more interactive.
- Crisp Veggie Platter: Fresh, crunchy vegetables like carrots and celery provide a delightful texture and a refreshing bite, making this combination both tasty and colorful.
- Olive Tapenade: The briny olives introduce a savory depth, enriching the flavor profile of the cheesy bites, making them perfect for gourmet gatherings.
- Sparkling Lemonade: This bright, fizzy beverage adds a refreshing brightness to the savory bites, enhancing the overall snacking experience and keeping them lively.
- Baked Sweet Potato Fries: The natural sweetness of these crispy fries balances the garlic and cheese flavors while providing a satisfying crunch.
Enjoy experimenting with these pairings, and let your taste buds take the lead as you create a delightful snack table!
Make Ahead Options
These Easy Cheesy Garlic Ritz Bits are perfect for meal prep enthusiasts! You can assemble the cracker sandwiches and refrigerate them up to 24 hours in advance, keeping them fresh and ready to bake. To maintain their crispy texture, wrap them tightly in plastic wrap or place them in an airtight container. When you’re ready to enjoy these delightful snacks, simply brush the tops with melted butter and bake them as directed for about 10-12 minutes—until the cheese is bubbly and the edges are golden. With this time-saving preparation, you’ll have warm, gooey bites ready for unexpected guests or a cozy movie night!
Cheesy Garlic Ritz Bits Variations
Customize your Cheesy Garlic Ritz Bits with these fun and flavorful twists that will have everyone coming back for seconds!
-
Spicy Kick: Add a pinch of red pepper flakes to the cheese mixture for a delightful heat that elevates every bite. The warm spice brings an exciting zing that balances perfectly with the creamy cheddar.
-
Herb Infusion: Mix in a teaspoon of dried Italian herbs like oregano or thyme for a fresh, aromatic flavor. This unexpected twist adds a lovely depth that enhances the overall snacking experience.
-
Cheesy Blends: Swap out half of the cheddar for your favorite cheese like mozzarella or pepper jack to create a gooey twist. The result is a melty combination that will make your taste buds sing!
-
Roasted Garlic: Use roasted garlic instead of fresh for a sweet, caramelized flavor. Roasted garlic adds a richness that creates another layer of deliciousness, making every bite unforgettable.
-
Nutty Crunch: Sprinkle in some finely chopped walnuts or almonds to your cheese mix for a delightful crunch. The nutty flavor brings texture contrasts that will surprise and delight your family and friends.
-
BBQ Flair: Mix in a tablespoon of BBQ sauce into the cheese mixture for a smoky sweet twist. This will change the whole flavor profile, making your bites irresistibly fun and finger-licking good!
-
Creamy Surprise: For a richer filling, add a spoonful of cream cheese to the cheddar before mixing in the garlic. This creates a creamy interior that melts beautifully, adding a savory depth to your bites.
Explore these variations and let your creativity shine—each one offers a unique treat to enhance your cheesy experience! Plus, for a delicious crowd-pleaser, consider serving these bites with a side of Garlic Butter Lemon Salmon or pairing them with a warm bowl of Garlic Herb Country Soup. Happy snacking!
Storage Tips for Cheesy Garlic Ritz Bits
- Room Temperature: Enjoy your Cheesy Garlic Ritz Bits freshly baked, but if you have leftovers, they can sit out at room temperature for about 2 hours before they should be stored.
- Fridge: Store any uneaten bites in an airtight container in the fridge for up to 3 days. This helps maintain their texture and flavor.
- Freezer: For longer storage, freeze assembled cracker sandwiches for up to 1 month. Place them in a single layer on a baking sheet to freeze individually before transferring to a freezer-safe container.
- Reheating: To reheat, warm the bites in a preheated oven at 350°F (175°C) for about 5-7 minutes, or until heated through and crispy again. Enjoy them warm for best results!
Tips for the Best Cheesy Garlic Ritz Bits
- Finely Shred Cheese: Using a microplane to shred your cheddar allows for even melting and a smoother, more cohesive filling.
- Watch the Amount: Avoid overstuffing your crackers with cheese; a thin, even layer ensures they bake perfectly without becoming soggy.
- Golden Brown Indicator: Keep an eye on your bites while baking; they are ready when the cheese is bubbly and the crackers turn a lovely golden brown.
- Use Fresh Garlic: Real garlic adds vibrant flavor; don’t opt for garlic powder if you want the full, aromatic experience in your Cheesy Garlic Ritz Bits.
- Leave Space on Sheet: Place the assembled bites with some space in between; this helps them crisp up evenly, enhancing that satisfying crunch you crave!

Cheesy Garlic Ritz Bits Recipe FAQs
How do I choose the right garlic for my Cheesy Garlic Ritz Bits?
Absolutely! For the best flavor, select fresh garlic bulbs. Look for firm bulbs without dark spots or soft sections. The stronger it smells, the fresher it is. Avoid garlic that has sprouted or showed signs of mold, as this can affect the taste of your bites.
How should I store leftover Cheesy Garlic Ritz Bits?
After enjoying your Cheesy Garlic Ritz Bits, you can store any leftovers in an airtight container in the fridge for up to 3 days. Make sure they cool to room temperature before sealing to prevent sogginess. If you’re feeling generous, share these with family or friends, but keep some for yourself—they’re that good!
Can I freeze Cheesy Garlic Ritz Bits, and how?
Very! To freeze, assemble the cracker sandwiches but do not bake them. Place them in a single layer on a baking sheet to freeze individually for about 1-2 hours. Once frozen, transfer the bites to a freezer-safe container or bag and store for up to 3 months. When ready to bake, just pop them directly into the oven—no need to thaw!
What should I do if my cheese isn’t melting properly?
If your cheese isn’t melting to your satisfaction, ensure you’re using fresh, shredded cheddar cheese rather than pre-packaged shreds, which often contain anti-caking agents. Also, try grating the cheese finely with a microplane for improved melting. Finally, ensure your oven is fully preheated to 325°F; this ensures a perfect melt!
Are Cheesy Garlic Ritz Bits suitable for people with dietary restrictions?
Great question! They can be modified for various dietary needs. For a gluten-free option, look for gluten-free Ritz-style crackers. You can also substitute non-dairy cheese alternatives for lactose intolerance. Always ensure your ingredients are free from allergens your guests may have, and label them when serving.
How long can I keep the ingredients for Cheesy Garlic Ritz Bits before they expire?
The cheese can generally last in the fridge for about 5-7 days, while fresh garlic can stay good for several weeks in a cool, dry place. Ritz crackers can last for months in their sealed packaging, but once opened, aim to finish them within a month for the best taste. Always check for any signs of spoilage before using!

Cheesy Garlic Ritz Bits for Irresistible Homemade Snacking
Ingredients
Equipment
Method
- Preheat your oven to 325°F (163°C) and prepare a baking sheet lined with parchment paper.
- In a mixing bowl, combine shredded cheddar cheese and minced garlic, mixing until evenly distributed.
- Assemble the cracker sandwiches by placing a spoonful of cheese and garlic mixture between two Ritz Crackers.
- Melt unsalted butter and brush the top of each cracker sandwich generously.
- Bake assembled sandwiches in the preheated oven for about 10-12 minutes until bubbly and golden brown.
- Allow the baked Ritz Bits to cool on the baking sheet for about 5 minutes before serving.