

There’s something magical about the way the scent of fresh oranges fills the kitchen, transforming your space into a sun-drenched oasis. With my Classic Homemade Orange Candy recipe, you can capture that vibrant flavor without the fuss of most candy-making methods. This delightful treat is not only simple to make, requiring just a few wholesome ingredients, but it also offers a chewy texture that’s far more satisfying than anything you’ll find in a store. What’s even better is that it’s perfect for snacking, gifting, or even elevating your favorite desserts. Ready to bring a little sunshine into your day with this delightful candy? Let’s get started!
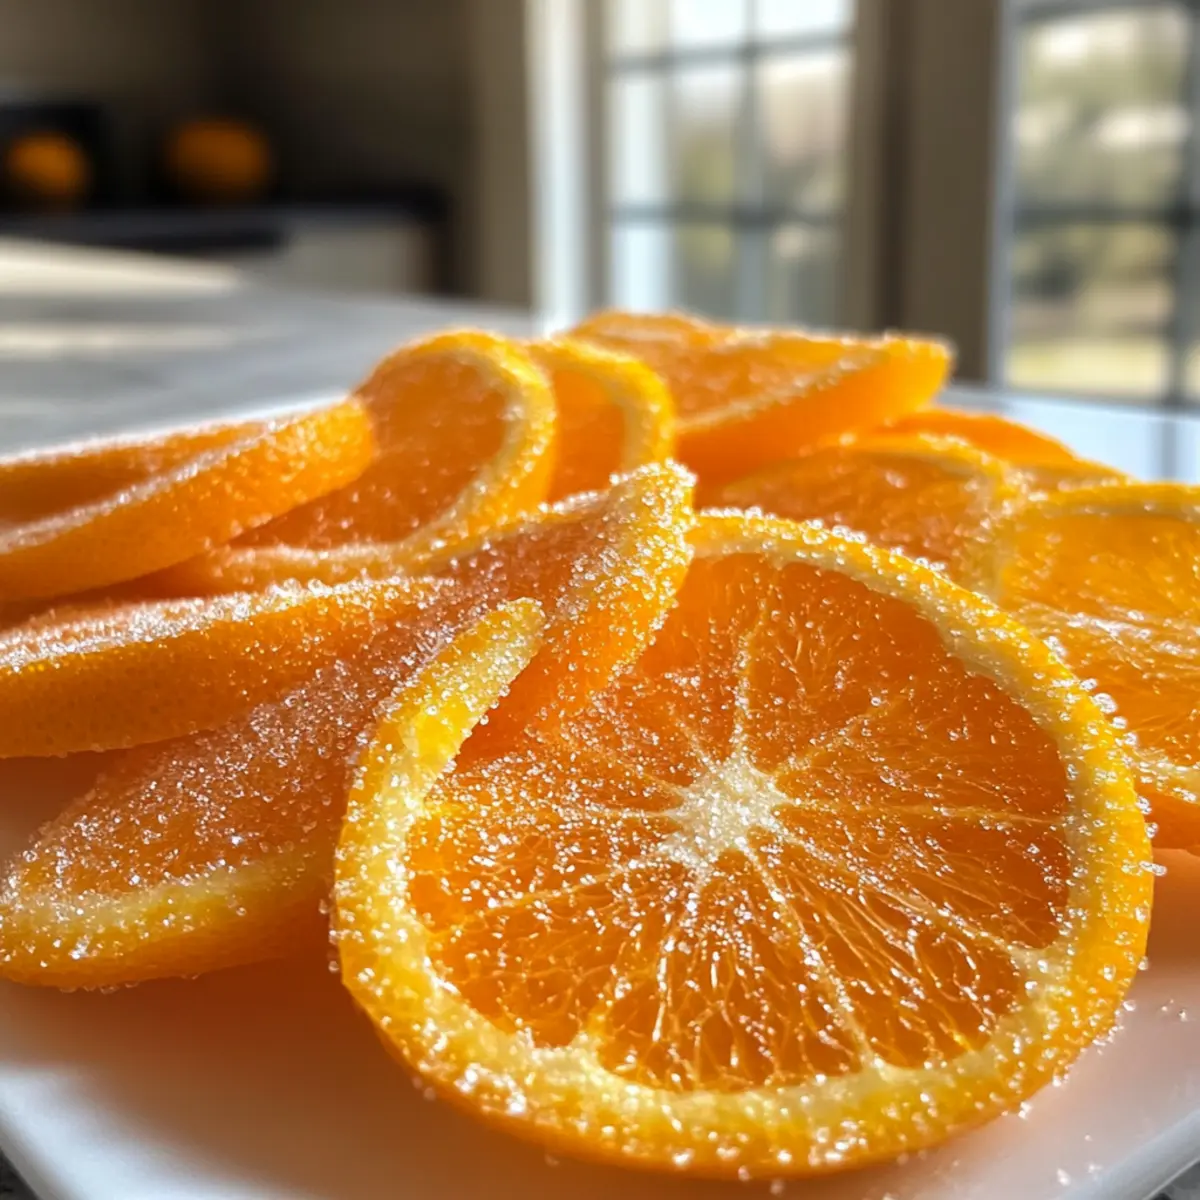
Why is This Candy So Special?
Simplicity and Ease: This Classic Homemade Orange Candy requires just a handful of ingredients, making it a fuss-free choice for anyone, regardless of kitchen skill level.
Versatile Variations: Feel free to switch up the citrus! Try using lemons, grapefruits, or even blood oranges for a new flavor twist that can suit any palate.
Perfect Gift Option: Pack these chewy delights into jars for a charming homemade gift that friends and family will adore—especially during the holiday season.
A Nostalgic Treat: The texture combined with the vibrant citrus flavor evokes fond childhood memories, ensuring every bite is a little moment of joy.
Healthier Alternative: Unlike store-bought candies filled with preservatives, this recipe offers a natural sweetness and the benefits of vitamin C from the fruit.
Whether you’re enjoying these candies yourself or sharing them as a thoughtful gift, they are sure to impress! If you’re looking for more homemade sweet treats, don’t forget to check out my delightful Chocolate Orange Posset for a perfect pairing!
Classic Homemade Orange Candy Ingredients
Ready to create your sweet sunshine?
For the Candy
- Fresh Oranges – The heart of this recipe, providing natural sweetness and a tangy kick; feel free to swap with lemons or blood oranges for a unique twist!
- Granulated Sugar – Sweetens our candy and helps preserve it; coconut sugar can be a great substitute for a richer flavor.
- Water – Essential for creating that delicious syrup; it’s the base that brings everything together.
Optional Flavor Enhancements
- Vanilla Extract – Adds a lovely warmth; stir in a teaspoon during cooking for a subtle depth.
- Ground Cinnamon – A pinch of this spice can introduce a cozy, seasonal twist that pairs beautifully with the citrus!
With just these simple ingredients, you’ll be on your way to making your own Classic Homemade Orange Candy that’s bursting with flavor!
Step‑by‑Step Instructions for Classic Homemade Orange Candy
Step 1: Prep Oranges
Begin by preparing your fresh oranges for the Classic Homemade Orange Candy. Slice them thinly, about 1/8 to 1/4 inch thick, carefully removing any seeds you encounter. Aim for uniform slices to ensure even candy cooking. You should have a beautiful pile of juicy orange slices, ready to transform into sweet treats.
Step 2: Make Syrup
In a medium saucepan, combine equal parts water and granulated sugar over low heat. Stir the mixture gently until the sugar dissolves completely, creating a smooth syrup. This step takes about 5 minutes. You’ll know it’s ready when the syrup appears clear and slightly thickened. Watch closely to avoid scorching!
Step 3: Candy Oranges
Add your prepared orange slices to the syrup. Raise the heat slightly, allowing it to simmer, but keep it low to avoid bitterness. Let the orange slices cook in the syrup for about 30-40 minutes, or until they become translucent and tender. Stir occasionally, ensuring every slice is well-coated and tenderizing evenly.
Step 4: Dry Candies
Once your oranges have reached that perfect translucent state, it’s time to remove them from the heat. Using a slotted spoon, carefully transfer the slices onto a wire rack. Allow them to dry for at least 4 hours, or until completely set and no longer sticky. This crucial step ensures your classic candy has the perfect chewy texture.
Step 5: Finish
For an extra touch of sweetness, consider brushing your dried orange slices with the remaining syrup, then gently coating them in granulated sugar. This step is optional but enhances the candy’s flavor and aesthetic. Once finished, your Classic Homemade Orange Candy is ready to be enjoyed immediately or stored in an airtight container at room temperature.
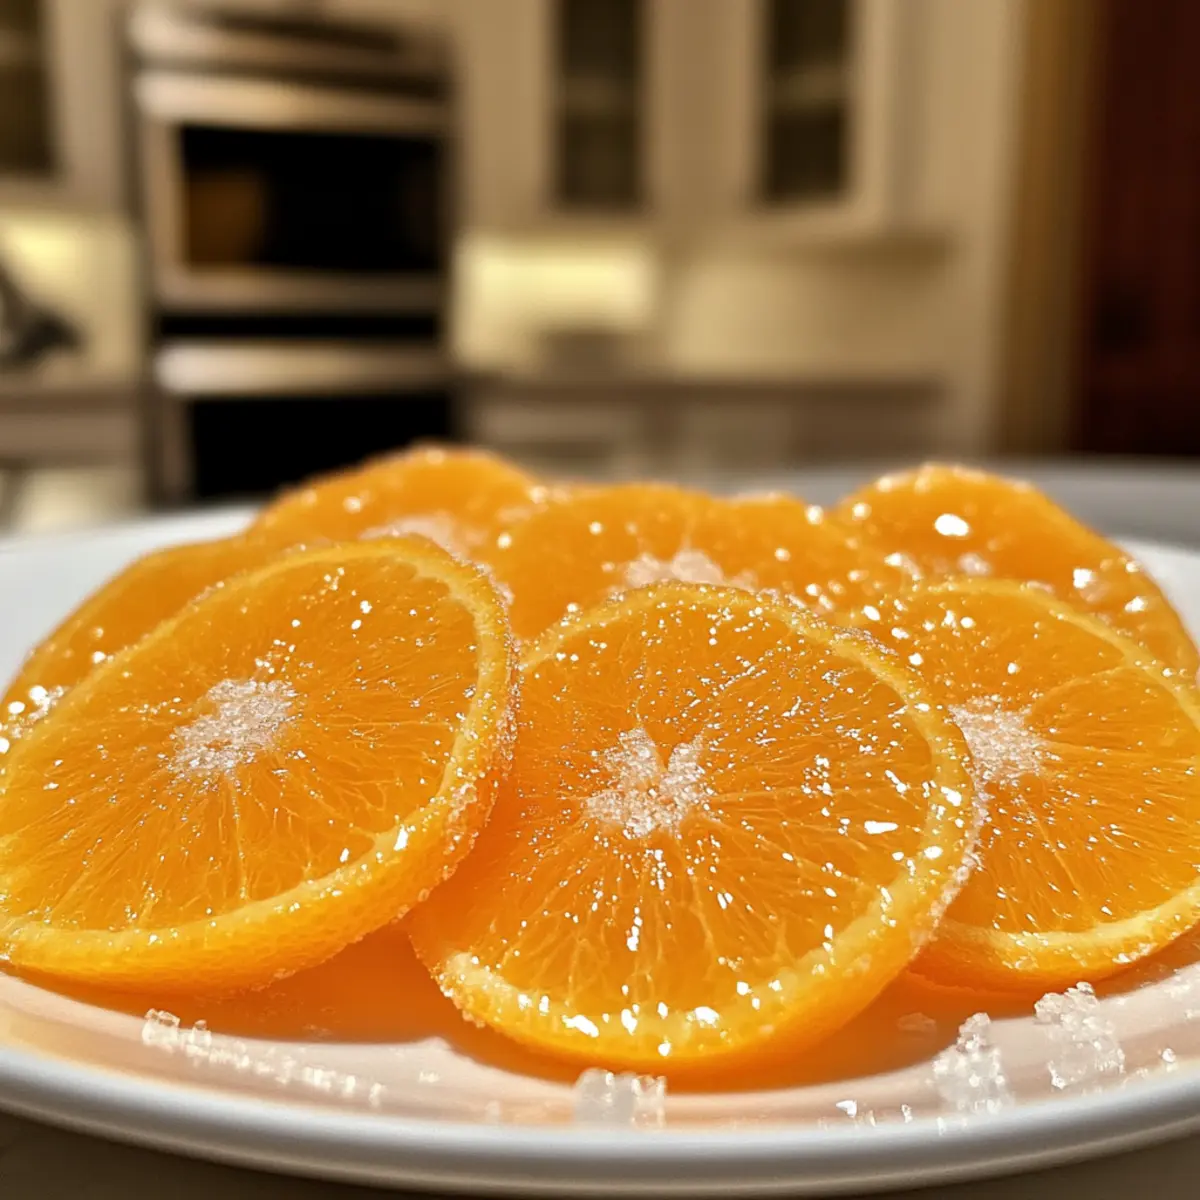
What to Serve with Classic Homemade Orange Candy?
Creating the perfect occasion for your candy requires thoughtful pairings that enhance its vibrant flavors and delightful chewiness.
- Zesty Fruit Salad: A medley of fresh fruits brightens up your table, balancing the sweetness of the candy with refreshing, tangy bites.
- Creamy Yogurt Parfait: Layer crunchy granola and creamy yogurt with the orange candy for a delicious breakfast or snack bursting with flavor.
- Spicy Ginger Tea: The heat from ginger tea complements the sweetness of the candy while adding warmth, perfect for cozy evenings.
- Dark Chocolate Dipped Pretzels: Sweet and salty with rich chocolate create a tantalizing contrast to the citrusy treats; a delightful surprise for your taste buds.
- Honey-Drizzled Cheesecake: The creamy, rich cheesecake, topped with honey and a side of orange candy, will elevate your dessert experience to new heights.
- Italian Prosecco: A bubbly glass of prosecco pairs beautifully, enhancing the candy’s sweet-tart notes and making it an extra-special treat.
- Lemon Sorbet: Serve alongside refreshing lemon sorbet for a palate-cleansing, citrus-inspired finish to your meal.
- Nutty Biscotti: Crunchy biscotti provide a delightful texture complement, perfect for dipping and enjoying with a cup of coffee or tea.
- Vanilla Ice Cream: A scoop of creamy vanilla ice cream topped with pieces of orange candy creates a fabulous sundae that delights with every bite.
- Coconut Macaroons: These chewy, slightly chewy sweets will pair nicely while balancing flavors and adding a tropical twist.
How to Store and Freeze Classic Homemade Orange Candy
- Room Temperature: Store your Classic Homemade Orange Candy in an airtight container at room temperature for up to one week. Use parchment paper between layers to prevent sticking.
- Fridge: If you wish to extend the shelf life, placing them in the fridge can keep them fresh for up to two weeks, again using parchment to separate.
- Freezer: For longer storage, freeze the candies in a single layer in a freezer-safe bag for up to three months. Thaw them at room temperature before serving.
- Reheating: If the candies become sticky, you can gently reheat them on low heat for a few minutes to restore their texture.
Make Ahead Options
These Classic Homemade Orange Candies are perfect for busy cooks looking to save time! You can prep the orange slices and syrup up to 24 hours in advance. Simply slice the oranges and store them in an airtight container in the refrigerator to maintain their freshness. You can also make the syrup ahead (store it in a sealed jar at room temperature). When you’re ready to candy the oranges, just heat the syrup, add the orange slices, and simmer until translucent. To ensure your candies come out just as delicious, make sure they dry thoroughly on the wire rack. With this prep, you can enjoy homemade treats with minimal effort, perfect for snacking or gifting!
Expert Tips for Classic Homemade Orange Candy
-
Temperature Control: Keep the heat low while simmering to avoid bitterness in your Classic Homemade Orange Candy. A gentle simmer preserves freshness and flavor.
-
Thorough Drying: Ensure your orange slices are completely dry on the rack. This avoids stickiness and helps maintain that lovely chewy texture.
-
Storage Wisdom: Store the candies in an airtight container at room temperature, layered with parchment paper to prevent sticking. Enjoy them within one week for optimal taste.
-
Flavor Experimentation: Don’t hesitate to experiment with optional flavorings like vanilla or cinnamon, which can elevate the taste of your candy.
-
Substitution Savvy: Remember, you can substitute oranges with other citrus fruits like lemons or mandarins for a fun twist on the classic recipe!
Classic Homemade Orange Candy Variations
Feel free to let your creativity shine by customizing your candy experience with these delightful variations!
-
Citrus Swap: Substitute fresh oranges with lemons or blood oranges for a unique flavor adventure. Each fruit lends its signature taste, altering the candy’s character and charm.
-
Sugar Alternative: Try using coconut sugar instead of white sugar. This rich substitute brings a caramel-like flavor, enriching your candies in a whole new way.
-
Spice Infusion: Add a pinch of ground cinnamon or even nutmeg during cooking for a warm, inviting twist. This simple addition can evoke feelings of cozy holidays and magical moments.
-
Chocolate Dipped Delight: Dip your finished candies in melted dark chocolate for an indulgent treat. The bitterness of chocolate plays beautifully against the sweet tang of the citrus.
-
Zesty Boost: Grate some orange zest over the top as a finishing touch. This enhances the vibrant orange flavor and adds a fresh aromatic note.
-
Honey Sweetened: Substitute granulated sugar with honey for a more natural sweetener. Just be mindful of the syrup’s consistency; honey may change the cooking time slightly.
-
Fruity Mix: Combine mandarins, clementines, and tangerines in one batch for a rainbow of flavors. This fruity medley provides a delightful surprise in every bite.
-
Ginger Kick: Incorporate a bit of fresh ginger into the syrup for a zesty, spicy kick that harmonizes wonderfully with the sweet citrus.
Not only are these variations fun, but they also allow you to tailor your candies to match your personal preference. If you’re eager for more delicious homemade recipes, consider trying my elegant Lobster Newburg Elegant for a heartwarming meal, or indulge in a luxuriously creamy Chocolate Orange Posset for dessert!
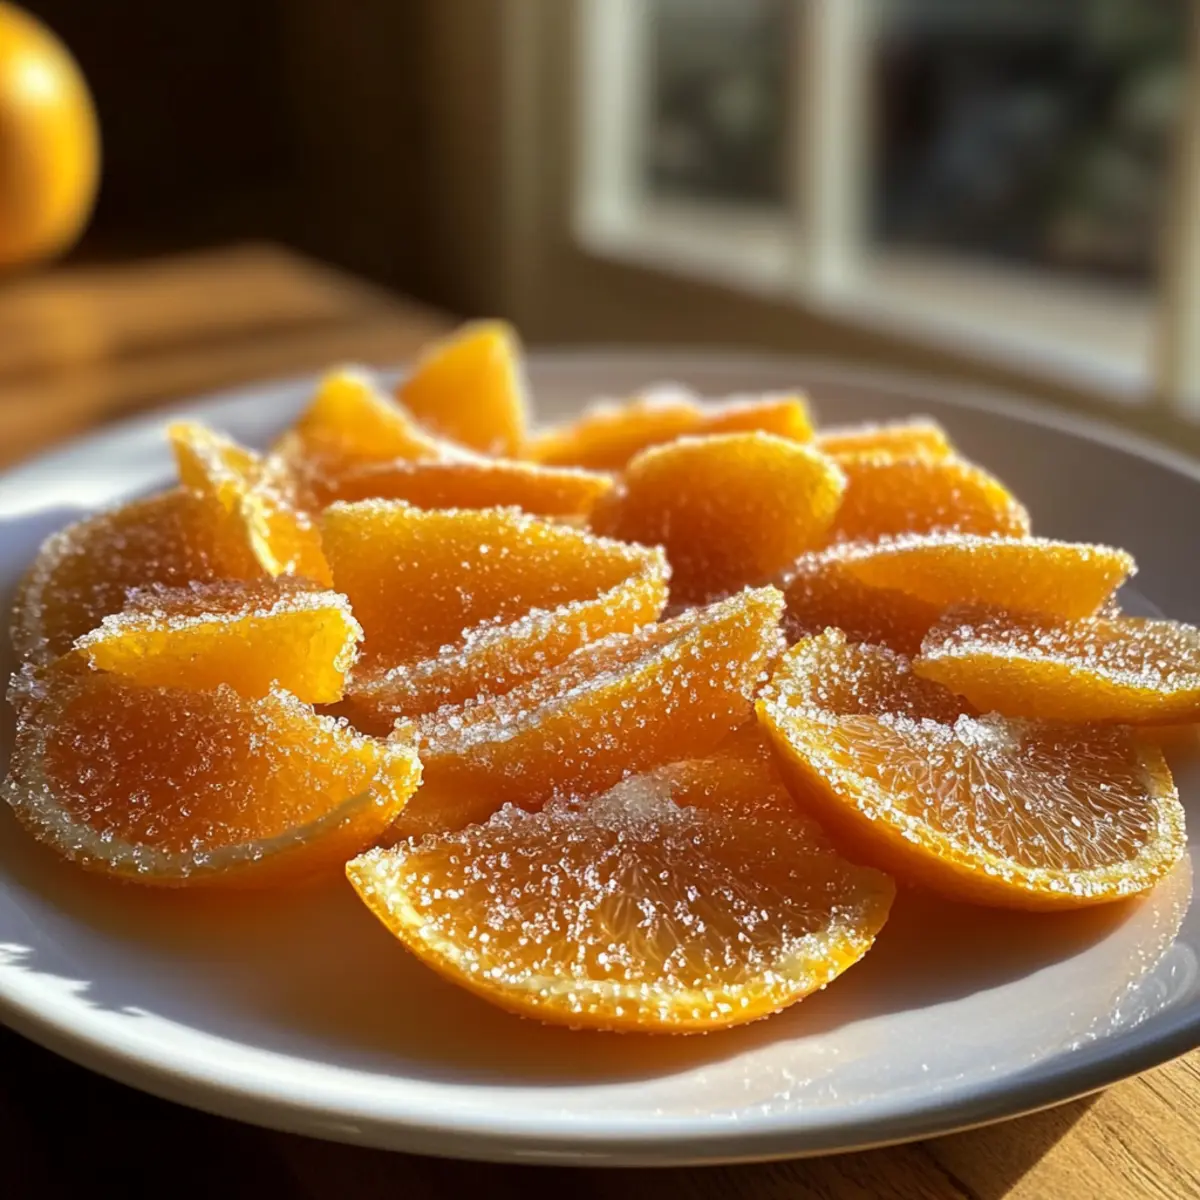
Classic Homemade Orange Candy Recipe FAQs
Why should I choose ripe oranges for this recipe?
Absolutely! Using ripe oranges is key to achieving the best flavor in your Classic Homemade Orange Candy. Look for oranges that are firm, heavy for their size, and have a vibrant, smooth skin. Avoid any with soft spots or discoloration, as they may be overripe or damaged. Fresh, juicy oranges will provide that sweet-tangy flavor profile you desire!
How should I store my Classic Homemade Orange Candy?
For optimal freshness, store your Classic Homemade Orange Candy in an airtight container at room temperature for up to one week. I recommend using parchment paper between layers to prevent them from sticking together. If you’re looking to extend their shelf life, you can keep them in the fridge for up to two weeks, again using parchment.
Can I freeze my Classic Homemade Orange Candy?
Yes, you can! To freeze your candies, place them in a single layer on a baking sheet and freeze until solid. Then transfer them to a freezer-safe bag, ensuring to remove excess air. These can be stored for up to three months. When ready to enjoy, simply thaw them at room temperature before serving, and they’ll be just as delicious as fresh!
What if my orange slices become too sticky while drying?
Not to worry! Sticky candies can sometimes happen due to humidity or incomplete drying. If this happens, I recommend placing them on a wire rack in a cool oven set to its lowest temperature for about 10-15 minutes. This should help them dry out properly. Remember, it’s crucial to allow them to dry completely to get that perfect chewy texture and avoid stickiness!
Can I make this recipe gluten-free or vegan?
Absolutely! The Classic Homemade Orange Candy is naturally gluten-free and can be easily made vegan by ensuring that you only use plant-based sugar alternatives, such as coconut sugar. Be sure to check the sugar’s processing status if allergies are a concern, as some sugars may not be certified gluten-free. Enjoy your candy worry-free!
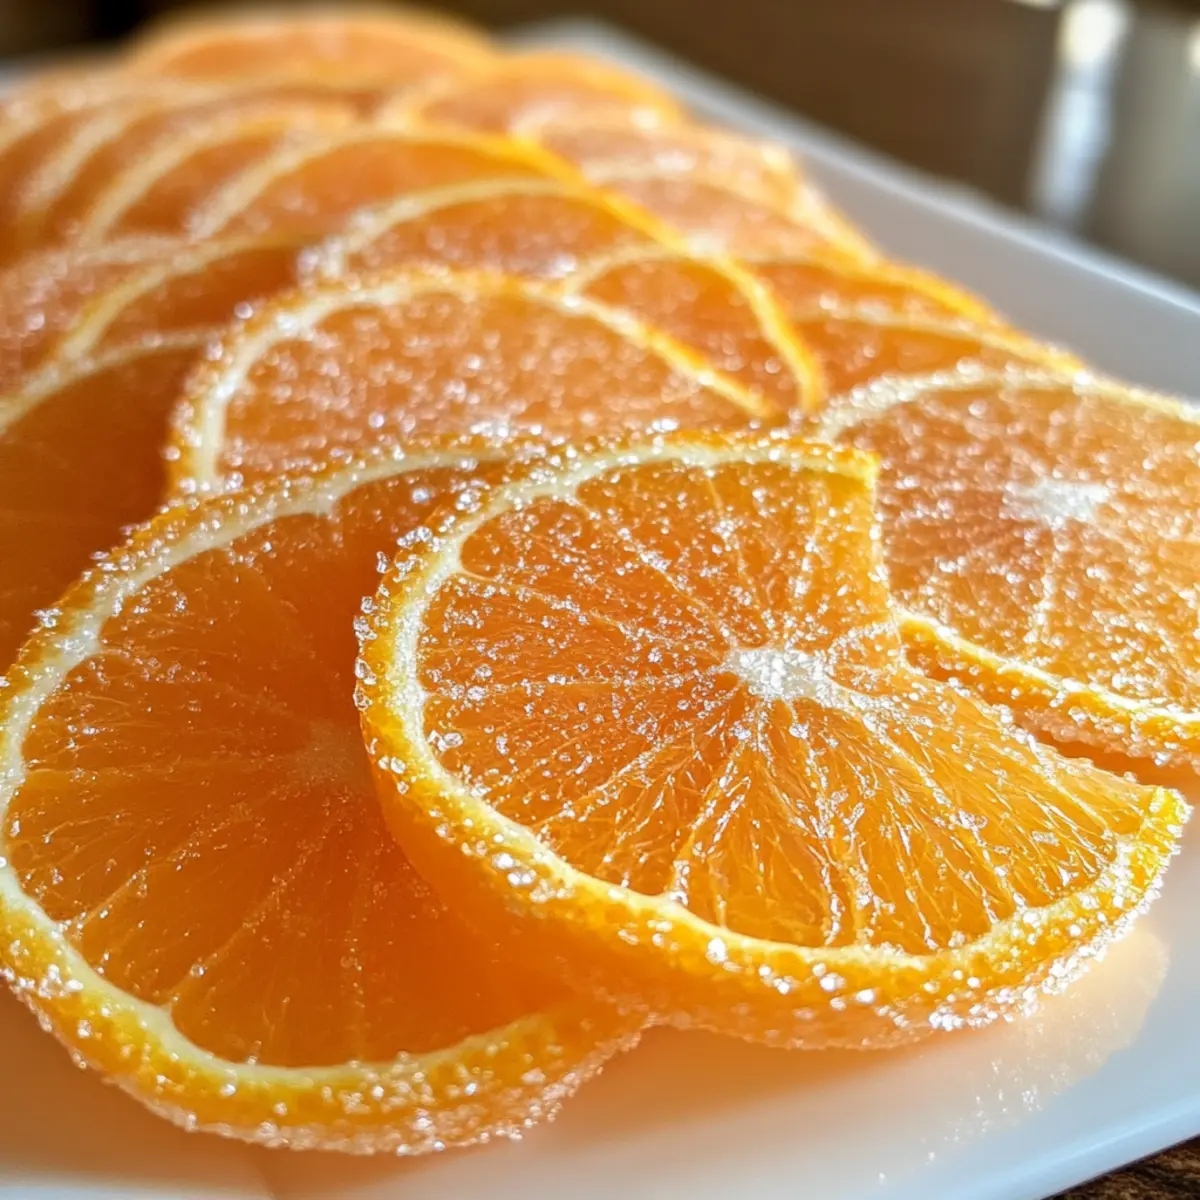
Classic Homemade Orange Candy - Feel the Sunshine in Every Bite
Ingredients
Equipment
Method
- Prepare fresh oranges by slicing them thinly, removing seeds.
- Combine water and granulated sugar in a saucepan over low heat until dissolved.
- Add orange slices to the syrup and let simmer until translucent.
- Remove from heat and transfer slices to a wire rack to dry for at least 4 hours.
- Brush dried slices with syrup and coat in granulated sugar if desired.