

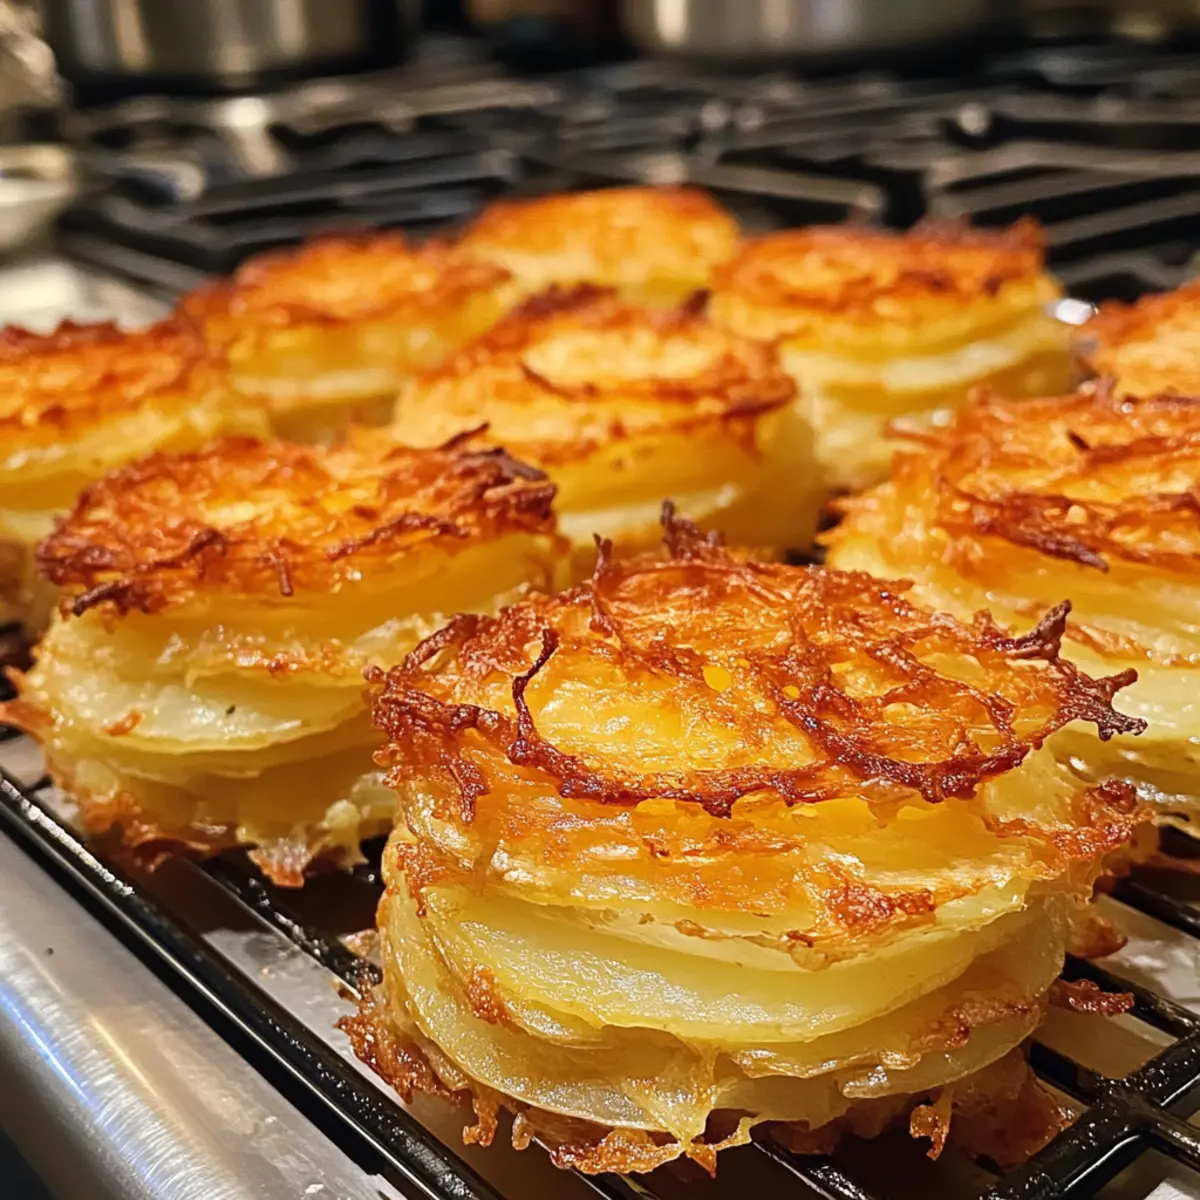
In the midst of a bustling kitchen, the unmistakable sound of sizzling layers of potato fills the air, promising a deliciously crispy experience. You’re in for a treat with this Crispy Potato Stacks Recipe, where each bite offers a perfect combination of crunchy exteriors enveloping tender, buttery interiors. This dish is not only quick to whip up but also a crowd-pleaser that elevates any meal, making it the perfect side dish or appetizer for gatherings both big and small. Imagine serving these enticing stacks alongside your favorite grilled meats or as a delightful base for dips; they truly make any meal special. Are you ready to discover how to create this stunning addition to your table? Let’s dive in!
Why Are Crispy Potato Stacks So Irresistible?
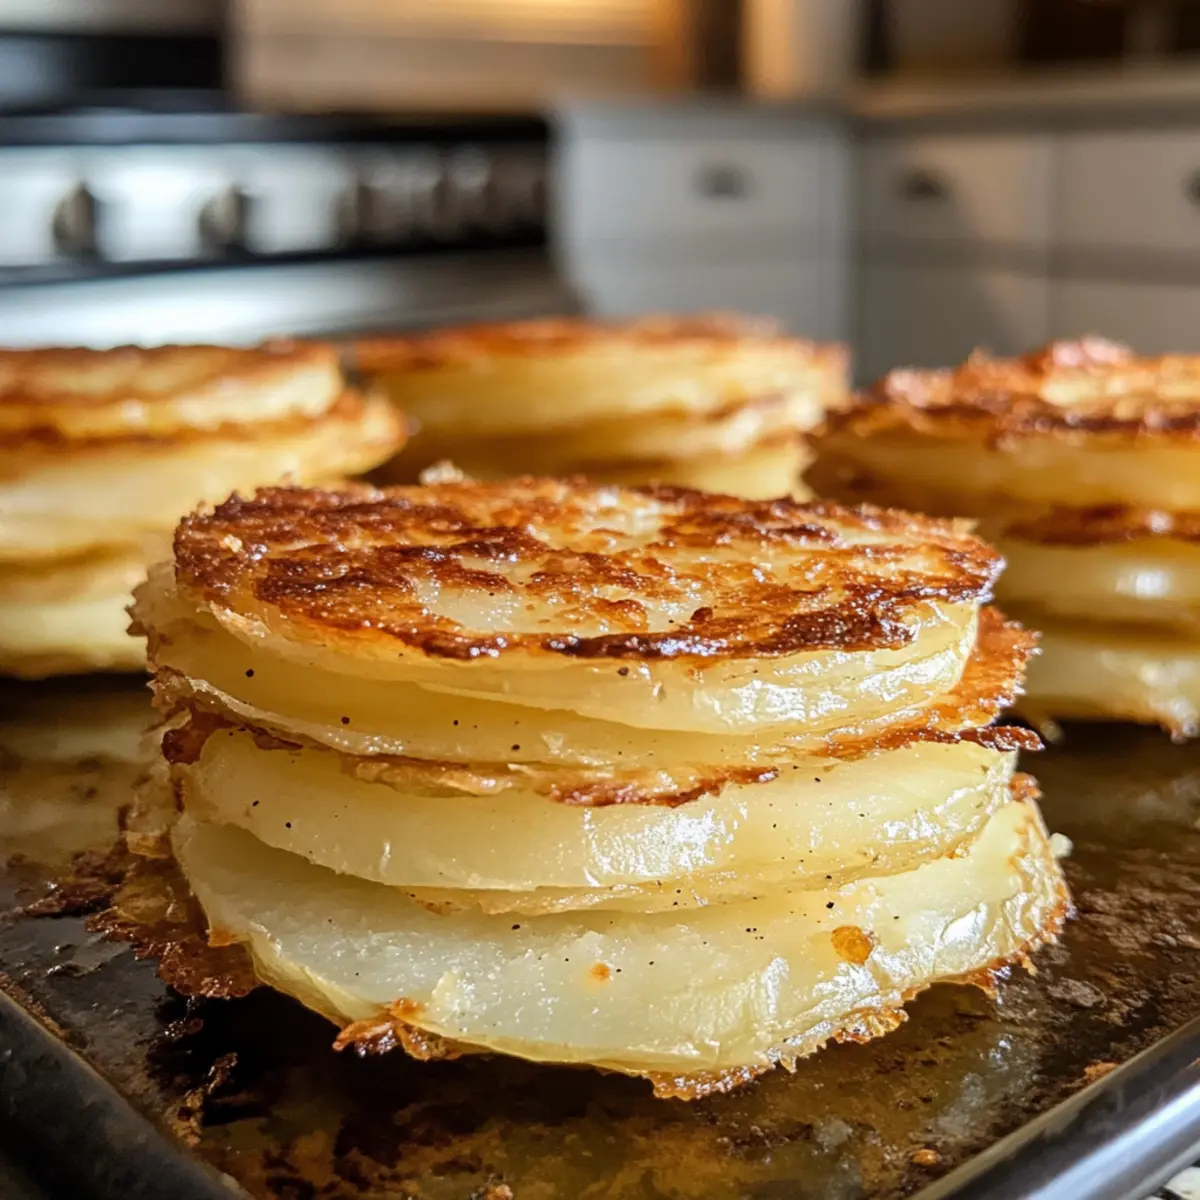
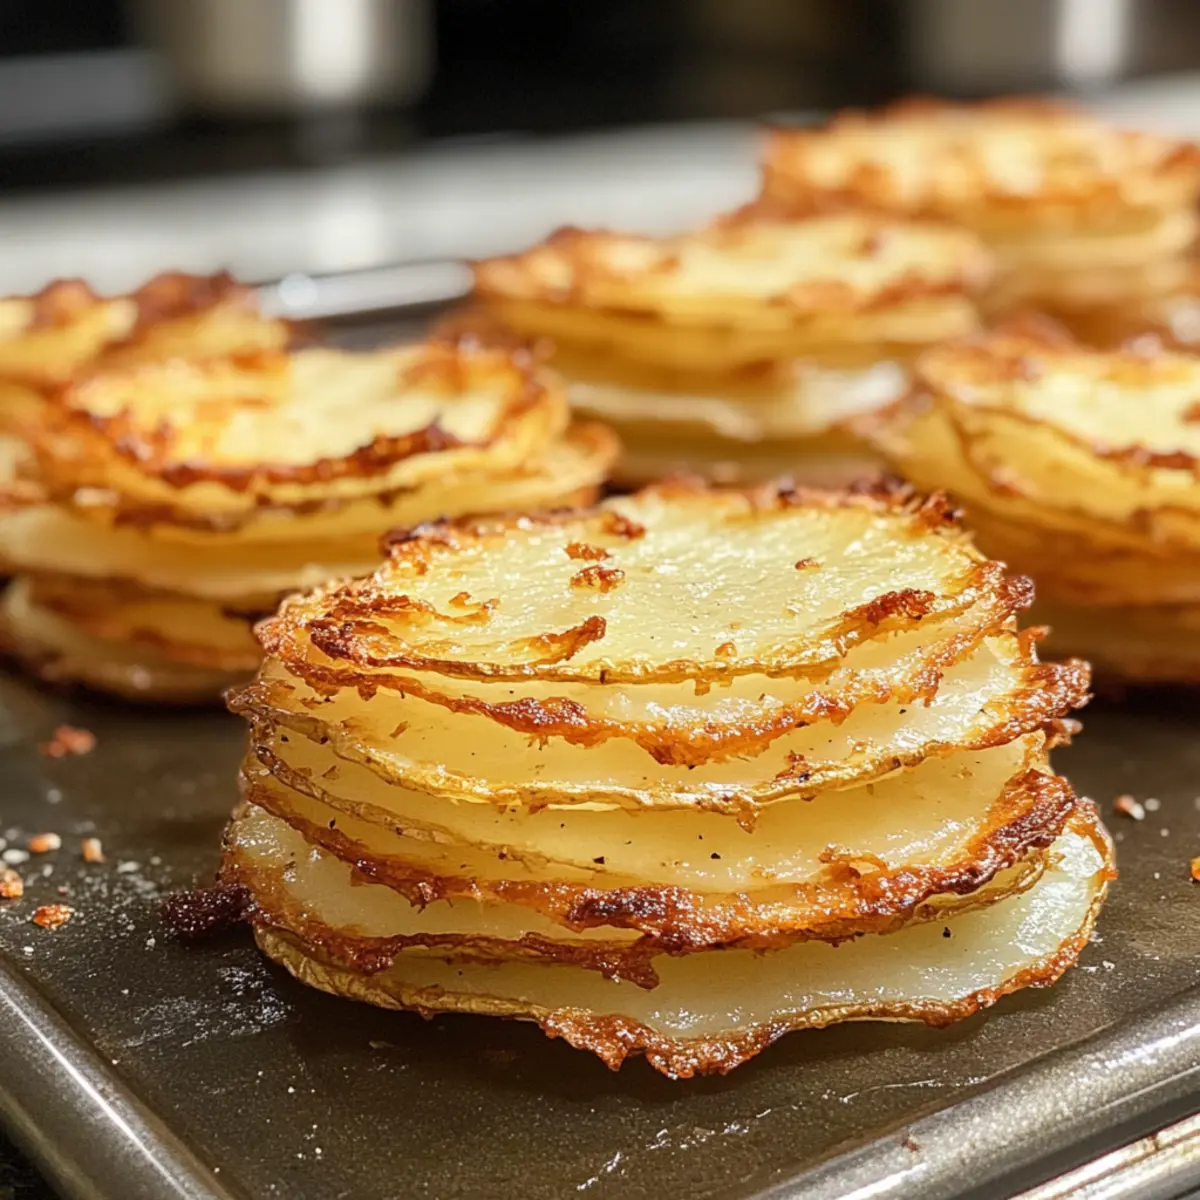
Decadent Layers: The beauty of this recipe lies in the buttery layers of Yukon Gold potatoes that create a melt-in-your-mouth experience.
Crispy Texture: Each stack bakes to perfection, providing a satisfying crunch that elevates any meal.
Crowd-Pleaser: These potato stacks quickly become the star of the table, attracting compliments at any gathering, whether alongside grilled meats or served with your favorite dips.
Versatile Flavor Boosts: Feel free to experiment! From adding cheese to introducing aromatic herbs like thyme or sage, this recipe is a blank canvas for your culinary creativity.
Time-Saving Delight: Quick to prepare and easy to store, these stacks can be prepped in advance, allowing you to spend more time enjoying time with your guests.
Ideal for Any Occasion: Perfect as an everyday side or a festive appetizer, Crispy Potato Stacks bring a touch of gourmet to your family meals and special events alike.
Crispy Potato Stacks Recipe Ingredients
For the Potato Stacks
- Yukon Gold Potatoes – Their creamy texture and buttery flavor make them perfect for stacking.
- Melted Butter – Adds richness and helps achieve a beautifully golden crust; olive oil can be used for a lighter version.
- Olive Oil – Enhances flavor and crispiness; feel free to swap with vegetable oil if desired.
- Chopped Rosemary – Infuses an aromatic flavor that enhances the overall taste; thyme is a great alternative.
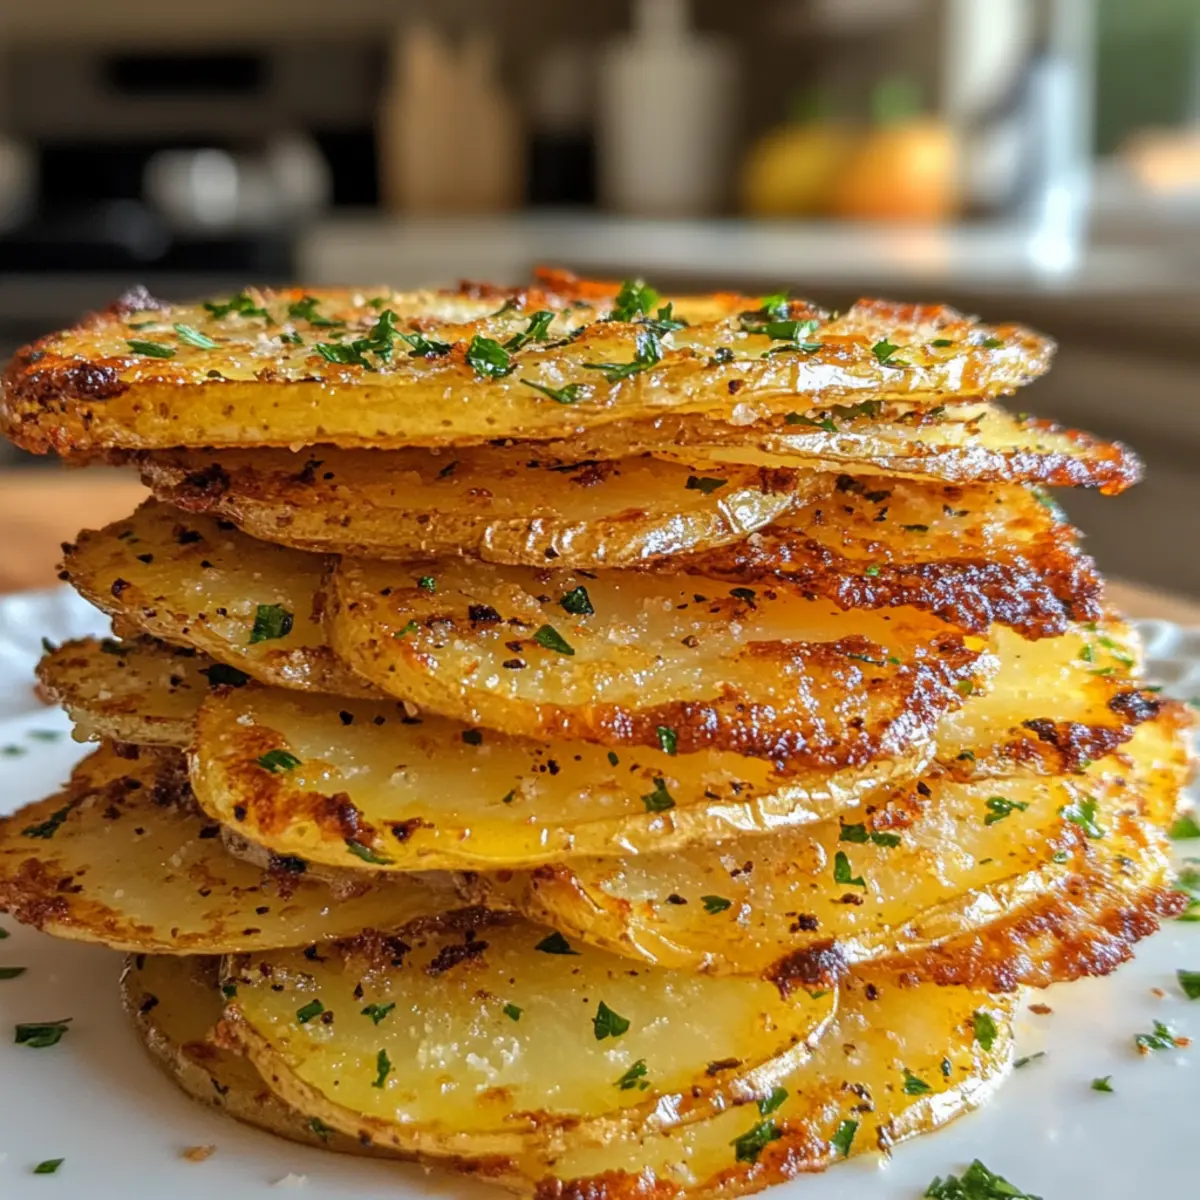
- Chopped Parsley – Adds a touch of freshness and color; can be skipped if you prefer a simpler flavor.
- Kosher Salt – Essential for seasoning; regular salt can be substituted, just adjust to your taste.
- Ground Black Pepper – Balances flavors beautifully; white pepper can provide a milder alternative.
Optional Add-Ins
- Grated Cheese (e.g., Cheddar, Parmesan) – Introduce layers of cheese to amplify the flavor experience.
- Paprika or Cayenne Pepper – Add a dash to spice things up in the seasoning mix.
This Crispy Potato Stacks Recipe is sure to impress with every delicious layer!
Step‑by‑Step Instructions for Crispy Potato Stacks Recipe
Step 1: Preheat the Oven
Begin by preheating your oven to 375°F (190°C). This temperature is critical for achieving the perfect balance of crispy tops and tender insides in your Crispy Potato Stacks. While the oven heats, gather your ingredients to streamline the cooking process.
Step 2: Prepare the Herb Mixture
In a large mixing bowl, combine melted butter, olive oil, chopped rosemary, chopped parsley, kosher salt, and ground black pepper. Stir well to create a cohesive mixture that will flavor the potato slices. This aromatic blend will enhance the taste of your Crispy Potato Stacks, ensuring every bite is deliciously seasoned.
Step 3: Coat the Potato Slices
Thinly slice the Yukon Gold potatoes using a mandoline or a sharp knife for uniformity. Add the potato slices to the herb mixture, tossing gently to ensure they are evenly coated with the buttery blend. Aim to cover each slice generously for optimal flavor and crispiness during baking.
Step 4: Layer the Potato Slices
Using a muffin pan, carefully layer the coated potato slices vertically, creating stacks. It’s important not to overcrowd the muffin cups—aim for a snug fit to encourage even cooking instead of piling too many slices in. This arrangement allows for better airflow and crispiness.
Step 5: Bake for Perfection
Place the muffin pan in the preheated oven and bake for 45–50 minutes. Watch for the edges to turn golden brown and the tops to crisp up beautifully. The aroma wafting through your kitchen will signal that your Crispy Potato Stacks are well on their way to being ready.
Step 6: Cool and Serve
Once baked to perfection, remove the muffin pan from the oven and let the Crispy Potato Stacks cool for about 5–10 minutes. This brief cooling period helps them firm up slightly, making removal easier. Gently lift the stacks from the pan using a fork or spoon, and serve immediately for the best texture.
What to Serve with Crispy Potato Stacks
Elevate your dining experience by pairing these delightful stacks with options that complement their tempting texture and rich flavor.
-
Grilled Chicken: The smoky flavor of grilled chicken pairs beautifully with the buttery layers of potato, creating a satisfying meal.
-
Roasted Vegetables: Colorful, caramelized veggies balance the crunchiness of the stacks, providing freshness and a healthy touch to your plate.
-
Creamy Dip: A zesty sour cream or yogurt-based dip enhances the crunch, adding a delightful twist that encourages dipping and savoring every bite.
-
Fresh Salad: A crisp cucumber and tomato salad brings a refreshing contrast to the rich potato stacks, lightening the meal beautifully.
-
Herbed Quinoa: Fluffy quinoa, seasoned with fresh herbs, offers a nutty flavor that complements the richness of the stacks, providing a well-rounded dish.
-
Red Wine: A glass of fruity Pinot Noir or a smooth Chardonnay pairs wonderfully, counterbalancing the savory elements and enhancing the overall dining experience.
-
Chocolate Mousse: Finish your meal on a sweet note! The light and creamy texture of chocolate mousse contrasts perfectly with the crispy stacks, creating a delightful end to your dining adventure.
Expert Tips for Crispy Potato Stacks
-
Uniform Slicing: Ensure all potato slices are of similar thickness for even cooking; a mandoline achieves the best results.
-
Don’t Overcrowd: Layer the potato slices snugly in the muffin pan but avoid overcrowding to maintain crispiness.
-
Storage Prep: If making ahead, prep your stacks in advance and refrigerate or freeze them before baking for convenience.
-
Experiment with Toppings: Add grated cheese or spices like paprika for a unique twist on the classic Crispy Potato Stacks recipe.
-
Cooling Period: Allow the stacks to cool slightly before removing from the muffin pan; this helps achieve the perfect texture.
Crispy Potato Stacks Recipe Variations
Feel free to explore delightful twists on this recipe, unleashing your culinary creativity and personal taste.
- Herb Swap: Substitute rosemary with thyme or sage for a twist on flavors. Imagine the aromatic allure of thyme weaving through each crispy bite!
- Cheese Layers: Add grated cheddar or Parmesan between the potato layers for a rich, cheesy delight that elevates the dish. It’s like adding a creamy bonus to your crunchy stacks!
- Spicy Kick: Sprinkle in some paprika or cayenne pepper for those who love a little heat. This adds a nice warmth that perfectly complements the dish’s buttery notes.
- Dairy-Free Alternative: Swap melted butter for olive oil for a lighter, dairy-free version. The result is still delightfully crispy while catering to different dietary needs.
- Veggie Infusion: Toss in thinly sliced zucchini or bell peppers for added color and nutrition. The added veggies provide a lovely contrast and enhance the dish’s visual appeal!
- Garlic Lover’s Dream: Incorporate minced garlic into your herb mixture for a fragrant, savory kick. Garlic lovers will appreciate the robust flavor through every layer!
- Crispy Cornmeal: Dust the layers with cornmeal before baking for an extra textural crunch. This unexpected element introduces a delightful contrast with the tender potatoes.
- Smoky Flavor: Try adding smoked paprika or chipotle powder for a smoky twist that brings a whole new dimension to your crispy stacks. The depth of flavor will leave everyone wanting more!
For more inspiration, why not serve your crispy creations alongside our irresistible Loaded Baked Potato or a colorful French Style Potato? These pairings can truly elevate your dining experience!
How to Store and Freeze Crispy Potato Stacks
Fridge: Store leftover Crispy Potato Stacks in an airtight container for up to 3 days. Reheat in the oven at 375°F (190°C) for best results.
Freezer: For longer storage, freeze uncooked potato stacks in a single layer on a baking sheet. Once frozen, transfer to a zip-top bag and keep for up to 2 months.
Reheating: Bake frozen stacks directly from the freezer at 375°F (190°C) for 50–55 minutes, or until golden brown and crispy.
Make-Ahead Tip: Prep your stacks ahead of time and store them in the fridge or freezer until you’re ready to bake for a stress-free and delicious meal.
Make Ahead Options
Crispy Potato Stacks are ideal for meal prep, allowing you to enjoy delicious layers of potato without the last-minute hassle! You can slice and coat the Yukon Gold potatoes, then stack them in the muffin pan up to 24 hours in advance. Simply cover the prepared stacks with plastic wrap and refrigerate to maintain their freshness. When you’re ready to serve, preheat your oven and bake the stacks directly from the fridge for 45–50 minutes until they turn golden and crispy. This prep-ahead strategy not only saves you time during busy weeknights but guarantees that your Crispy Potato Stacks will be just as delightful and flavorful as if made fresh!
Crispy Potato Stacks Recipe FAQs
How do I choose the right potatoes for this recipe?
Absolutely! For Crispy Potato Stacks, Yukon Gold potatoes are your best option due to their creamy texture and buttery flavor. When selecting, look for potatoes that are firm with smooth skins and few blemishes. Avoid potatoes that show signs of sprouting or have dark spots all over, as this can affect the taste and texture of your stacks.
What is the best way to store leftover Crispy Potato Stacks?
Very! Store any leftover Crispy Potato Stacks in an airtight container in the refrigerator for up to 3 days. To reheat, simply place them on a baking sheet in a preheated oven at 375°F (190°C) for about 10-15 minutes, until they regain their crispiness and warmth.
Can I freeze the potato stacks before or after baking?
Absolutely! You can freeze uncooked potato stacks before baking. Layer the prepared stacks in a single layer on a baking sheet and place them in the freezer until firm. Transfer the frozen stacks to a zip-top bag, where they can be stored for up to 2 months. When ready to bake, there’s no need to thaw; just bake them straight from the freezer at 375°F (190°C) for about 50-55 minutes until golden brown and crispy.
What should I do if my potato stacks aren’t crisping up?
If your Crispy Potato Stacks aren’t crisping as expected, make sure that your potato slices are thin and uniform. This ensures even cooking. Also, check that you aren’t overcrowding the muffin pan, as this can trap steam and inhibit crispiness. Additionally, if your stacks seem too moist, try increasing the baking time slightly or adjusting your oven temperature for a more crispy result.
Are there any dietary restrictions I should consider with this recipe?
Very! This recipe is naturally gluten-free, making it a good option for those with gluten sensitivities. However, if you’re cooking for anyone with dairy allergies, feel free to substitute the melted butter with olive oil or a dairy-free butter alternative. The seasonings used are also generally safe for most diets, but always be sure to check for individual allergies, especially when adding optional ingredients like cheese or particular spices.
Crispy Potato Stacks Recipe for Irresistible Crunchy Layers
Ingredients
Equipment
Method
- Preheat the Oven to 375°F (190°C).
- Prepare the Herb Mixture by combining melted butter, olive oil, rosemary, parsley, salt, and pepper.
- Coat the Potato Slices with the herb mixture after thinly slicing them.
- Layer the Potato Slices snugly in a muffin pan.
- Bake for 45–50 minutes until golden brown and crispy.
- Cool for 5–10 minutes and serve for best texture.