
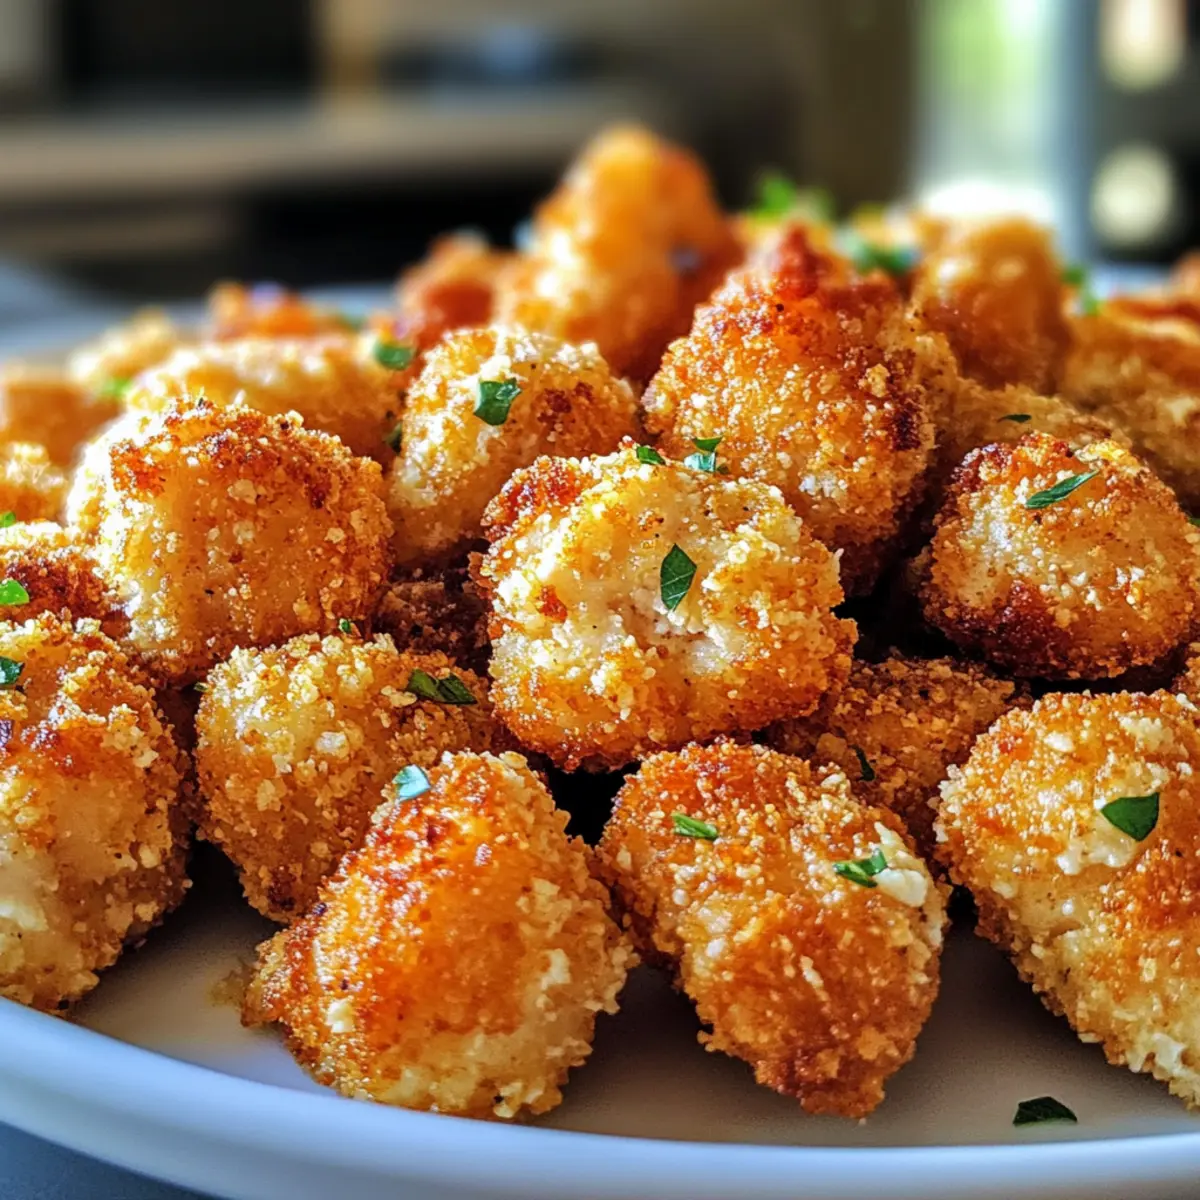
The scent of crispy chicken frying fills the air, bringing a sense of warmth and comfort to the kitchen. My homemade popcorn chicken is not just a dish; it’s a nostalgic treat that captures the joy of childhood memories spent at the mall, savoring those delightful, crunchy bites. With perfectly seasoned panko breading enveloping juicy chicken pieces, this recipe is a total crowd-pleaser, making it an easy choice for quick weeknight dinners or gatherings that call for something special. Plus, it’s a versatile go-to that can be baked for a healthier spin or served with an array of dipping sauces for an exciting twist. Are you ready to bring the fun back to your dinner table?
Why is Homemade Popcorn Chicken a Hit?
Crispy, Irresistible Bites: Each piece of popcorn chicken is coated in perfectly seasoned panko, ensuring a satisfying crunch that everyone loves.
Nostalgic Comfort Food: Reminiscent of mall treats, this dish brings back cherished childhood memories while appealing to adults and kids alike.
Versatile Serving Options: Great for snacking, an appetizer, or as a main dish with sides like fresh salads or roasted vegetables.
Quick and Simple: With easy steps, you can whip up this delightful dish for weeknight meals or gatherings in no time!
Healthy Alternatives: For a lighter version, simply bake your chicken for all the flavor without the extra calories.
So gather your ingredients and get ready to impress with this delightful homemade popcorn chicken that everyone will enjoy!
Homemade Popcorn Chicken Ingredients
For the Chicken
• Boneless Skinless Chicken Breasts – The primary protein for juicy bites; ensure they’re well marinated.
• Buttermilk – Essential for tenderizing the chicken; can be swapped with yogurt mixed with vinegar for a dairy-free option.
For the Breading
• All-Purpose Flour – Forms the base of the breading; use gluten-free flour for a gluten-free version.
• Salt – Vital for enhancing flavor; don’t skip this step!
• Garlic Powder – Adds savory depth; can be replaced with onion powder for a different taste.
• Panko Breadcrumbs – Offers superior crunch; regular breadcrumbs won’t give the same crispiness.
For Frying
• Vegetable or Canola Oil – Necessary for frying; can be substituted with peanut oil if desired.
Now that you have the ingredients ready, you’re one step closer to creating your homemade popcorn chicken that will become a favorite at your dinner table!
Step‑by‑Step Instructions for Homemade Popcorn Chicken
Step 1: Prepare the Chicken
Begin by cutting the boneless skinless chicken breasts into 1-inch pieces and pat them dry with paper towels. This helps the breading adhere better, ensuring your homemade popcorn chicken has that delightful crunch. Set aside the diced chicken while you prepare the coating.
Step 2: Mix the Dry Ingredients
In a shallow bowl, combine all-purpose flour, salt, and garlic powder. This seasoned flour will give your chicken a tasty base. Make sure to mix it well so that all the ingredients are evenly distributed, enhancing every bite of your popcorn chicken.
Step 3: Set Up Your Dredging Station
Create a dredging station by placing the buttermilk in one bowl and the panko breadcrumbs in another. The buttermilk will help the coating stick, resulting in a crispier finish. Arrange these bowls near your chicken pieces, making the dredging process smooth and efficient.
Step 4: Dredge the Chicken Pieces
Take a piece of chicken, first dredging it into the seasoned flour, shaking off any excess. Next, dip it into the buttermilk, coating it thoroughly, then roll it in the panko breadcrumbs, pressing down gently to ensure adhesion. Repeat this for all chicken pieces, preparing them for frying.
Step 5: Heat the Oil
In a deep pot or Dutch oven, heat vegetable or canola oil to 350°F. Use a thermometer for accuracy, as this temperature ensures your homemade popcorn chicken gets that perfect golden crust. Allow the oil to heat for about 5-10 minutes, getting it ready for frying.
Step 6: Fry the Chicken
Carefully add the breaded chicken pieces to the hot oil in batches—avoid overcrowding the pot. Fry them for 2-3 minutes until they turn a deep golden brown and crispy. This ensures even cooking and a delicious crunch. Once done, remove them and place them on paper towels to drain excess oil.
Step 7: Season and Serve
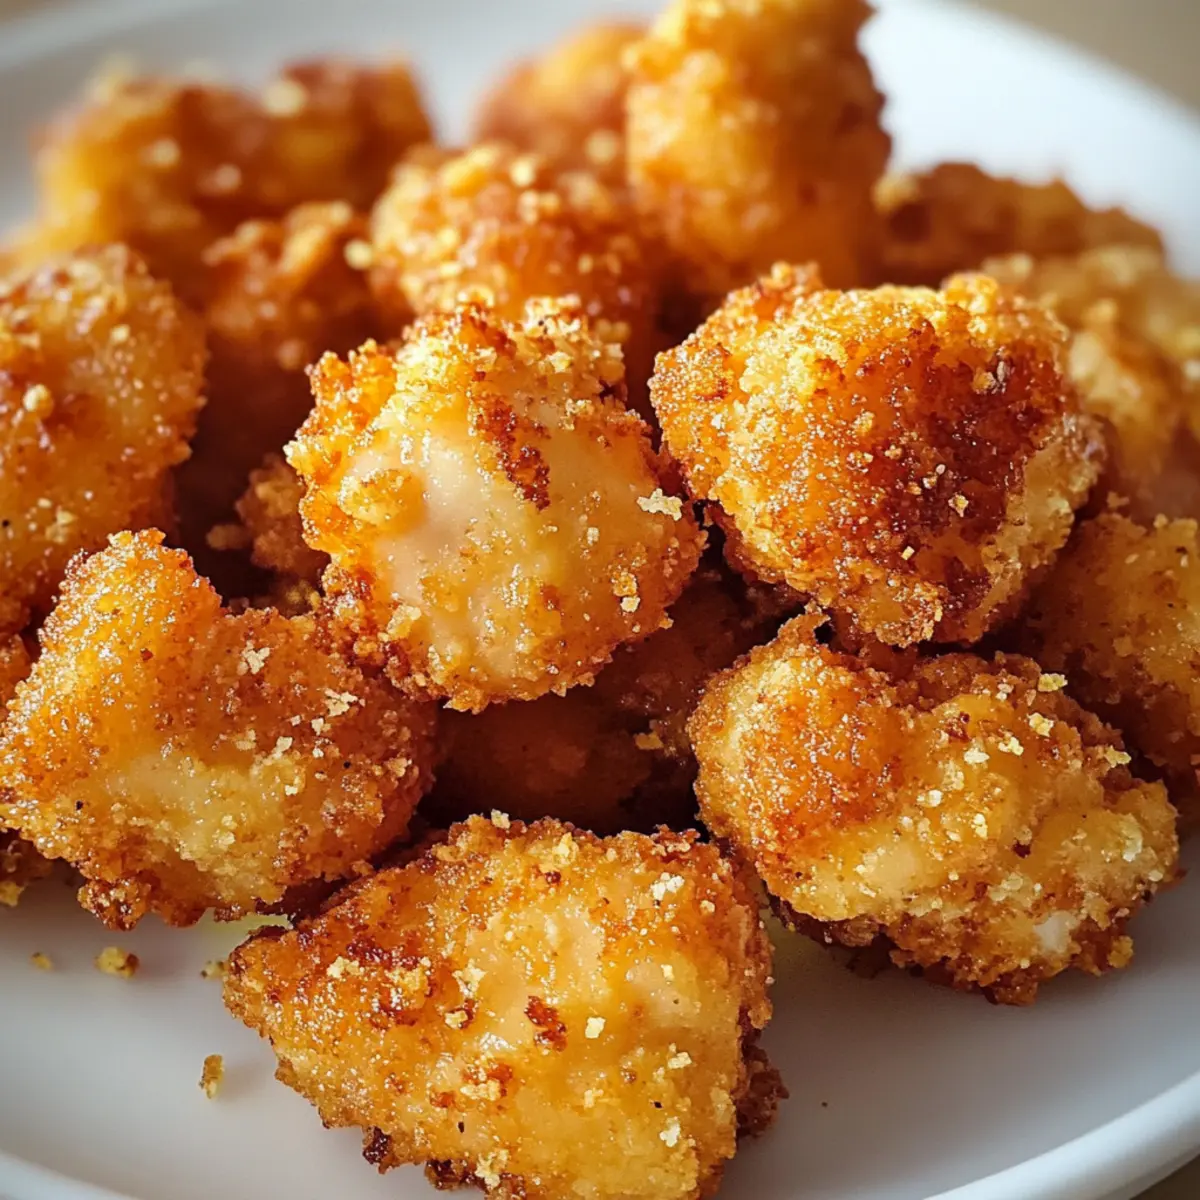
After draining, season the freshly fried homemade popcorn chicken with a sprinkle of extra salt if desired. Serve them hot alongside your favorite dips like ranch or BBQ sauce. These delicious bites are perfect for sharing and will surely be a hit at your next gathering!
How to Store and Freeze Homemade Popcorn Chicken
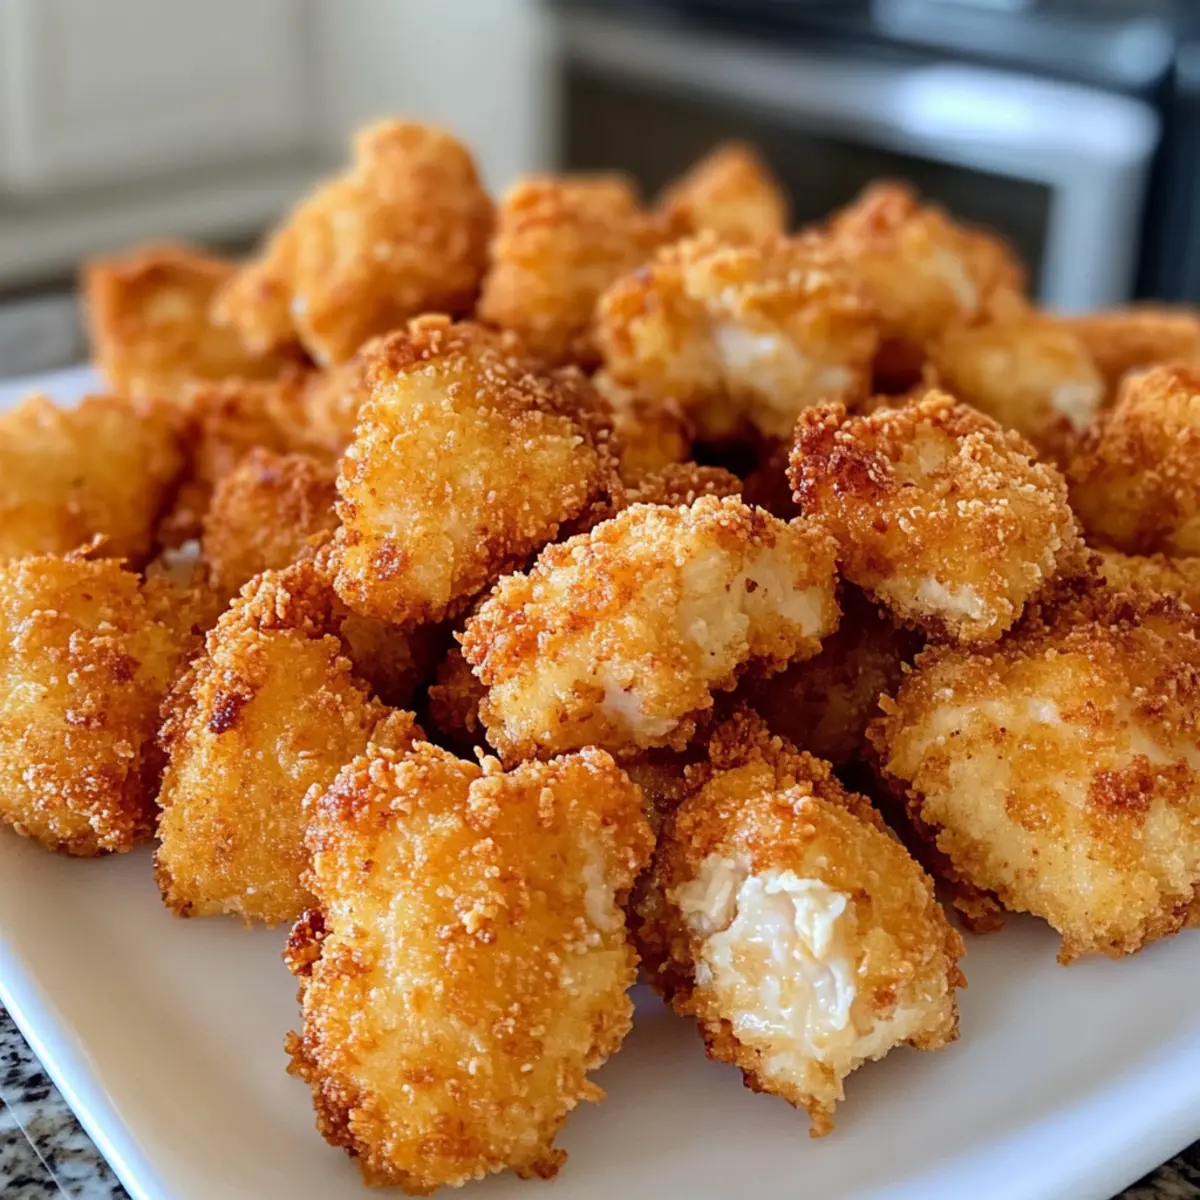
Fridge: Store leftover homemade popcorn chicken in an airtight container for up to 3 days. This keeps them fresher and ready for quick snacks or meals.
Freezer: For longer storage, freeze cooked popcorn chicken in a single layer on a baking sheet, then transfer to a freezer bag. They’ll maintain quality for about 2 months.
Reheating: To reheat, use an air fryer at 400°F for 2-3 minutes to restore that delightful crunch. Alternatively, bake in a preheated oven at 375°F for about 10-12 minutes.
Thawing: For frozen pieces, transfer them to the fridge overnight before reheating, or cook straight from frozen to save time, adjusting the reheating time accordingly.
What to Serve with Crispy Homemade Popcorn Chicken?
Bring your meal to life with delightful pairings that enhance every crispy bite of your homemade popcorn chicken.
-
Creamy Mac and Cheese: This classic dish brings a rich, comforting flavor that perfectly balances the crunch of the chicken. Creamy, cheesy goodness will keep everyone coming back for more.
-
Fresh Garden Salad: A vibrant mix of greens and veggies offers a refreshing contrast, adding crunch and a hint of sweetness paired with homemade vinaigrette. This brings balance and a healthy touch.
-
Honey Mustard Dipping Sauce: Sweet and tangy, this sauce elevates your popcorn chicken, providing a delightful flavor experience that keeps your taste buds dancing with joy.
-
Coleslaw: A crunchy, tangy slaw adds a refreshing crunch and a bit of zest, complementing the savory chicken in a delightful way. Its creamy texture provides contrast, making every bite an exciting adventure.
-
Sweet Potato Fries: Crispy outside and fluffy inside, these flavorful fries offer a sweet touch to contrast with the savory popcorn chicken. Baked or fried, they make mealtime feel like a special occasion.
-
Garlic Bread: Soft, buttery garlic bread is a delightful addition, perfect for soaking up juices and enhancing the comforting feel of your family meal. It’s an irresistible indulgence that everyone loves.
-
Iced Lemonade: A refreshing drink, its zesty sweetness cleanses the palate, making it an ideal companion to the richness of the chicken. Sip and savor the comfort of a classic summer refreshment.
With these pairs, your homemade popcorn chicken will shine, transforming a simple recipe into a memorable feast!
Make Ahead Options
These homemade popcorn chicken bites are perfect for busy weeknights! You can marinate the chicken in buttermilk and seasonings up to 24 hours in advance for maximum flavor and tenderness. Additionally, you can bread the chicken up to 3 hours ahead of time before frying. Simply place the coated pieces on a parchment-lined tray and refrigerate until ready to cook. To maintain their quality, make sure to store them in a single layer to prevent sticking. When you’re ready to serve, fry the chicken in batches for 2-3 minutes or bake at 400°F for 15-20 minutes, and you’ll have crispy, delicious homemade popcorn chicken with minimal effort!
Expert Tips for Homemade Popcorn Chicken
Marination Magic: Ensure your chicken soaks in buttermilk for at least 30 minutes. This helps create tender, juicy bites that perfectly complement the crispy coating.
Perfect Panko: Choose panko breadcrumbs for an extra crunchy texture. They outperform regular breadcrumbs, giving your homemade popcorn chicken that delightful crunch.
Controlled Frying: Fry in small batches to maintain oil temperature. This prevents sogginess and guarantees an even, golden color for each piece.
Draining Oil: After frying, let your chicken drain on paper towels, not just for excess oil removal, but also to keep every piece beautifully crispy.
Bake Option: For a healthier version, don’t shy away from baking! Preheat the oven to 400°F and bake your coated chicken for 15-20 minutes, flipping halfway for a light yet delicious crunch.
Homemade Popcorn Chicken Variations
Feel free to play with this recipe and customize it to suit your taste buds for a delightful twist!
-
Spicy Buffalo: Toss the cooked chicken in buffalo sauce for a fiery kick that’s perfect for heat lovers. An extra layer of flavor takes this dish to the next level!
-
Honey Garlic Glaze: Drizzle a honey garlic sauce over the chicken after frying for a sweet and savory combination. This adds a beautiful glossy finish that delights the senses.
-
Zesty Lemon Pepper: Sprinkle lemon pepper seasoning over the crispy chicken for a refreshing and zesty flavor that brightens each bite. A wonderful way to lighten things up!
-
Asian-Inspired: Coat the chicken with a teriyaki glaze or serve it with sweet chili sauce for a unique, flavorful twist. This fusion of flavors will take you on a culinary adventure!
-
Dipping Sauce Variety: Offer an array of dipping sauces such as honey mustard, ranch dressing, BBQ sauce, or sweet chili to cater to every palate. Each sauce turns this dish into a new experience.
-
Healthy Oven-Baked: Bake the coated chicken at 400°F for about 15-20 minutes for a healthier twist without sacrificing the flavor. You still enjoy delicious crunch without the extra calories!
-
Herb Infused: Add fresh or dried herbs such as thyme, rosemary, or oregano to the panko for an aromatic boost. This simple change brings an exciting depth of flavor to each bite.
By experimenting with these variations, you can turn your homemade popcorn chicken into a new favorite every time! For more delicious ideas, check out Mediterranean Chicken Tzatziki or Crispy Honey Chicken Discover.
Homemade Popcorn Chicken Recipe FAQs
How do I select the best chicken for popcorn chicken?
Absolutely! Look for boneless, skinless chicken breasts that are fresh with a firm texture. The best chicken has a nice pink color with no dark spots or discoloration. If you can, choose pieces that are uniform in size for even cooking.
How should I store leftover popcorn chicken?
To keep your homemade popcorn chicken fresh, store it in an airtight container in the refrigerator for up to 3 days. Ensure it’s completely cooled before sealing to prevent moisture buildup, which can make them soggy.
Can I freeze popcorn chicken for later use?
Yes! To freeze your popcorn chicken, lay the cooked pieces on a baking sheet in a single layer and freeze until solid, about 1-2 hours. Once frozen, transfer them to a freezer bag. They will retain their quality for up to 2 months.
What’s the best way to reheat frozen popcorn chicken?
For the best results, preheat your air fryer to 400°F and reheat the frozen popcorn chicken for about 4-5 minutes until they are heated through and crispy. Alternatively, you can bake them at 375°F for about 15-20 minutes, flipping halfway for even heating.
Can I make this popcorn chicken gluten-free?
Very much! You can swap the all-purpose flour for a gluten-free flour blend and ensure that the panko breadcrumbs you use are labeled gluten-free. This way, everyone can enjoy the deliciousness of homemade popcorn chicken!
How can I enhance the flavors of my popcorn chicken?
The more the merrier! You can add spices like paprika, cayenne pepper, or Italian seasoning to the flour mixture for an extra kick. For dipping sauces, try sweet chili sauce or honey mustard for different flavor experiences!
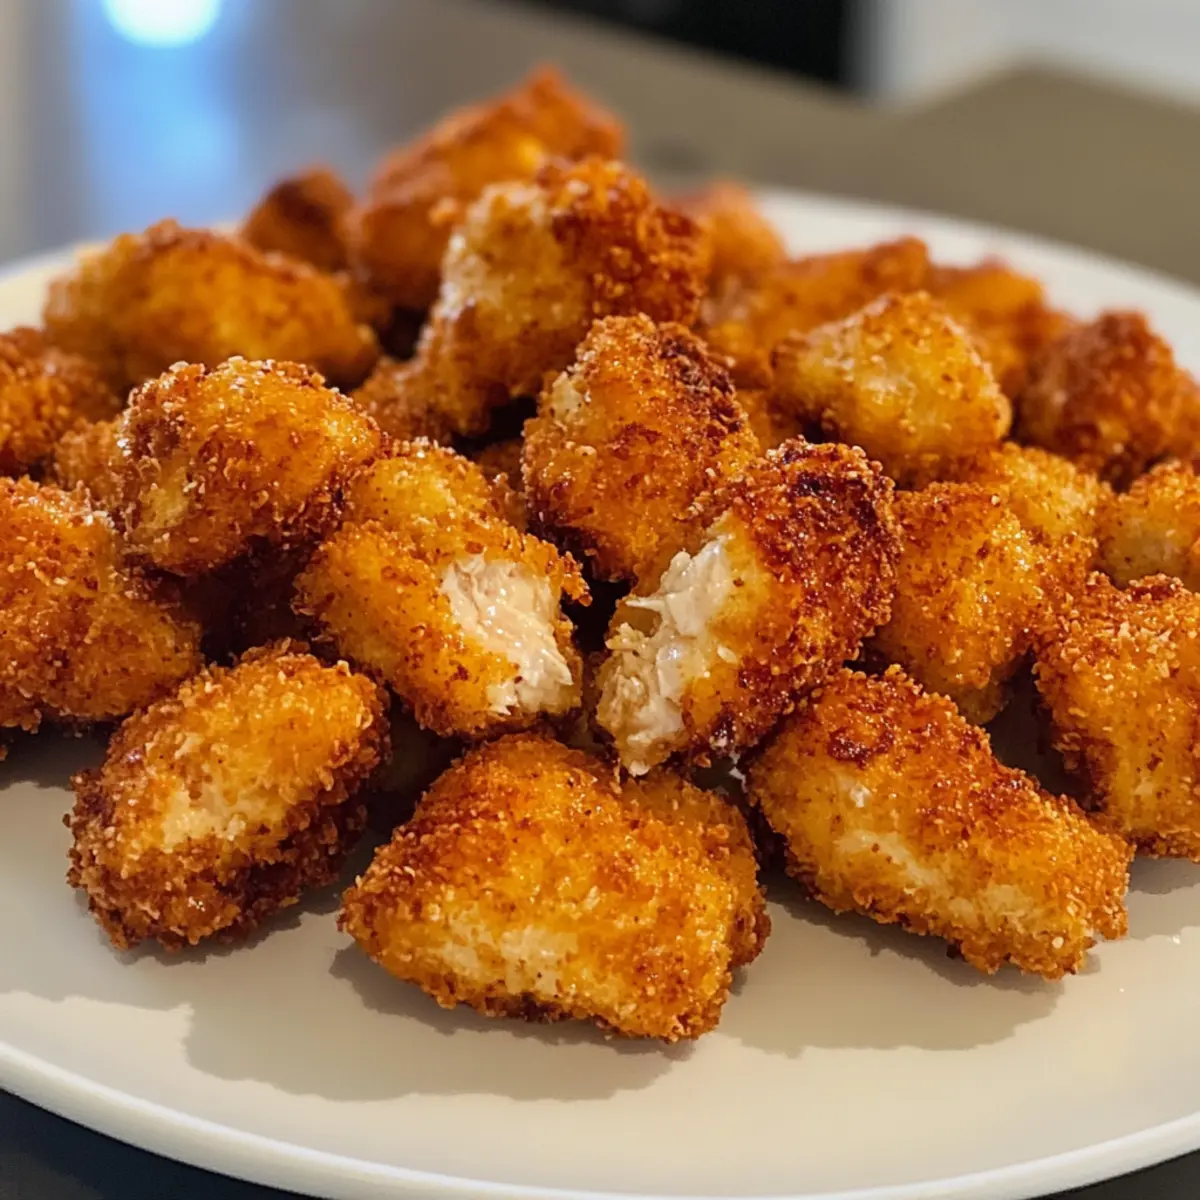
Crispy Homemade Popcorn Chicken That Kids Will Love
Ingredients
Equipment
Method
- Cut the chicken breasts into 1-inch pieces and pat them dry.
- In a shallow bowl, mix flour, salt, and garlic powder to create seasoned flour.
- Set up a dredging station with buttermilk in one bowl and panko breadcrumbs in another.
- Dredge chicken pieces in seasoned flour, then dip in buttermilk, and coat in panko breadcrumbs.
- Heat oil in a deep pot to 350°F.
- Fry the chicken in batches for 2-3 minutes until golden brown.
- Season with extra salt if desired and serve with dipping sauces.