

As the sun blazes overhead, the craving for something cool and refreshing hits. There’s nothing quite like Homemade Rainbow Sherbet to whisk me away to those carefree summer days of childhood. This delightful Rainbow Sherbet Recipe not only transports you back in time, but it also allows for endless customization with your favorite fruits like raspberry, orange, and lime. Its creamy texture makes it a perfect ice cream alternative, ensuring indulgence without compromising on quality. Plus, it’s a fantastic crowd-pleaser, ideal for summer barbecues or a simple family treat. Are you ready to create your own colorful masterpiece that will have everyone smiling with each scoop? Let’s dive into this vibrant world of fruity goodness together!
What Makes This Rainbow Sherbet Special?
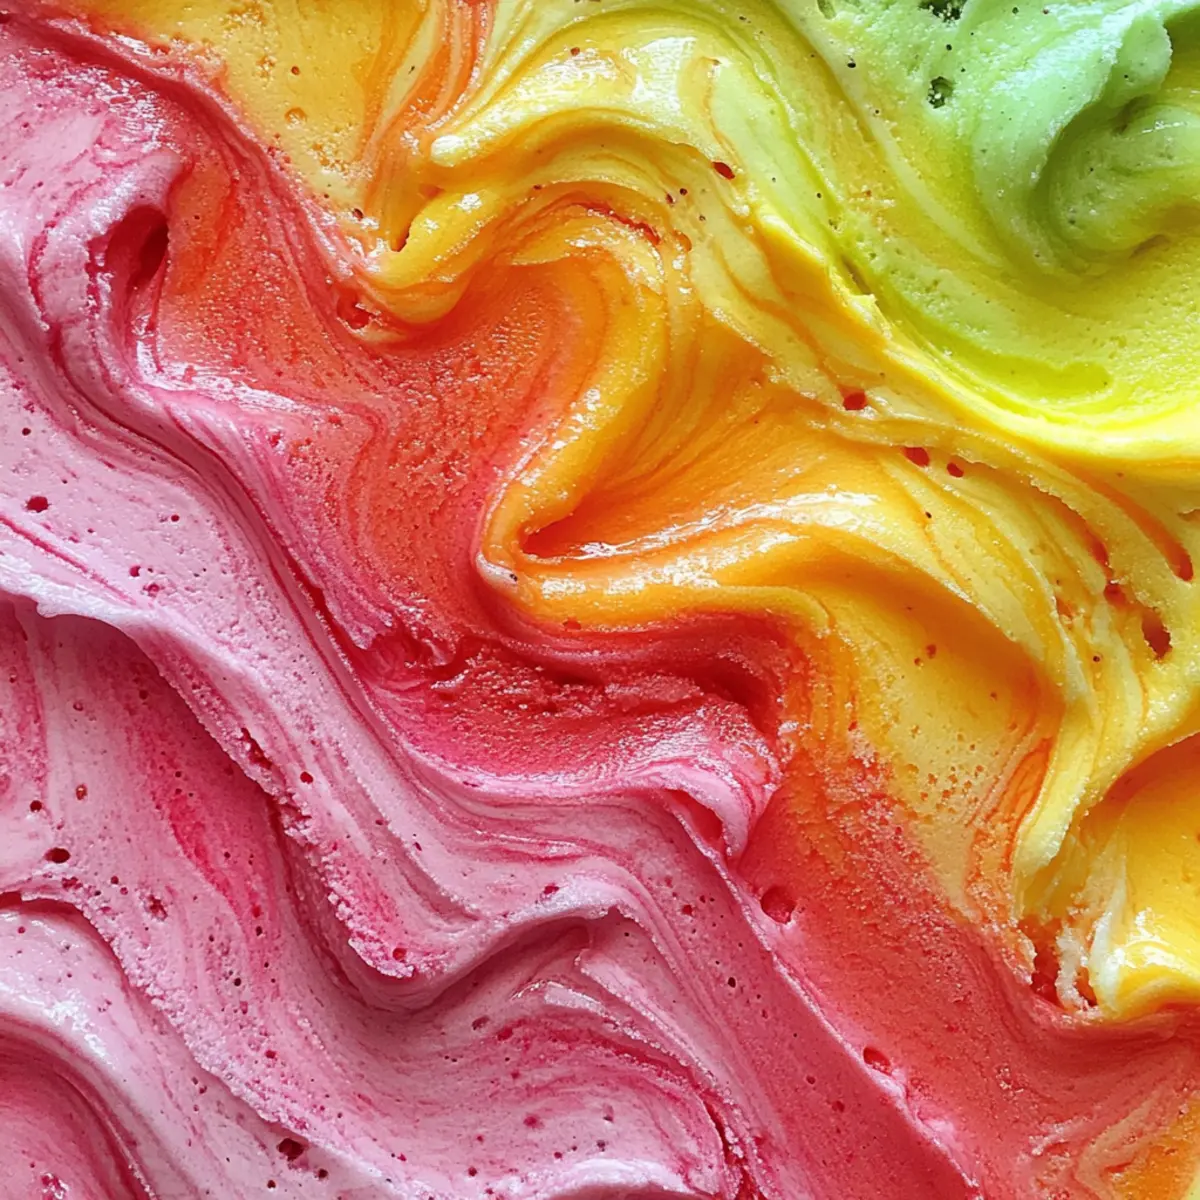
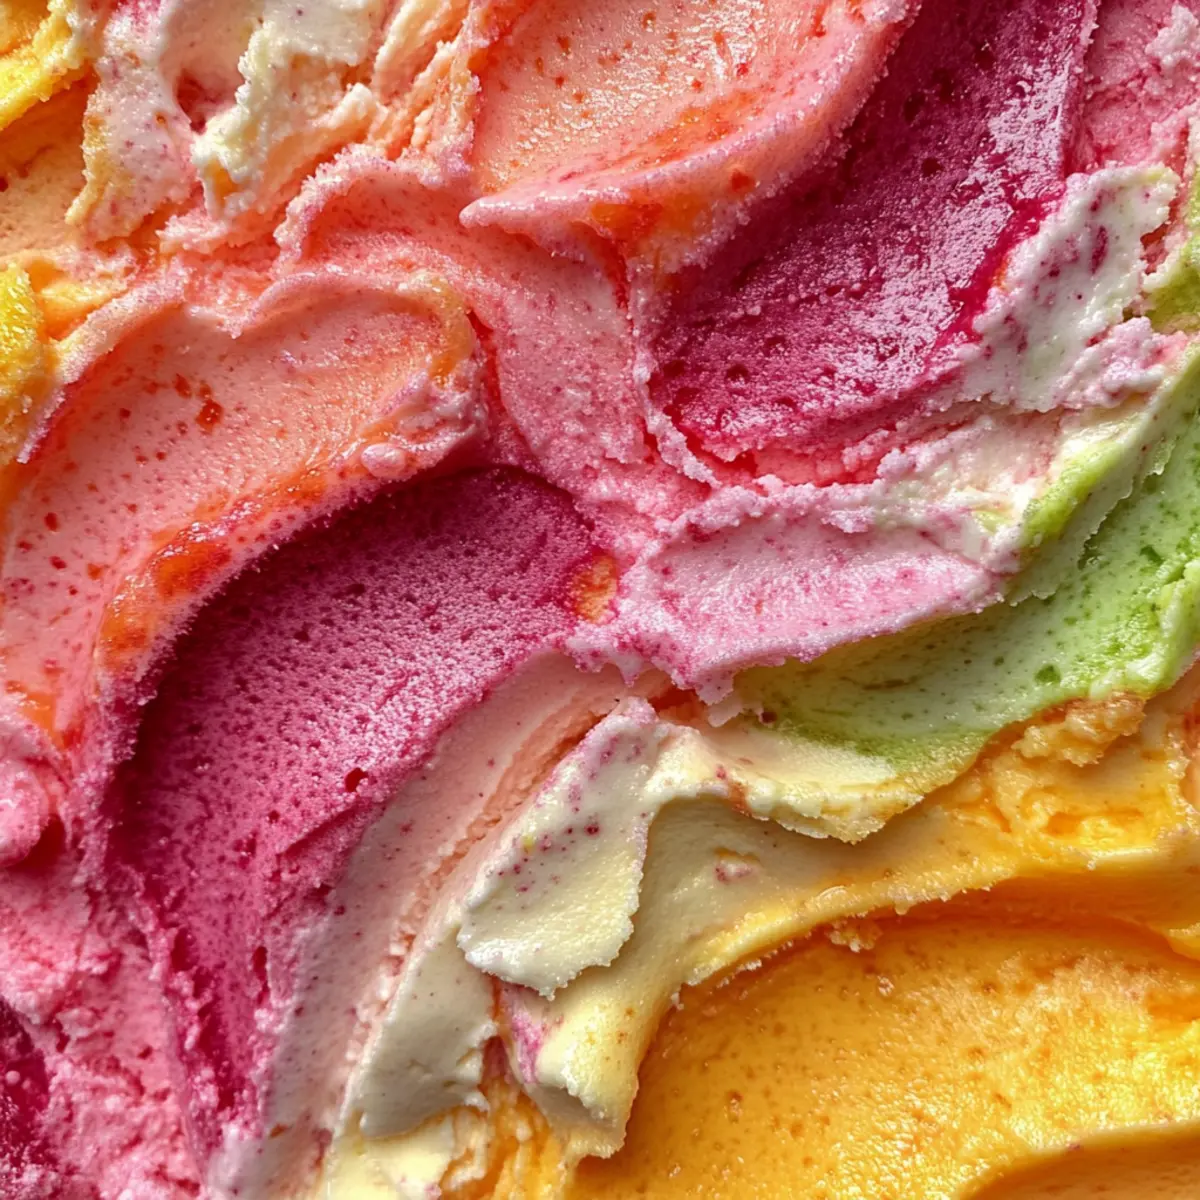
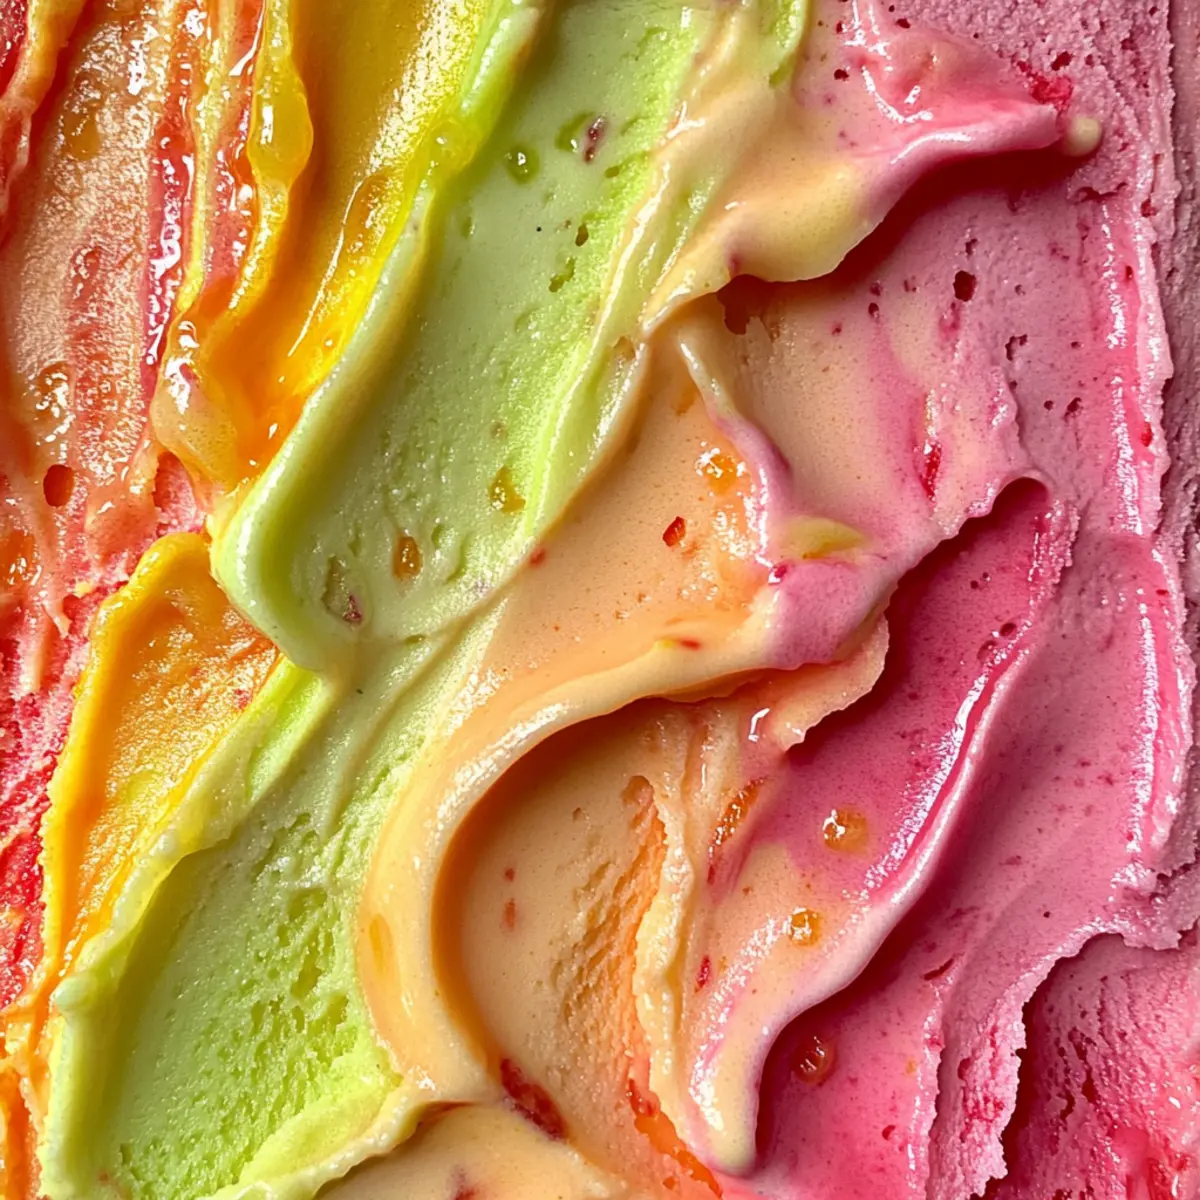
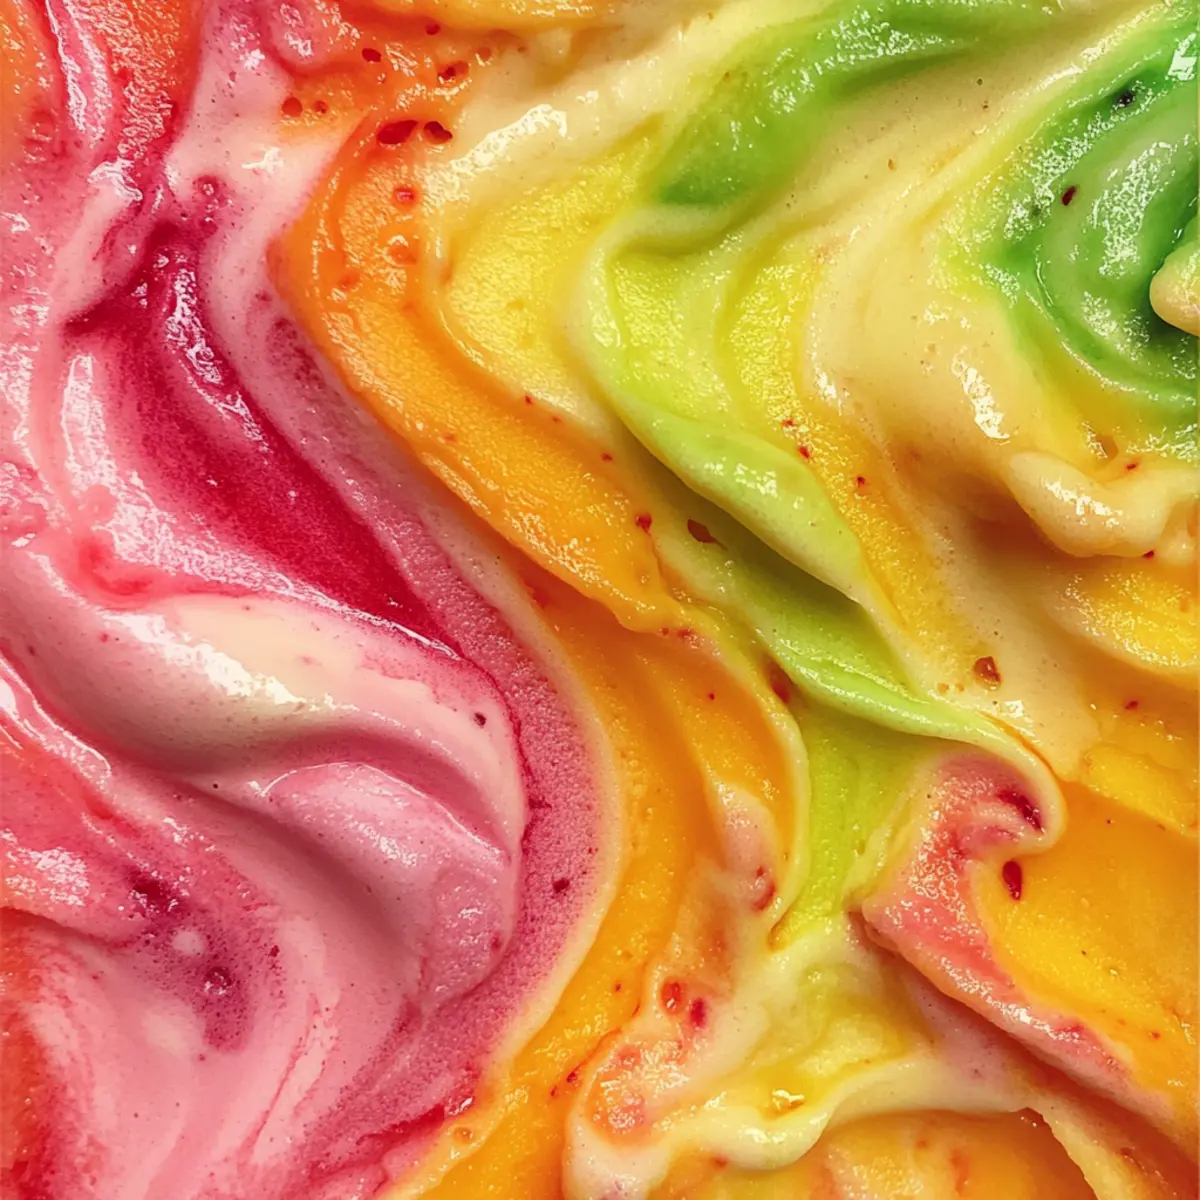
Vibrant, Fruity Layers: This delightful treat features layers of raspberry, orange, and lime, each bursting with natural flavors.
Endless Customization: Choose your favorite fruits, or mix and match for a personal twist!
Simple Homemade Process: With just a few ingredients and steps, creating this refreshing dessert from scratch is easier than you think.
A Crowd Favorite: Serve it at summer gatherings or family parties, and watch everyone dive in for seconds.
Healthier Alternative: Using real fruit juices and no artificial flavors makes this sherbet a guilt-free indulgence, unlike many store-bought options.
Get ready to impress your guests and treat yourself with this Homemade Rainbow Sherbet! For more fruity inspirations, don’t miss our Malibu Bay Breeze cocktail and Old Fashioned Moist banana bread recipes!
Rainbow Sherbet Recipe Ingredients
For the Base
- Cream – Adds a rich creaminess; heavy cream yields the best results.
- Milk – Balances the creaminess; whole milk is recommended for optimal flavor.
- Sugar – Sweetens the base and can be adjusted based on your fruit’s natural sweetness.
- Vanilla Extract – Enhances overall flavor; using pure vanilla extract ensures the best taste.
For the Layers
- Raspberries – Provides the base flavor for the first layer; fresh or slightly thawed frozen raspberries work well.
- Orange Juice – Adds a zesty flavor to the second layer; freshly squeezed juice enhances the taste.
- Lime Juice – Gives a tangy kick to the third layer; freshly squeezed is ideal for freshness.
- Food Coloring (optional) – Boosts visual appeal; use gel colors for vibrant and strong hues.
Make this delightful Rainbow Sherbet Recipe your own by experimenting with different fruits and flavors!
Step‑by‑Step Instructions for Rainbow Sherbet Recipe
Step 1: Prepare the Cream Base
In a medium saucepan, combine cream, whole milk, and sugar over medium heat. Stir continuously for about 5-7 minutes until the sugar dissolves completely and the mixture is warm but not boiling. Remove from heat and mix in pure vanilla extract, allowing the flavors to meld beautifully.
Step 2: Chill the Mixture
Transfer the cream base to a bowl and let it cool at room temperature for about 30 minutes. Once cooled, cover the bowl and place it in the refrigerator, allowing it to chill for at least 2 hours. This step ensures the Rainbow Sherbet has a creamy, smooth texture when you churn it.
Step 3: Prepare the Raspberry Layer
While the cream base chills, prepare the raspberry layer by blending fresh or thawed raspberries with 2 tablespoons of sugar until smooth. Once blended, strain the puree through a sieve to remove the seeds, capturing the vibrant raspberry essence. Set aside as we move to the next fruity layer.
Step 4: Churn the Base Mixture
Once fully chilled, take the cream base from the fridge. Pour it into an ice cream maker and churn according to the manufacturer’s instructions until it reaches a soft-serve consistency, which usually takes about 20-25 minutes. This will ensure a light and airy texture for your Rainbow Sherbet.
Step 5: Create the Orange Layer
Divide the churned sherbet base into thirds. To one-third, mix in fresh orange juice and a few drops of orange food coloring, if desired. Return this mixture to the ice cream maker for a quick churn to combine, then scoop it into a container and freeze for about 30 minutes to firm up.
Step 6: Prepare the Lime Layer
Next, with another third of the sherbet base, stir in freshly squeezed lime juice and a drop of green food coloring for a refreshing touch. Again, churn briefly in the ice cream maker to ensure even mixing. Once done, add this layer into the same container, smoothing it out with a spatula.
Step 7: Finish with Raspberry Layer
To the final third of the sherbet base, gently fold in the prepared raspberry puree until fully incorporated. Churn briefly to blend, and then pour this vibrant mixture into the container, layering it atop the orange and lime scoops. Smooth the top, then cover and freeze until firm.
Step 8: Freeze and Serve
Let the assembled Rainbow Sherbet freeze for 4-6 hours, until completely hardened. Before serving, let it sit at room temperature for a few minutes to soften. Scoop this delightful Rainbow Sherbet into bowls or cones and revel in your homemade fruity creation with every colorful layer.
Make Ahead Options
Busy home cooks will love the convenience of preparing this Rainbow Sherbet Recipe ahead of time! You can make the cream base up to 24 hours in advance by completing Steps 1 and 2, cooling it fully before refrigerating. Both the raspberry puree and the flavored layers (orange and lime) can also be prepped and stored in airtight containers in the fridge for up to 3 days. When you’re ready to finish, simply churn the chilled base with the prepared fruit layers, as outlined in Steps 4 to 8. To maintain the creamy texture, ensure that everything is well-chilled before mixing and freeze the final product immediately. Enjoy the time-saving benefits of this delightful homemade treat without sacrificing taste!
How to Store and Freeze Rainbow Sherbet
Fridge: Store any leftover Rainbow Sherbet for up to 3 days in an airtight container to maintain its freshness and texture.
Freezer: Freeze the sherbet for up to 2 months. Ensure it’s well-covered to prevent freezer burn and maintain its vibrant flavors.
Reheating: To soften for easier scooping, let the sherbet sit at room temperature for about 5-10 minutes before serving.
Airtight Guidance: Always use an airtight container when storing to keep the homemade rainbow sherbet from absorbing odors or losing its delightful fruity essence.
Rainbow Sherbet Recipe Variations
Feel free to let your creativity shine by customizing your Rainbow Sherbet with these delightful twists!
-
Dairy-Free: Substitute coconut milk for the cream and milk for a tropical twist without dairy.
The creamy richness of coconut gives a wonderful base flavor, perfect for hot summer days. -
Different Fruits: Experiment with peaches, mangoes, or blended berries for diverse flavors.
Mixing fruits can create a delicious flavor explosion, making each scoop a surprise! -
Herb-Infused: Add fresh mint or basil to the fruit puree for an aromatic touch.
This unexpected hint of herbal freshness will elevate your sherbet and impress your guests. -
Citrus Medley: Combine lemon and grapefruit juices for a zesty kick instead of orange and lime.
The tanginess from citrus will balance the sweetness and bring brightness to each layer. -
Spicy Surprise: Mix in a pinch of cayenne pepper to the lime layer for a surprising heat.
The subtle spice brings out the flavors while delivering a fun twist that adult guests will love. -
Berry Blast: Use strawberries or blueberries for a vibrant berry rainbow instead.
Imagine the burst of flavor as you scoop into each layer – a berry lover’s dream! -
Frozen Yogurt Base: Swap the heavy cream and milk for yogurt for a tangy, lighter option.
This swap provides the same creamy texture with a delightful tartness that lightens up every scoop. -
Layered Parfaits: Instead of freezing as a solid, swirl layers of sherbet in a glass with some yogurt for a parfait.
This serves as a stunning dessert presentation that’s perfect for sharing, plus it looks incredible!
For extra fruity inspiration, don’t miss our Rotel Pasta Ground for a savory dish or try the delightful Crispy Air Fryer Fried Chicken as a perfect main course to pair!
Expert Tips for Rainbow Sherbet Recipe
Chill the Base Well: Ensure the cream mixture is completely chilled before churning for the smoothest texture.
Don’t Over-Churn: Stop the churning when the consistency is soft-serve; over-churning can lead to ice crystals forming in your Rainbow Sherbet.
Adjust Sweetness Carefully: Taste your fruit purees and adjust sugar accordingly; some fruits can vary greatly in sweetness, impacting the final taste.
Use Fresh Ingredients: Freshly squeezed juices not only amplify flavor but also contribute to the vibrant color of your sherbet.
Layer it Right: For an eye-catching marbled effect, alternate spoonfuls of each layer carefully in the container before freezing.
What to Serve with Homemade Rainbow Sherbet
As you create this vibrant summer treat, consider some delightful pairings to enhance your sunny gatherings.
- Fresh Fruit Salad: A colorful mix of fruits harmonizes beautifully, offering a refreshing contrast to the creamy sherbet.
- Chocolate Chip Cookies: The sweetness of these classic cookies complements the fruity notes while adding a delightful crunch.
- Coconut Macaroons: Their chewy texture and tropical flavor make them a perfect companion to the fruity sherbet.
- Soda Floats: Pairing scoops of this sherbet with soda creates a fun and fizzy experience, great for hot summer days!
- Ice Cream Cones: Serve the sherbet in cones for easy, portable treats—perfect for picnics or garden parties.
- Mint Sprig Garnish: Add a simple sprig of mint atop each scoop for a fresh aroma and a pop of color.
- Sparkling Lemonade: The tartness of sparkling lemonade provides a refreshing drink option to balance the sweetness of the sherbet.
- Chocolate Sauce Drizzle: For a decadent twist, drizzle warm chocolate sauce over scoops for a rich, contrasting flavor.
- Lemon Sorbet: Another fruity dessert that offers a palette cleanser and adds variety to your dessert spread.
Rainbow Sherbet Recipe FAQs
What fruits can I use for the Rainbow Sherbet?
Absolutely! You can customize this recipe with your favorite fruits. In addition to raspberry, orange, and lime, try using mango, pineapple, or even coconut for a unique twist. Just ensure that the fruits are ripe and vibrant for the best flavor!
How do I store leftover Rainbow Sherbet?
You can store any leftover Rainbow Sherbet in an airtight container in the fridge for up to 3 days. To keep it in the freezer for later enjoyment, it will last up to 2 months if well-covered, preventing freezer burn and maintaining its enjoyable flavors.
Can I freeze the Rainbow Sherbet? If so, how?
Yes, you can absolutely freeze your Rainbow Sherbet! Here’s how: Once it’s fully churned and layered in an airtight container, cover it tightly and place it in the freezer. It will freeze solid and be ready to enjoy after 4-6 hours. When you’re ready to scoop, let it sit at room temperature for about 5-10 minutes to soften for easier scooping.
Why is my sherbet icy or grainy instead of creamy?
Very! If your sherbet turns out icy or grainy, it may have been over-churned or lacked sufficient chilling time. To avoid ice crystals, be sure to chill your base completely before churning and stop the ice cream maker once it reaches a soft-serve consistency. If it gets too hard, just let it soften at room temperature before serving!
Is this Rainbow Sherbet safe for my dog?
While the base ingredients are generally safe, it’s best to avoid sharing your Rainbow Sherbet with your pup. The sugar and certain fruit juices can upset their stomach, so it’s wise to prepare a dog-friendly frozen treat instead!
How can I make this recipe dairy-free?
To create a delicious dairy-free version of the Rainbow Sherbet, substitute heavy cream and milk with full-fat coconut milk or almond milk. This will give a creamy texture while keeping it light and fresh. Just be sure to check that the sugars and other flavorings don’t contain dairy for a completely dairy-free treat!
Rainbow Sherbet Recipe - A Colorful Summer Delight
Ingredients
Equipment
Method
- In a medium saucepan, combine cream, whole milk, and sugar over medium heat. Stir continuously for about 5-7 minutes until the sugar dissolves completely and the mixture is warm but not boiling. Remove from heat and mix in pure vanilla extract.
- Transfer the cream base to a bowl and let it cool at room temperature for about 30 minutes. Once cooled, cover the bowl and place it in the refrigerator for at least 2 hours.
- Blend fresh or thawed raspberries with 2 tablespoons of sugar until smooth. Strain the puree through a sieve to remove the seeds.
- Pour the chilled cream base into an ice cream maker and churn until it reaches a soft-serve consistency, about 20-25 minutes.
- Divide the churned sherbet base into thirds. To one-third, mix in fresh orange juice and a few drops of orange food coloring. Return this mixture to the ice cream maker for a quick churn, then scoop it into a container and freeze for about 30 minutes.
- To another third of the sherbet base, stir in freshly squeezed lime juice and a drop of green food coloring. Churn briefly in the ice cream maker.
- To the final third of the sherbet base, fold in the prepared raspberry puree until fully incorporated. Churn briefly to blend, then pour this mix into the container atop the orange and lime layers.
- Let the assembled Rainbow Sherbet freeze for 4-6 hours until hardened. Before serving, let it sit at room temperature for a few minutes to soften.