

Every now and then, I find myself craving something that combines the comfort of childhood favorites with a lively twist. Enter the Taco Mac! This creamy taco mac recipe beautifully marries classic mac and cheese with the bold flavors of tacos, creating a dish that’s not only quick to whip up but also a guaranteed crowd-pleaser for cozy family dinners or casual gatherings. The best part? It’s completely customizable, whether you want a gentle spice or a fiery kick, and it’s beginner-friendly, making it the perfect solution for anyone looking to break free from fast food. So, what happens when rich, cheesy goodness meets zesty taco bliss? Get ready to fall in love with every bite!
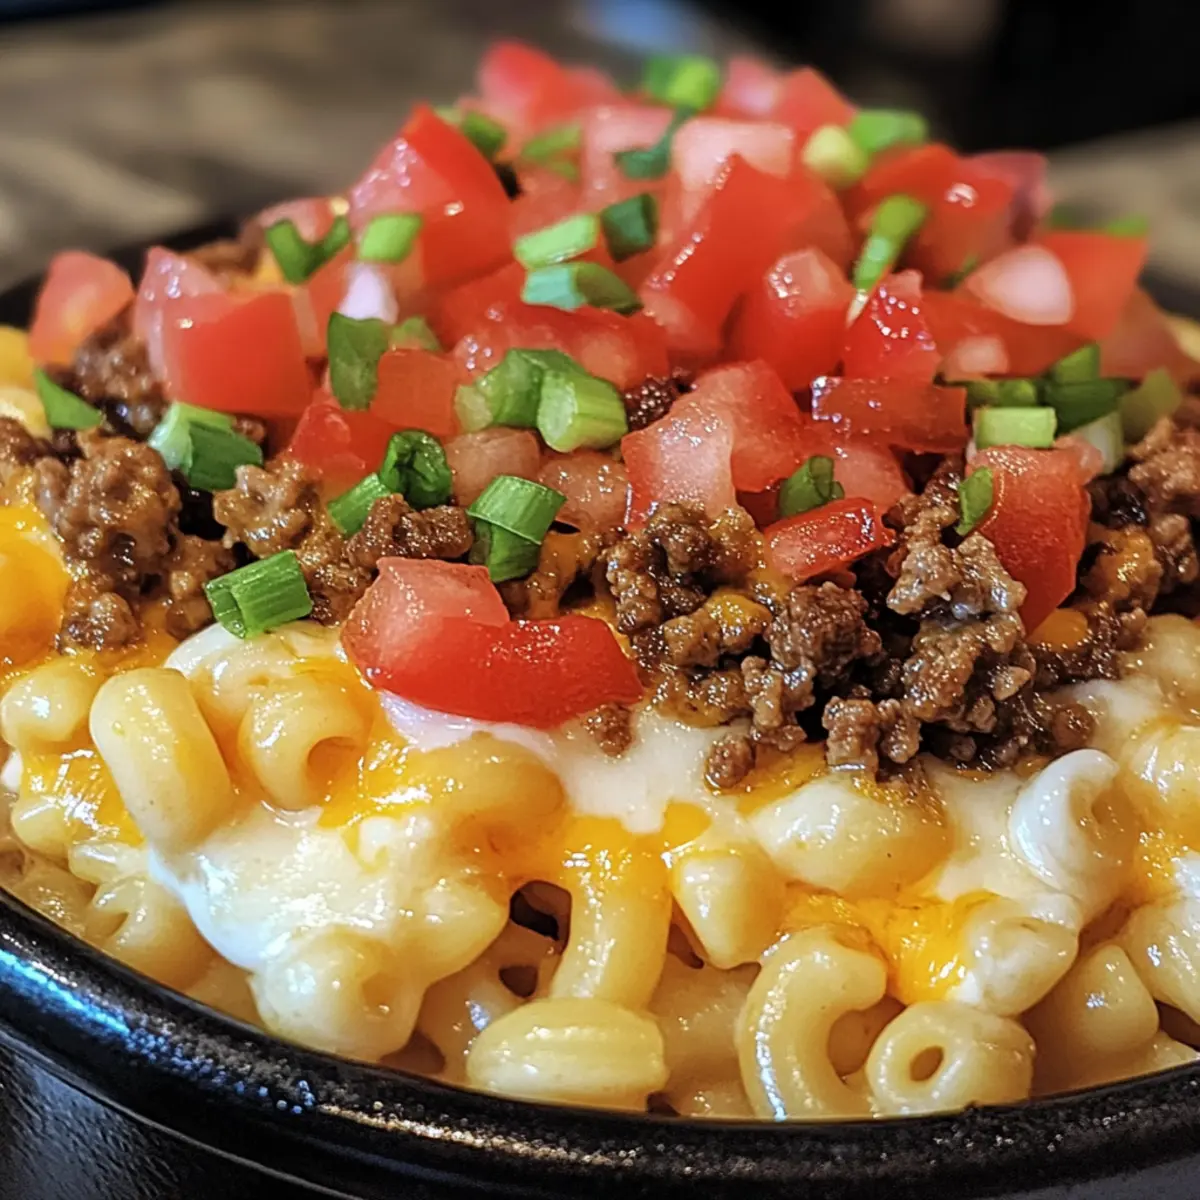
Why Is This Taco Mac So Irresistible?
Comfort in Every Bite: This Taco Mac delivers a nostalgic embrace, combining creamy mac and cheese with bold taco flavors that will have you reaching for seconds.
Customizable: Whether you like it spicy or mild, you can easily adjust the taco seasoning to your taste, making it suitable for everyone.
Beginner-Friendly: You don’t need to be a master chef to make this dish! With straightforward instructions, even novice cooks will succeed with ease.
Perfect for Any Occasion: Great for family dinners or casual gatherings with friends, Taco Mac is sure to be the star of the table.
Quick Prep Time: Ready in under 30 minutes, this dish saves you time on busy nights while satisfying those hunger pangs.
If you’re a fan of satisfying one-pot meals, try out our Taco Soup Deliciously for another comforting twist!
Taco Mac Ingredients
• Discover the perfect blend of flavors!
For the Pasta
- Elbow Macaroni – The ideal base that absorbs all the delicious flavors; substitute with any small pasta like rotini or penne if desired.
For the Beef Mixture
- Ground Beef – Adds heartiness and protein; swap for ground turkey or plant-based crumbles for a lighter option.
- Taco Seasoning – Packs a punch of spices and flavor; adjust the heat level to your preference, or use a homemade blend.
- Water – Hydrates the seasoning for optimal flavor; no substitutions necessary.
For the Creamy Sauce
- Shredded Cheddar Cheese – Delivers sharpness and creaminess; you can replace it with Monterey Jack or Pepper Jack for something spicier.
- Shredded Mozzarella Cheese – Offers a deliciously gooey melt; substitute with a Mexican cheese blend to enhance the flavors further.
- Milk – Ensures a creamy texture; plant-based options like almond milk can serve as a dairy-free alternative.
- Sour Cream – Contributes extra creaminess and tang; Greek yogurt makes a lighter substitute or can be omitted for a dairy-free dish.
For the Finishing Touches
- Diced Tomatoes – Add moisture and a touch of sweetness; fire-roasted tomatoes can give a smoky flavor twist.
- Chopped Green Onions – Brightens the dish with freshness; consider using cilantro or parsley for added flavor.
- Olive Oil – Provides a base for sautéing; any cooking oil works well in this recipe.
With these Taco Mac ingredients ready, you’re one step closer to creating an unforgettable meal that satisfies cravings and brings smiles around the dinner table!
Step‑by‑Step Instructions for Taco Mac
Step 1: Cook the Beef
In a large skillet, heat over medium-high heat and add the ground beef. Cook for about 5–7 minutes, breaking it apart with a wooden spoon until it’s browned and no longer pink. You’ll know it’s ready when it’s perfectly browned, exhibiting a rich color that promises delicious flavor.
Step 2: Season the Meat
Once the beef is browned, carefully drain any excess fat from the skillet. Return the skillet to medium heat and mix in the taco seasoning and water. Allow this mixture to simmer for 5 minutes until it thickens and absorbs the flavors, stirring occasionally to ensure even coating and prevent sticking.
Step 3: Prepare the Pasta
While the beef is simmering, bring a large pot of salted water to a rolling boil. Add the elbow macaroni and cook according to package instructions, usually about 7–9 minutes, until al dente. Drain the pasta in a colander, but don’t rinse, as you want it to absorb the delicious flavors later.
Step 4: Sauté the Tomatoes
In the same pot used for the macaroni, heat a tablespoon of olive oil over medium heat. Add the diced tomatoes and sauté for 2-3 minutes until they become slightly softened and fragrant. This step adds a refreshing burst of flavor to your creamy taco mac that balances out the richness.
Step 5: Combine Ingredients
Once the tomatoes are cooked, add the drained macaroni to the pot along with the seasoned beef mixture. Stir everything together gently until well mixed, ensuring that each piece of macaroni is coated in that savory taco goodness. Let this simmer for 2 minutes to meld the flavors together.
Step 6: Create the Creamy Sauce
Reduce the heat to low, then pour in the milk followed by the shredded cheddar and mozzarella cheeses. Stir continuously for 3–5 minutes until the cheeses melt completely, creating a luscious, creamy sauce that clings to the macaroni and provides that comforting texture characteristic of a delicious Taco Mac.
Step 7: Add the Final Touches
Remove the pot from the heat and mix in the sour cream. Stir until it’s fully incorporated, enhancing the creaminess further. The blend of flavors should be rich, and the texture velvety, inviting you to dig in as it transforms into the ultimate comfort food dish.
Step 8: Serve and Garnish
Dish out the creamy Taco Mac into bowls and sprinkle with chopped green onions for a fresh finish. Serve hot, and perhaps pair it with crispy tortilla chips or a side of guacamole for added taste. Enjoy the delightful fusion of flavors and the smiles it brings to your mealtime!
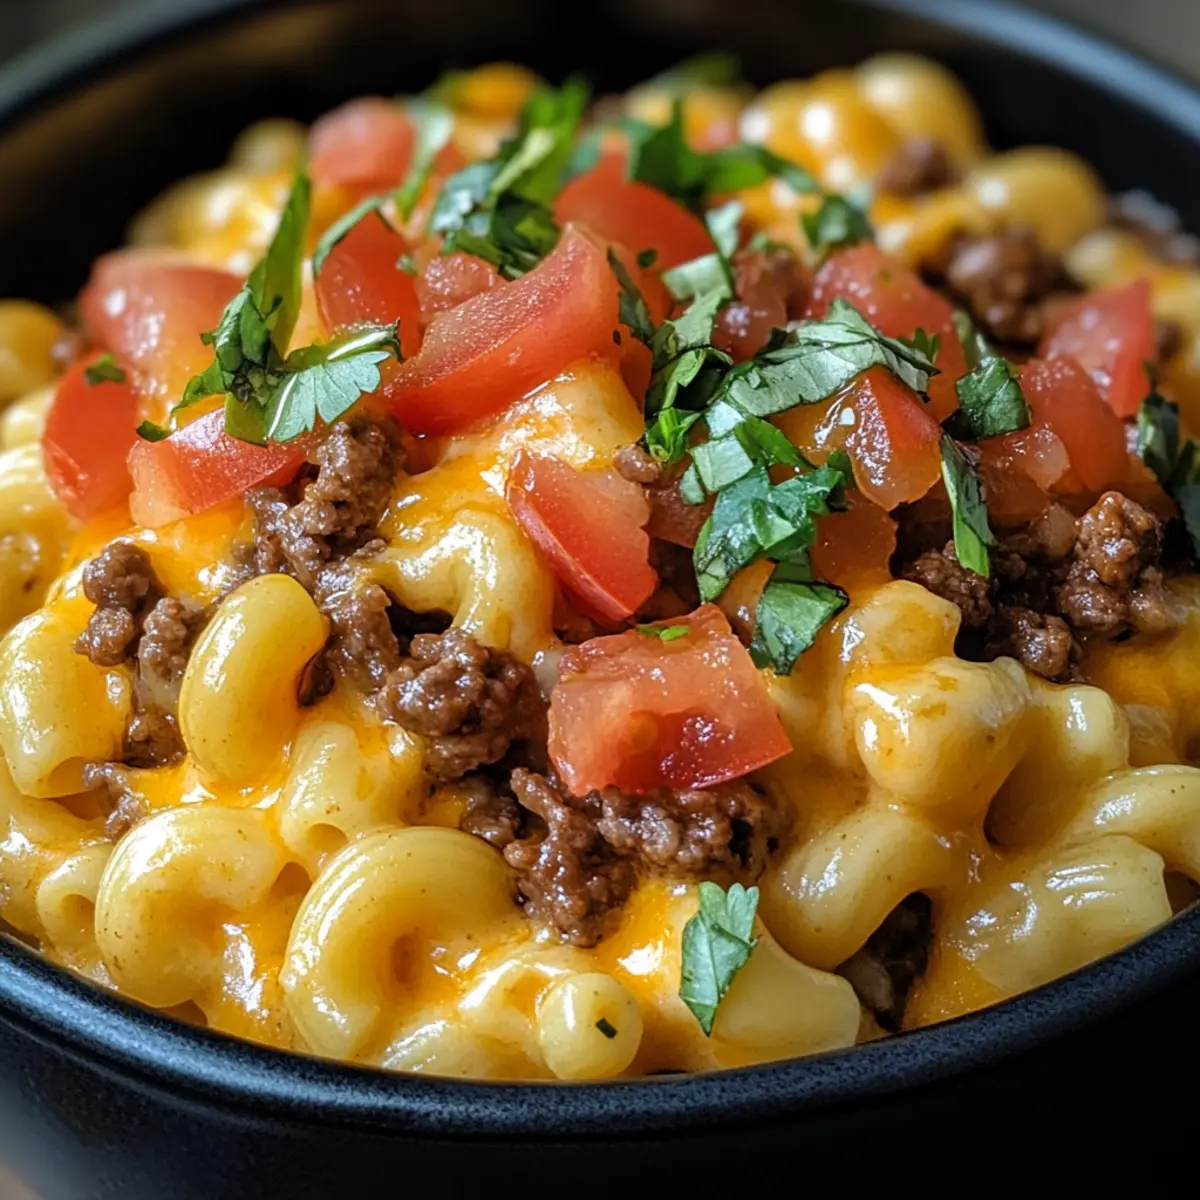
Taco Mac Variations & Substitutions
Feel free to get creative and tailor this Taco Mac to suit your tastes and dietary needs!
-
Pasta Choice: Swap elbow macaroni for any small pasta shape like penne or shells to change the texture and bite.
-
Cheese Variety: Use different cheeses such as Monterey Jack or Pepper Jack to spice things up and add complexity to the flavor profile.
-
Alternative Proteins: Consider using shredded chicken or black beans for a lighter or vegetarian twist, making it just as satisfying.
-
Veggie Boost: Toss in vegetables like corn, bell peppers, or spinach for extra nutrients and a pop of color that brightens every bite.
-
Healthier Creaminess: Replace sour cream with Greek yogurt for a lighter touch; it’s just as creamy with added protein.
-
Heat Level: Adjust the heat by using spicy taco seasoning or adding diced jalapeños for those who love a kick—perfect for spice lovers!
-
Smoky Flavor: Opt for fire-roasted diced tomatoes instead of regular ones for a deeper, smoky taste that enhances the overall dish.
-
For a Fiery Finish: Top with a sprinkle of crushed red pepper flakes or a drizzle of hot sauce before serving to elevate those flavors to a new level.
For another delightful twist on comfort food, don’t miss out on our Chicken Birria Tacos that promise to satisfy your cravings!
Make Ahead Options
Preparing Taco Mac ahead of time is a fantastic way to make busy weeknights easier! You can cook the ground beef and mix it with taco seasoning up to 24 hours in advance, storing it in an airtight container in the refrigerator. Additionally, the elbow macaroni can be cooked and stored separately for up to 3 days. When you’re ready to serve, simply combine the prepped beef, macaroni, diced tomatoes, and remaining ingredients as per the original recipe instructions. To maintain quality, avoid mixing in the cheese and sour cream until you’re ready to heat and serve, ensuring each bite is just as delicious and creamy as if it were made fresh!
How to Store and Freeze Taco Mac
Fridge: Store leftover Taco Mac in an airtight container in the refrigerator for up to 3 days. This helps maintain freshness and prevents odors from other foods.
Freezer: For longer storage, freeze Taco Mac in individual portions using freezer-safe containers for up to 2 months. Thaw overnight in the fridge before reheating.
Reheating: When ready to enjoy, reheat in the microwave or on the stovetop, adding a splash of milk to restore creaminess if it thickens.
Separation Tip: To preserve texture, consider separating the beef mixture and pasta for storing leftovers. This way, you’ll ensure that each bite is just as delicious as the first!
What to Serve with Cheesy Taco Mac
The perfect companions can elevate your Taco Mac experience from good to unforgettable, making your meal even more delightful!
-
Crispy Tortilla Chips: A crunchy contrast that provides the perfect vehicle for scooping up every delicious bite of mac, enhancing the overall texture.
-
Guacamole: Creamy and fresh, guacamole adds a rich layer of flavor that complements the spiciness of the Taco Mac beautifully. It’s a match made in heaven!
-
Fresh Garden Salad: A light salad with crisp greens and vibrant veggies balances the richness of the mac, adding a refreshing crunch that brightens your plate.
-
Mexican Street Corn (Elote): This sweet and spicy corn dish offers a sweet contrast to the savory Taco Mac, making for an exciting flavor combination.
-
Sour Cream & Salsa: Topping each serving with a dollop of tangy sour cream and zesty salsa enhances the dish with extra creaminess and brightness, just like dipping chips into salsa.
-
Lemonade or Iced Tea: A refreshing drink with a hint of sweetness and acidity, like freshly squeezed lemonade, will cleanse your palate between bites and keep the mood lively.
-
Chocolate Chip Cookies: For dessert, these classic treats are a nostalgic ending to your meal—a sweet and chewy companion that everyone loves. Expand your dessert options with a scoop of vanilla ice cream to satisfy those sweet cravings!
Enjoy mixing and matching these sides to create a delicious taco-themed feast that will surely leave your family and friends smiling!
Expert Tips for the Best Taco Mac
-
Don’t Rush the Beef: Ensure the ground beef is thoroughly browned for optimal flavor. Undercooked beef can lead to a greasy sauce and bland dish.
-
Freshly Shredded Cheese: Always opt for freshly shredded cheese instead of pre-packaged. It melts better, giving your creamy taco mac that rich, smooth texture.
-
Adjust the Heat: If you’re unsure of your spice tolerance, start with mild taco seasoning. You can always add hot sauce or jalapeños later for a spicy kick!
-
Mix It Up: Feel free to customize your Taco Mac—add veggies like bell peppers or corn for extra nutrients, or alternate proteins like shredded chicken for variety.
-
Perfect Storage: To maintain freshness, store leftovers in separate containers for sauce and pasta. Reheating only what you need ensures the best taste every time.
-
Garnish for Flavor: A handful of fresh herbs or a squeeze of lime on top elevates the dish and makes your creamy taco mac pop with flavor!
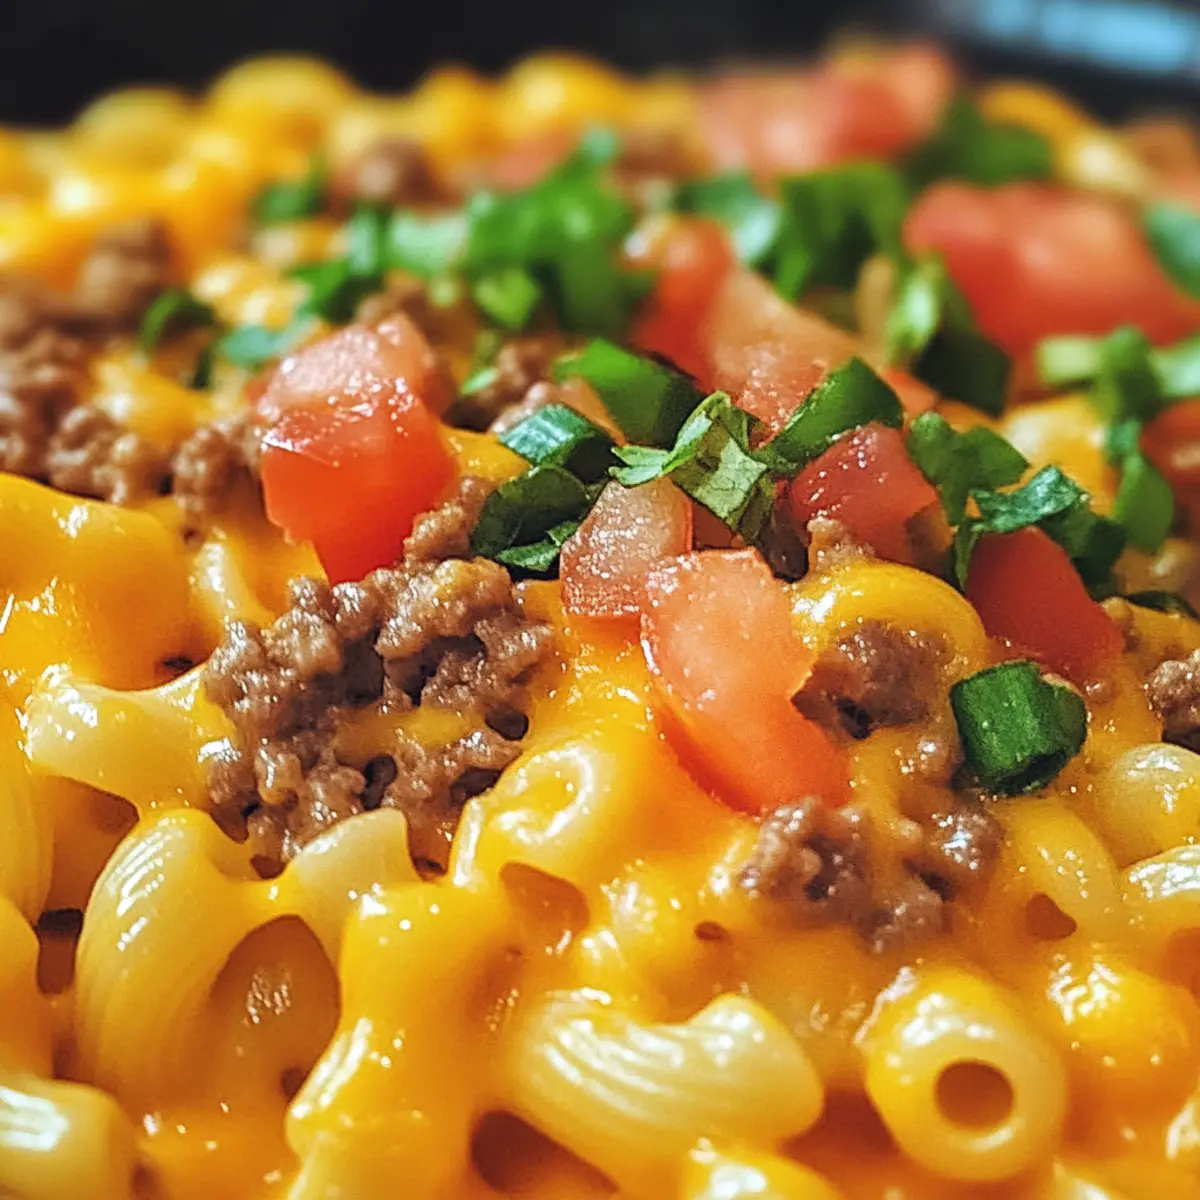
Taco Mac Recipe FAQs
How do I choose the right ground beef for Taco Mac?
Choosing ground beef with a fat content of around 80/20 is ideal for Taco Mac. This variation gives you the perfect balance of moisture and flavor without making the dish greasy. If you want a lighter option, try lean ground turkey or plant-based crumbles, both of which work wonderfully in this recipe.
What’s the best way to store leftover Taco Mac?
Absolutely! Transfer your leftover Taco Mac into an airtight container and refrigerate it for up to 3 days. Keeping it well-sealed ensures freshness and prevents any food odors from seeping in. If you prefer, you can separate the beef mixture from the pasta before storing to preserve texture.
Can I freeze Taco Mac for later use?
Yes, you can freeze Taco Mac! Place it in individual freezer-safe containers for up to 2 months. To do this, let it cool completely before transferring it to containers. When you’re ready to enjoy it, simply thaw it overnight in the refrigerator and reheat on the stovetop, adding a splash of milk if it thickens.
What should I do if my Taco Mac turns out too dry?
If your Taco Mac ends up a little dry, don’t worry! Just add a splash of milk or broth during reheating to bring back that creamy texture. Stir it in gently while reheating to achieve the desired consistency. If you notice this happening during cooking, you can also add a little more water or milk while simmering the beef mixture.
Are there any dietary considerations I should be aware of?
Definitely! If you’re cooking for someone with dairy allergies, consider using dairy-free yogurt instead of sour cream and almond milk instead of regular milk. To reduce gluten, try substituting elbow macaroni with a gluten-free pasta. Always check any premade taco seasoning for potential allergens or gluten as well.
What alternative toppings can I use for Taco Mac?
The more the merrier! Besides green onions, feel free to top your Taco Mac with fresh cilantro, jalapeños for added heat, or even crushed tortilla chips for a delightful crunch. You can also drizzle some hot sauce over the top for an extra kick, or add a squeeze of lime juice for a refreshing zing!
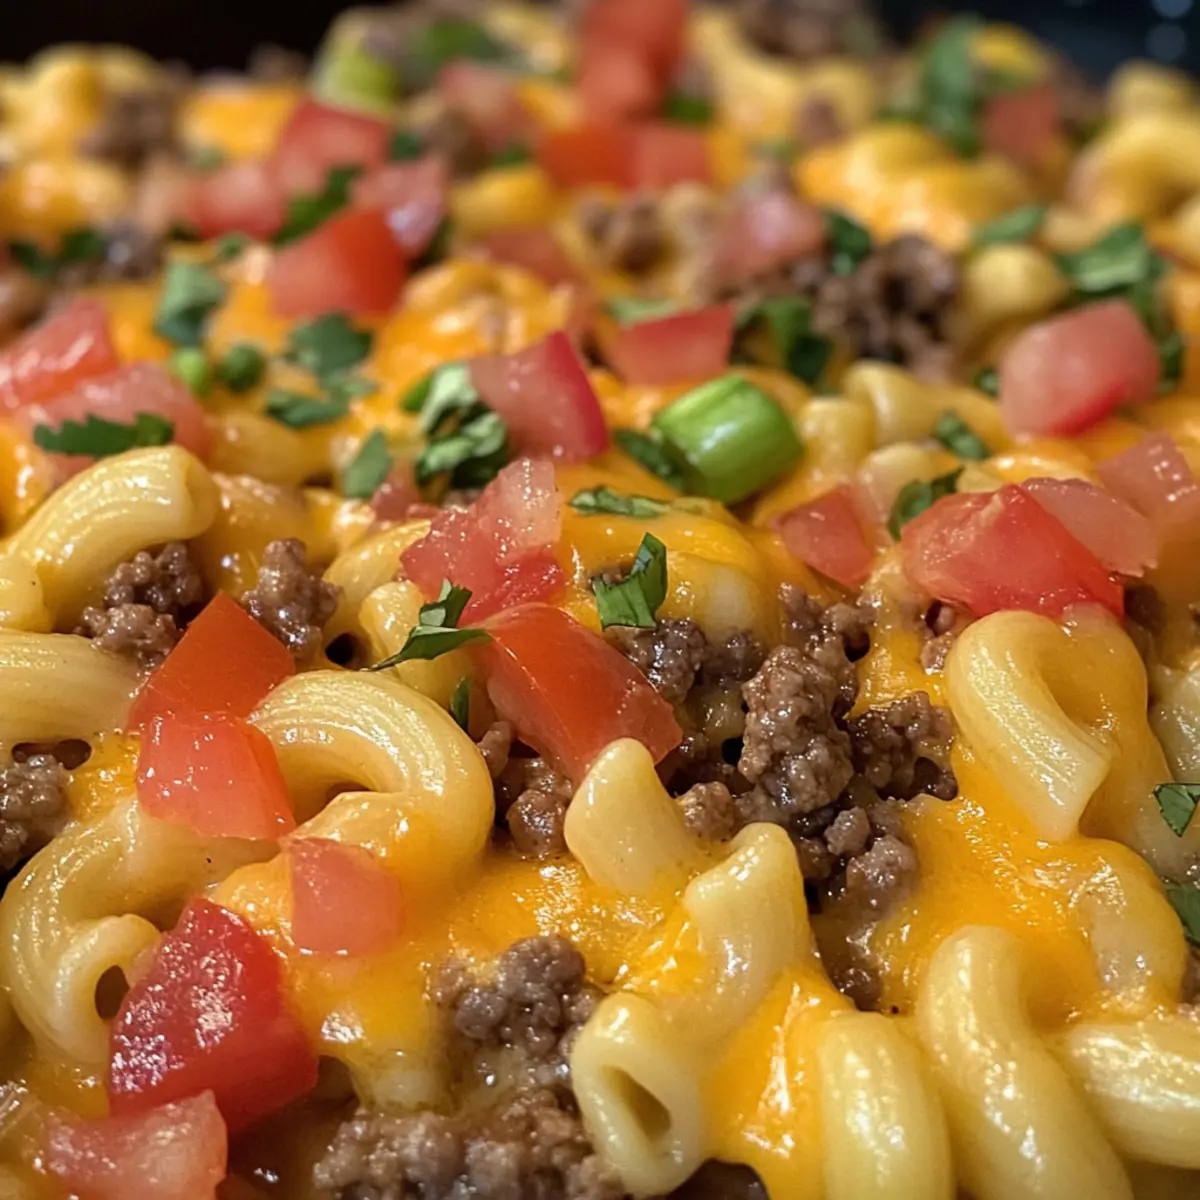
Creamy Taco Mac – Comfort Food You'll Crave Every Night
Ingredients
Equipment
Method
- In a large skillet, cook the ground beef over medium-high heat for 5–7 minutes until browned.
- Drain excess fat, then stir in taco seasoning and water, and simmer for 5 minutes.
- Boil salted water in a pot, add elbow macaroni, and cook for 7–9 minutes until al dente. Drain.
- In the macaroni pot, heat olive oil and sauté diced tomatoes for 2-3 minutes.
- Mix in drained macaroni and seasoned beef, simmer for 2 minutes.
- Reduce heat to low, add milk, cheddar, and mozzarella cheese, stirring until melted.
- Remove from heat, mix in sour cream, and ensure it's well combined.
- Serve warm, garnished with green onions.